Login with passkey
Login with passkey is an authentication method that lets users sign in with biometrics or a PIN on their device.
Passkeys work together with other login methods: the project must keep at least one other login method enabled (classic, social, or passwordless), which serves as a fallback. If a passkey is saved on the user’s phone, they can sign in on another device by scanning a QR code with the phone.
Passkey login requires a compatible device and operating system.
Currently, a user can create only one passkey.
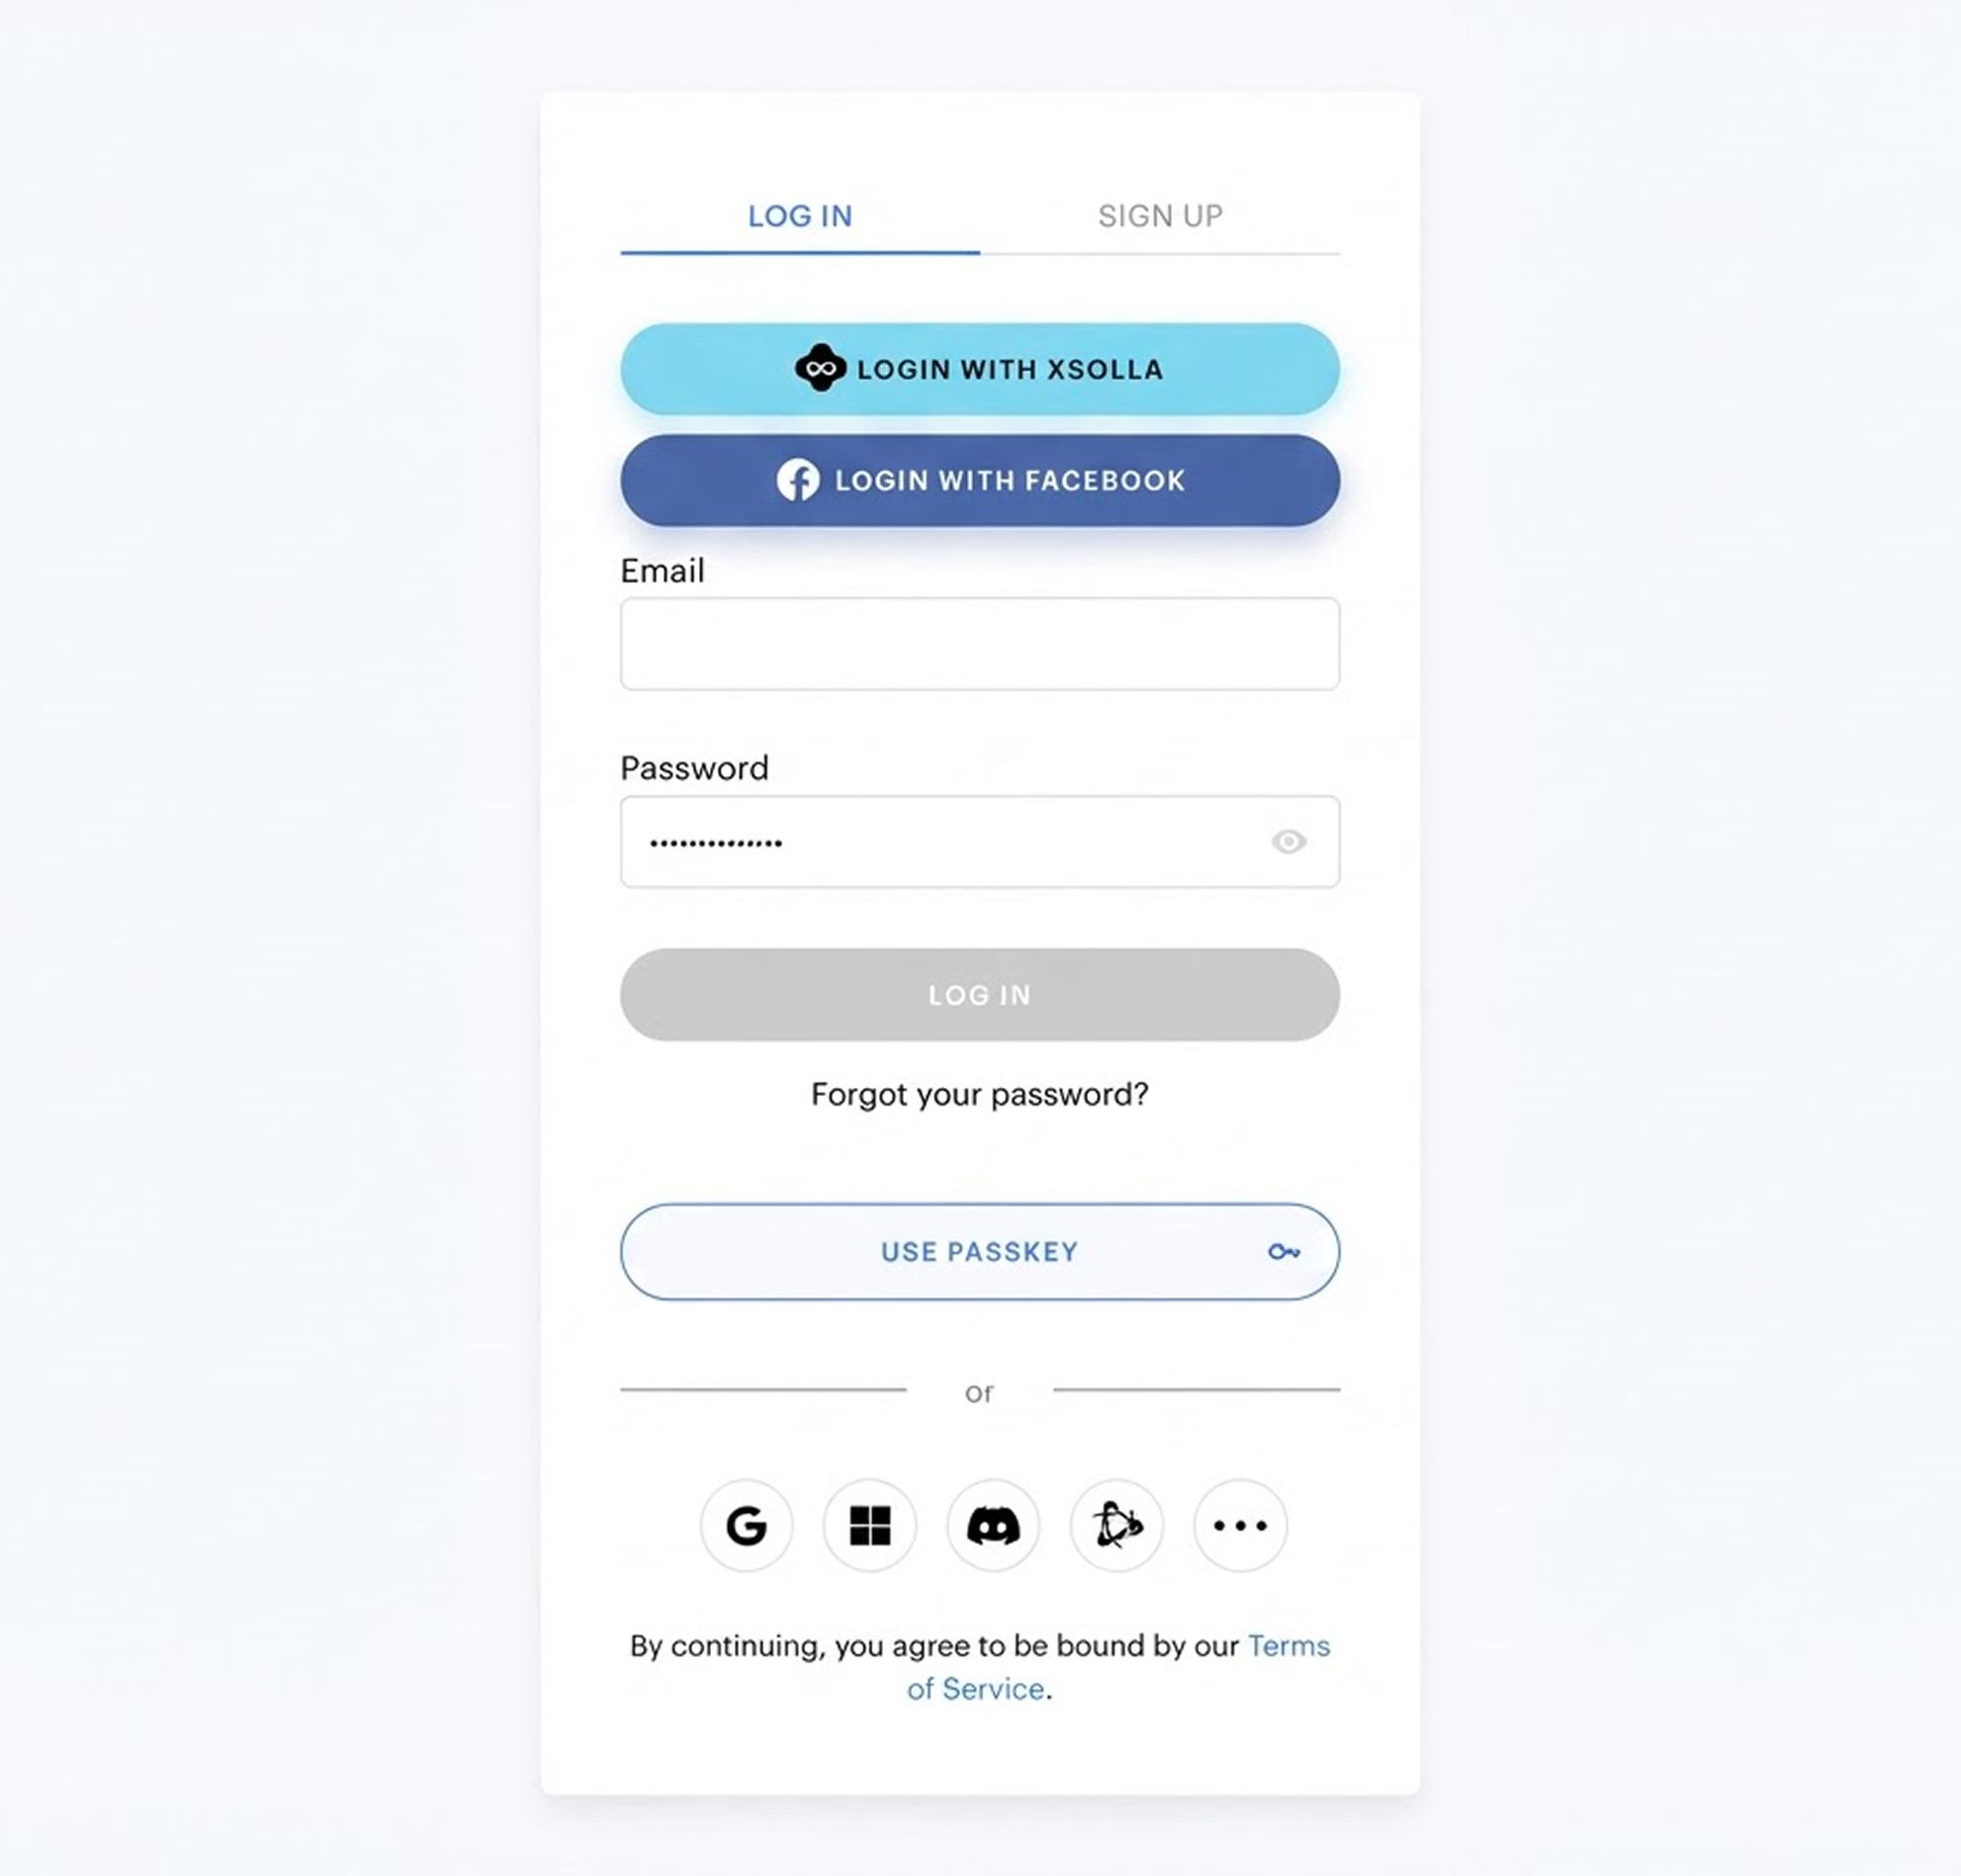
How it works
A passkey is created once, after which the user can sign in with it on the same or another device. Below are possible user scenarios.
Create a passkey
- The user signs in with any usual method (classic, social, passwordless).
- The login widget prompts the user to create a passkey.
- The user confirms the creation with biometrics or a PIN.
- The passkey is linked to the user.
Sign in with a passkey
- The user chooses Use passkey in Login Widget. The button appears if passkeys are enabled for the project and supported by the browser and the device.
- The browser offers the passkeys saved on the device.
- The user confirms with biometrics or a PIN.
- The user is authenticated.
Sign in on another device
- The user chooses Use passkey on the device where the passkey is not saved.
- The user scans the QR code shown by the browser with the device where the passkey is saved.
- The user confirms with biometrics or a PIN on the phone.
Set up login with passkey
- In your project in Publisher Account, go to the Players > Login section.
- In your project in the account, go to the Players > Login section.
- In your project in the account, go to the Players > Login section.
- In your project in the account, go to the Players > Login section.
- In your project in the account, go to the Other tools > Login section.
- Click Configure in the panel of a login option.
- Make sure the following settings are in place:
- The URL of the authentication page is added to Allowed origins (CORS) , so that requests from this page to the Login API work.
- Check the project name in Publisher Account. Users will see it in the list of passkeys in the browser.
- Make sure the following settings are in place:
- The URL of the authentication page is added to Allowed origins (CORS) , so that requests from this page to the Login API work.
- Check the project name in your account. Users will see it in the list of passkeys in the browser.
In the login option settings, go to the Passkeys section.
Turn on the Allow passkeys toggle.
- Click Save changes.
Found a typo or other text error? Select the text and press Ctrl+Enter.
