Settings
Manage your creator account, connected platforms, and channel tools in the Settings section. It includes the following pages:
Personal information
Manage your profile details in the Settings > Personal information section. The page includes the following fields:
- Username — the name for your creator account, chosen from the usernames of your connected accounts.
- Birthdate — when you were born.
- Your pronouns — the pronouns you’d like others to use when referring to you.
- Country or region — where you’re located.
- Content language — the language you stream or create content in.
- Main social platform — the network where you publish your content.
- Platform used for streaming or playing — the device or console you stream or play on.
- Interface language — the language of your creator account, set independently of your content language.
Click Save to apply changes.
x.la/@yourusername). Changing your username changes the link, but the previous one keeps working and opens the same Creator Site. After a change, the Username field is unavailable for 14 days.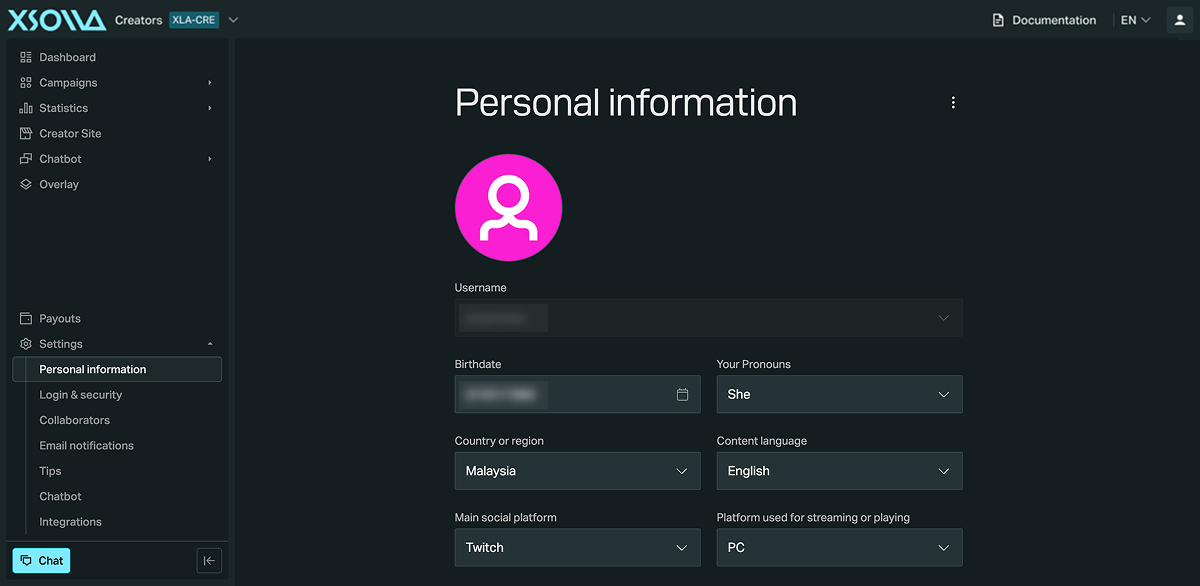
To download a copy of your account data, click the ⋮ next to the page title and select Export data. The export contains JSON files in two folders: User (e.g., your profile, login methods) and Channel (e.g., tips, streams, goals). Use it to keep your own copy of your profile and channel settings — for example, before deleting your account.
Login and security
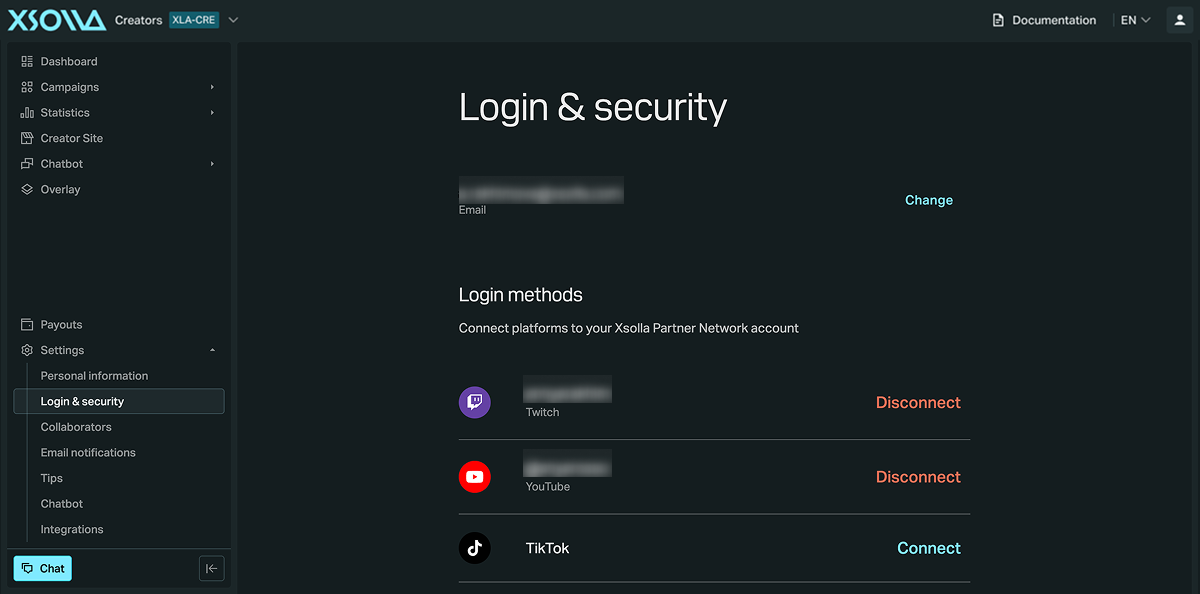
Manage how you sign in to your creator account in the Settings > Login & security section.
To change the email linked to your account, click Change next to it.
The Login methods section lists the sign-in options you can connect to your creator account:
- Twitch
- YouTube
- TikTok
- X
Click Connect next to an option to link it, or Disconnect to unlink it. Your connected accounts determine which campaigns you can apply for, so connecting every platform you actively use gives you access to more campaigns.
Collaborators
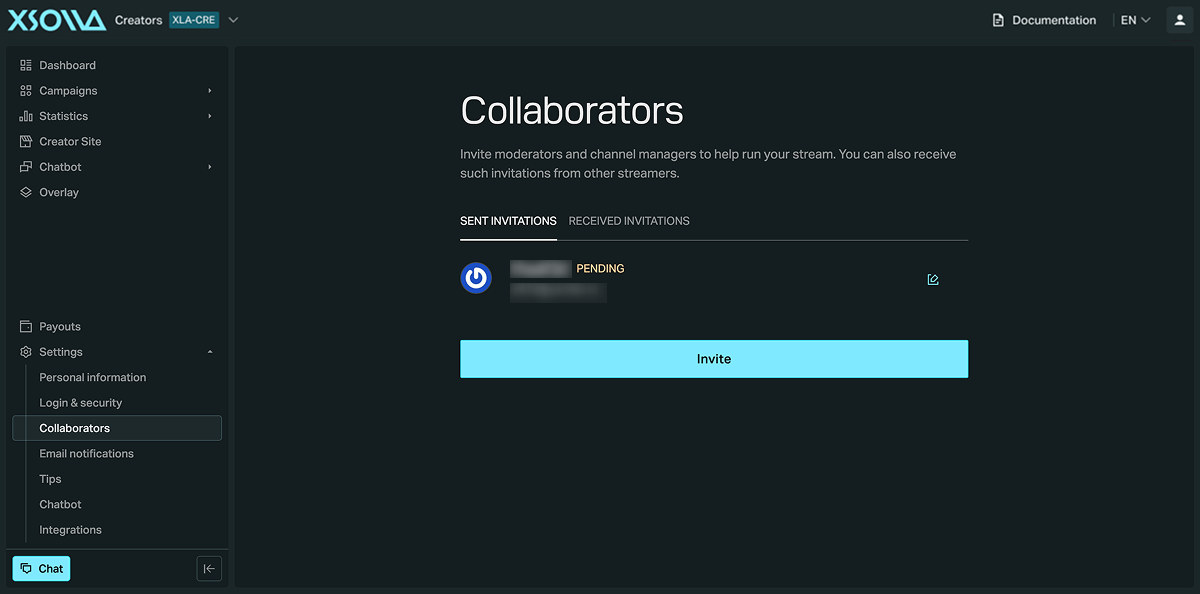
Invite people to help manage parts of your channel. To do this, go to the Settings > Collaborators section.
To accept an invite, a collaborator signs in to Partner Network with the Twitch account you specified in the invite. They don’t need their own creator account to collaborate, and can set one up later. Invites are sent by email. If you entered the wrong Twitch username, revoke the invite and send a new one with the correct username.
Grant access to one or more of the following sections:
- Analytics — view your channel statistics (useful for managers or agencies building reports).
- Chatbot — manage moderation tools, chat commands, and the loyalty program.
- Overlay — create and edit alerts and layers across all your overlays.
- Creator site — manage your Creator Site settings and content.
Collaborators never get access to your account or channel settings, including:
- tip settings and charity integrations linked to your alerts
- adding or removing collaborators
- adding or removing streaming platforms
- changing your username or email
Collaborators also can’t view or manage your campaign applications.
Invitations you’ve sent appear on the Sent invitations tab with their current status. To change or withdraw access, click the edit icon next to the collaborator, then adjust their permissions or click Revoke access. Deleting an account also ends its collaboration access.
Invitations you’ve received from other streamers appear on the Received invitations tab. You can decline an invitation or leave a channel at any time.
Email notifications
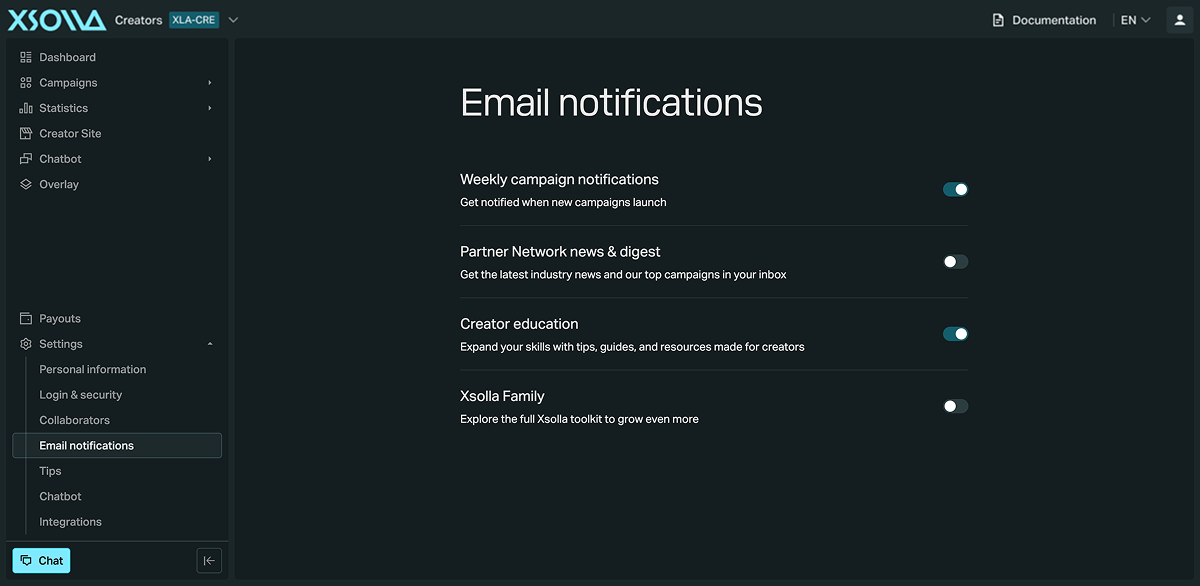
Choose which emails you receive in the Settings > Email notifications section. Turn each type on or off:
- Weekly campaign notifications — get notified about newly launched campaigns.
- Partner Network news & digest — get the latest industry news and our top campaigns in your inbox.
- Creator education — expand your skills with tips, guides, and resources made for creators.
- Xsolla Family — get news about other Xsolla products when they’re relevant to your account.
Tips
Accept tips directly from your viewers via PayPal, with no cut taken by Partner Network.
To set up tips:
- Go to the Settings > Tips section and click Connect.
- Log in to PayPal and authorize Partner Network to access your full name, email, account confirmation status, and PayPal ID.
- Set the minimum and maximum amount and choose the currency, then click Save.
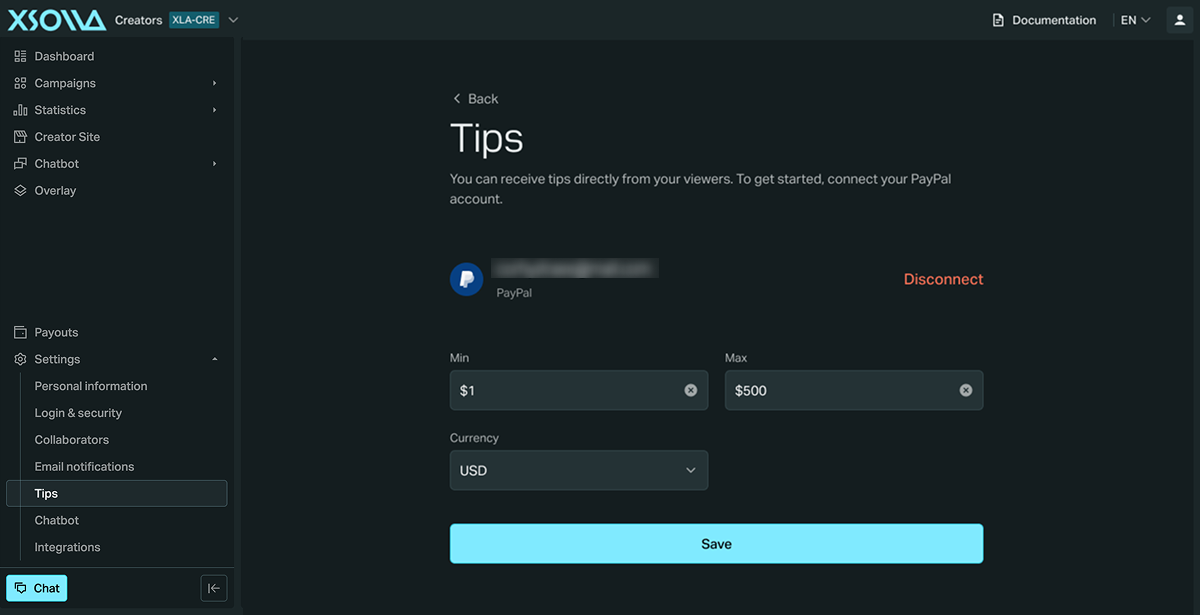
Once PayPal is connected, your tip page is created automatically and becomes available on your Creator Site.
Viewers submitting a tip are asked for their name, the tip amount, and an optional custom message.
Fees
Partner Network doesn’t take a cut from tips. The only fee is PayPal’s standard transaction fee, which varies by country and currency — see the PayPal’s official fee page for current rates. You can have viewers cover this fee instead of it being deducted from your payout.
Payment timing
PayPal pays tips to your account directly — Partner Network never holds the funds. The exception is a tip paid by eCheck: PayPal can hold that payment for up to 21 days, which is outside Partner Network’s control.
Missing tips
If Partner Network shows a tip you don’t see in your PayPal account, check that the PayPal email connected to your tips settings is correct. Tips sent to the wrong email are automatically refunded and can’t be recovered — contact our support team if the issue continues.
Privacy
PayPal transactions show the name and email on your PayPal account to the person tipping. To show a business name instead of your personal name, connect a PayPal Business account — you don’t need a registered company to open one.
Chargebacks
You handle chargebacks directly through PayPal — Partner Network isn’t involved. To limit exposure to large chargebacks, lower the maximum tip amount in your tips settings.
To reduce the risk of chargebacks, follow these recommendations:
- Thank and confirm large tips from first-time tippers on stream.
- Add a short disclaimer under your tipping panel noting tips are non-refundable.
- Respond quickly to any chargeback dispute through PayPal.
Chatbot
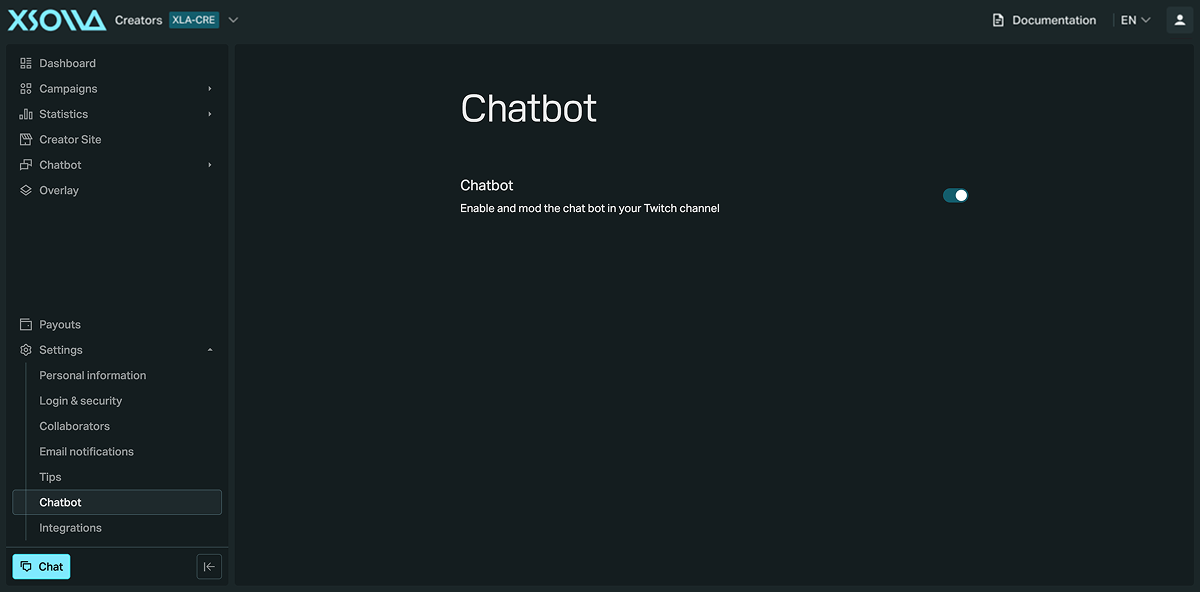
Chatbot is an automated tool that responds to chat commands, moderates your channel, and engages your viewers. Enable or disable Chatbot for your Twitch channel in the Settings > Chatbot section. When the Chatbot toggle is on, Chatbot joins your channel and its built-in chat commands become available.
This page only turns the Chatbot feature on or off. You configure commands, the loyalty program, moderation, and other features in the Chatbot section. Refer to the Chatbot documentation for more information.
Integrations
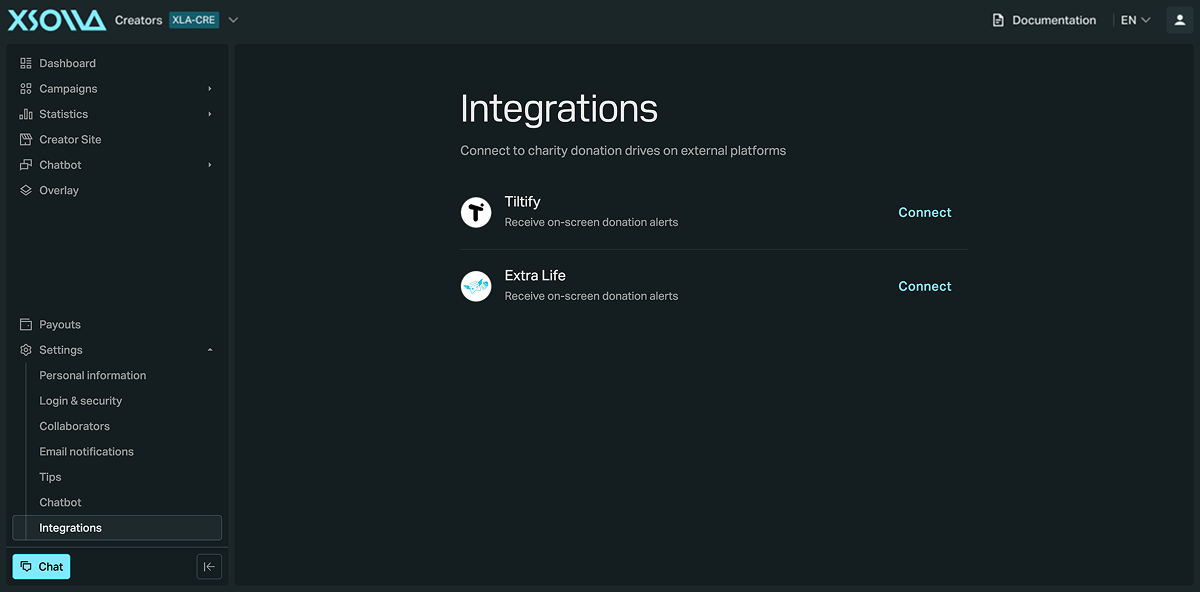
Connect charity donation drives from external platforms in the Settings > Integrations section. Here are the available platforms:
Connecting a platform isn’t enough on its own. To show these donations on stream, turn on the Charity donation toggle in your alerts settings. Once it’s on, charity donations trigger alerts the same way a regular tip does, and appear in the Banner and Events layers as charity donations.
Click Connect next to a platform to link it.
Found a typo or other text error? Select the text and press Ctrl+Enter.
