Authentication via your own OAuth 2.0 provider
How it works

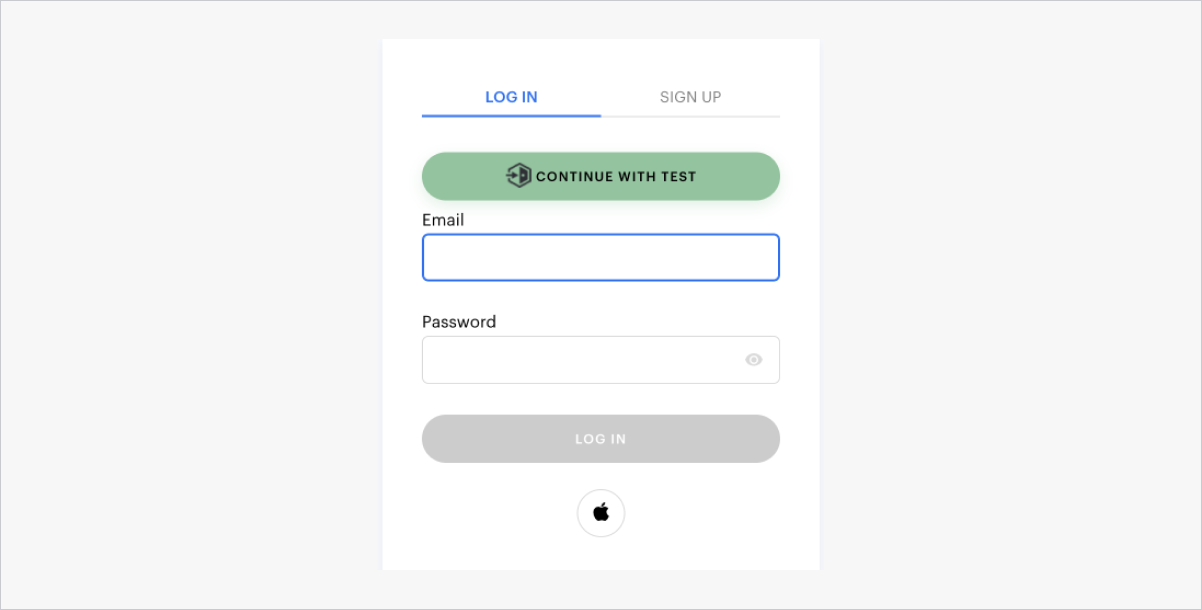
You can add user authorization through your social network using the OAuth 2.0 protocol. To enable a button for your social network on the authorization widget, specify the provider details in Publisher Account.

How to get it
To enable authorization via OAuth 2.0:
- Open your project in Publisher Account and go to the Login section.
- Click Configure in the panel of a classic login option.
- Go to the Authentication block and select the OAuth 2.0 login connection.

- Fill in the following fields:
- Authorization name — integration name. Used for identification in Publisher Account. It can contain digits, Latin letters, hyphens, and underscores without spaces, with a maximum length of 100 characters.
- Authorization URL — URL of the method used for user authentication.
- Token URL — URL of the method used for obtaining an access token.
- Your info URL — the URL of the authorization server token endpoint from where the access token is obtained after successful authentication.
- Client ID — unique identifier of the client on the authorization server. It can contain digits, Latin letters, hyphens, and underscores without spaces, with a maximum length of 255 characters.
- Client secret key — a unique ID generated by your authorization system. It can contain digits, Latin letters, hyphens, and underscores without spaces, with a length of 8-255.
- Permission scope.
- Set up the Key name map:
- Provide the key name for the email address in your system (optional).
- Provide the key name for the user identifier in your system.
- In the Settings section, specify the fine integration settings (optional):
auth_content_type— the value of theContent-Typeheader.auth_header— the header that passes the authorization token when requesting user data (authorization in the header).auth_param— the name of the query parameter that passes the authorization token when requesting user data (authorization in the parameter).token_type— token type. Possible values:Bearer,OAuth.use_pkce— a flag indicating the use of the PKCE (Proof Key for Code Exchange) technology during authorization.
Note
Key names should start with
$., for example, $.response[0].email and $.response[0].id.
- If you use the integration via the authorization widget, set up Customization:
- Specify the Authorization button name. Maximum length — 30 characters.
- Upload your logo. Recommended size: 24px × 24px. Supported formats: JPG, PNG and SVG.
- Set the authorization button color.
- Click Save changes.
- If you are using integration through the Login API methods, configure the transmission of your provider ID in the
provider_namein the following format:“<authorization_name>-<publisher_id>”, where<authorization_name>— is the integration name you specified in the provider settings, аnd<publisher_id>— is the ID of your project in Publisher Account:- When authorizing using the JWT protocol, pass the
provider_nameparameter in the following methods: - When authorizing using the OAuth 2.0 protocol, pass the
provider_nameparameter in the following methods:
- When authorizing using the JWT protocol, pass the
Was this article helpful?
Thank you for your feedback!
We’ll review your message and use it to help us improve your experience.Found a typo or other text error? Select the text and press Ctrl+Enter.

