
How to edit active campaigns
How it works
If you want to expand or change active campaign functionality, you can edit campaign settings. You can upload additional game keys, prolong the campaign, or update other sections to make your campaign more attractive for creators.
Note
You need to have at least one active creator campaign.
How to get it
If you want to edit an active campaign, you need to:
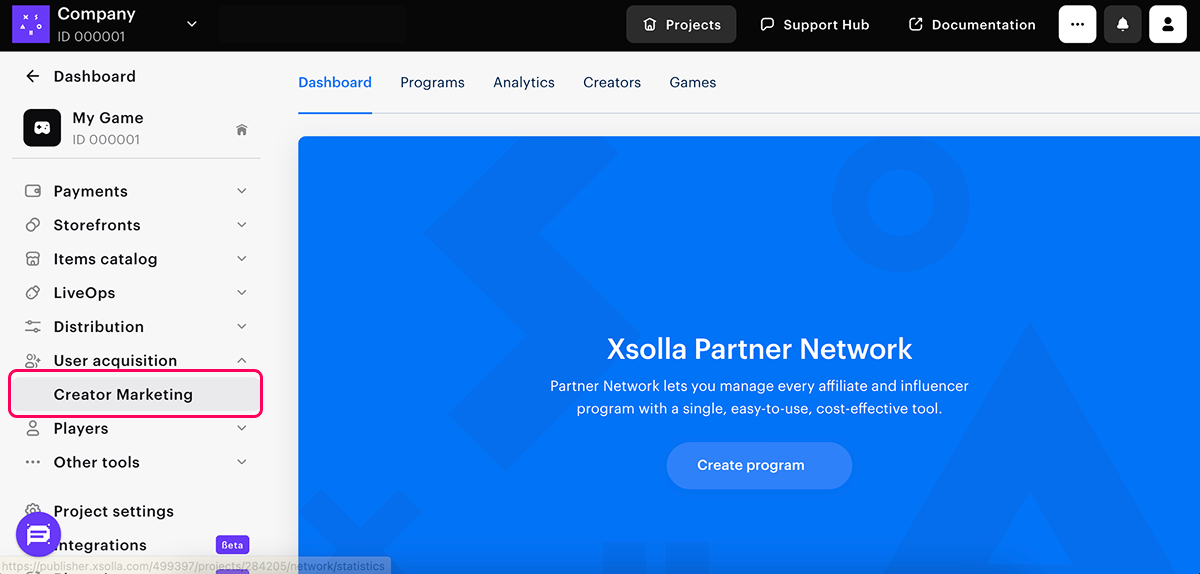
- Select the Campaigns tab.
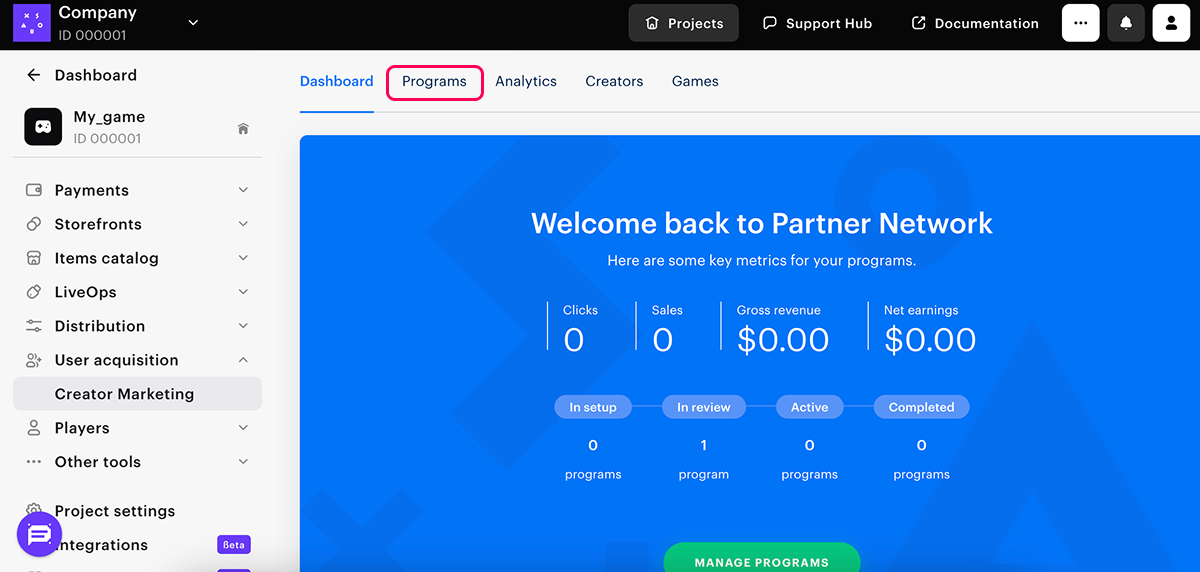
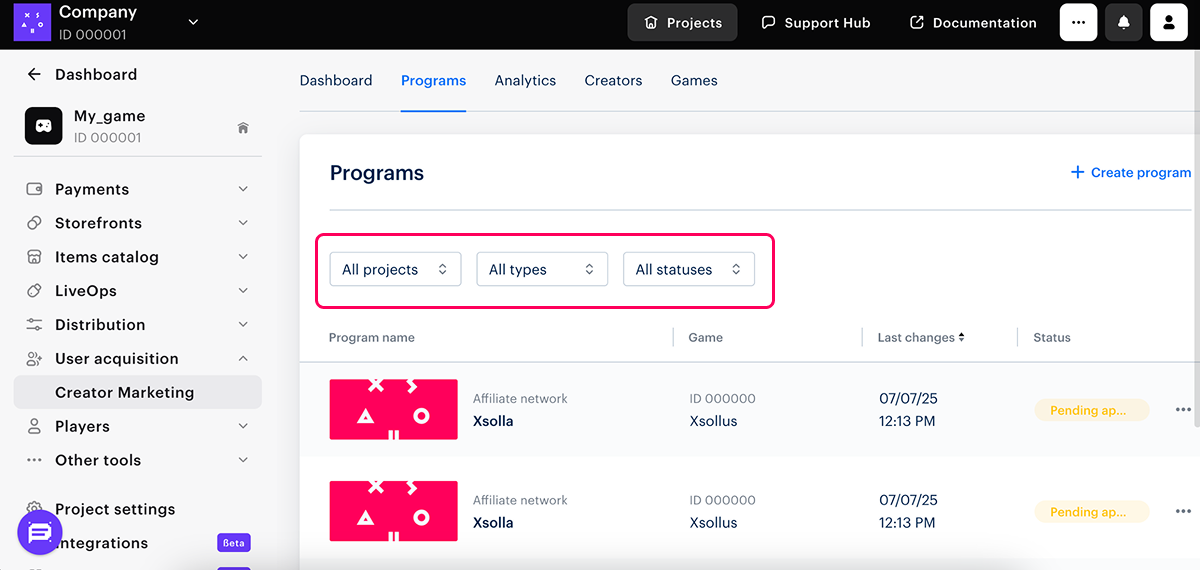
- Display only active campaigns using filters.
- Go to the settings of the campaign you want to update and click Edit campaign.
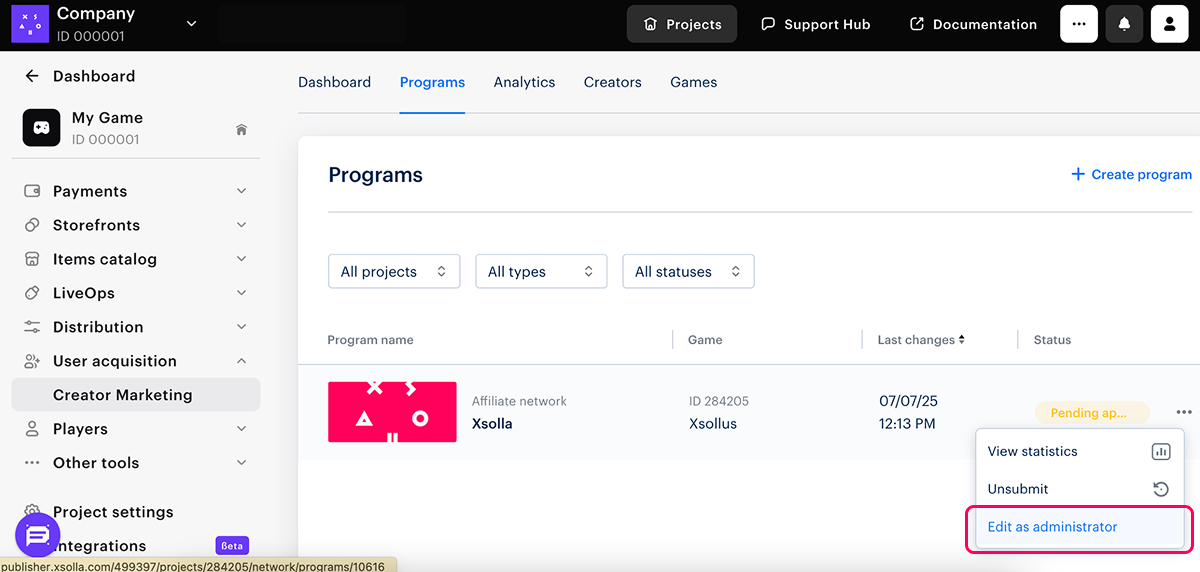
- There are four settings tabs, and you need to edit and publish each of them separately, one by one:
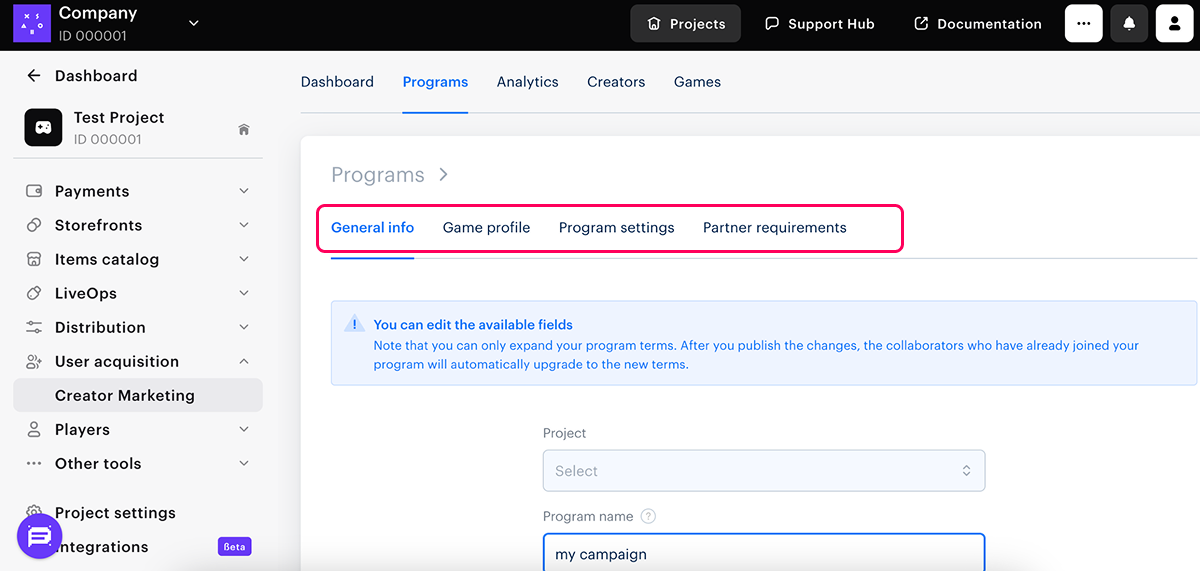
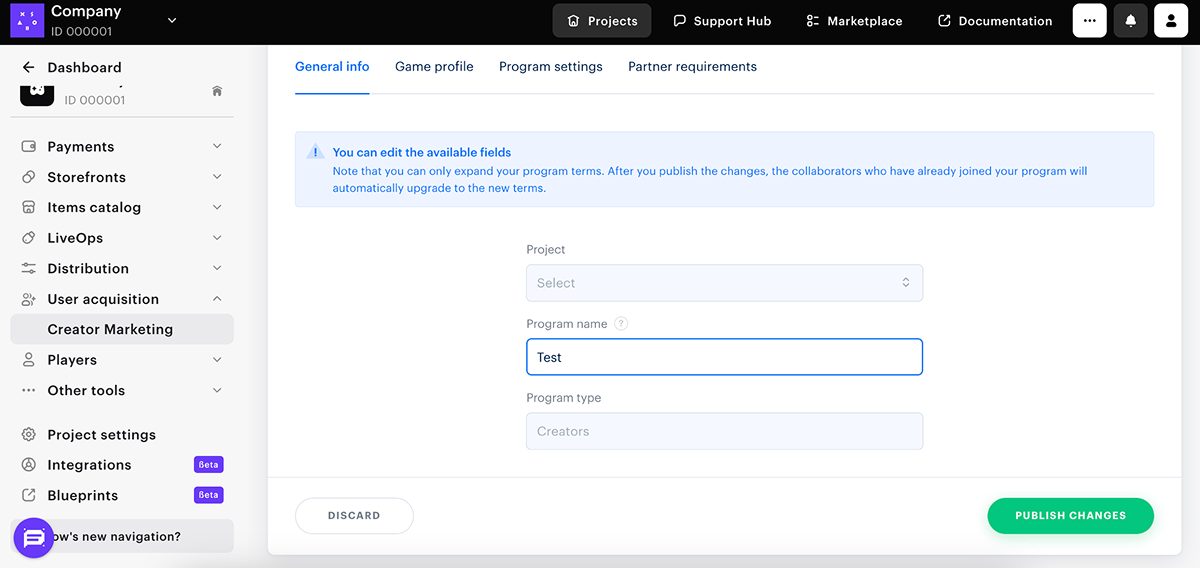
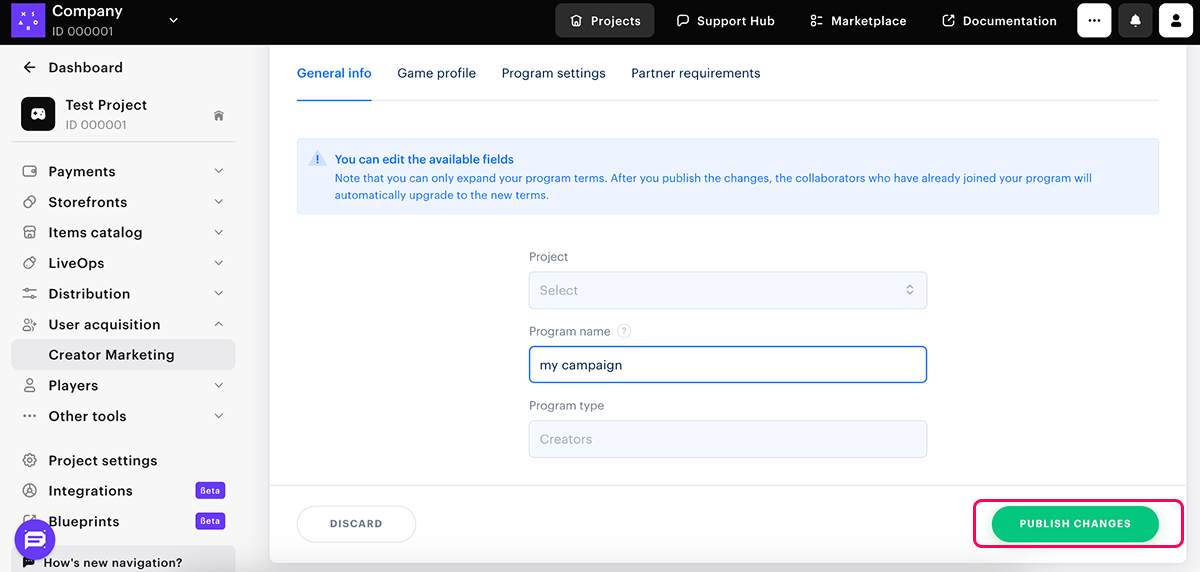
- General info. Here you can only edit the campaign name.
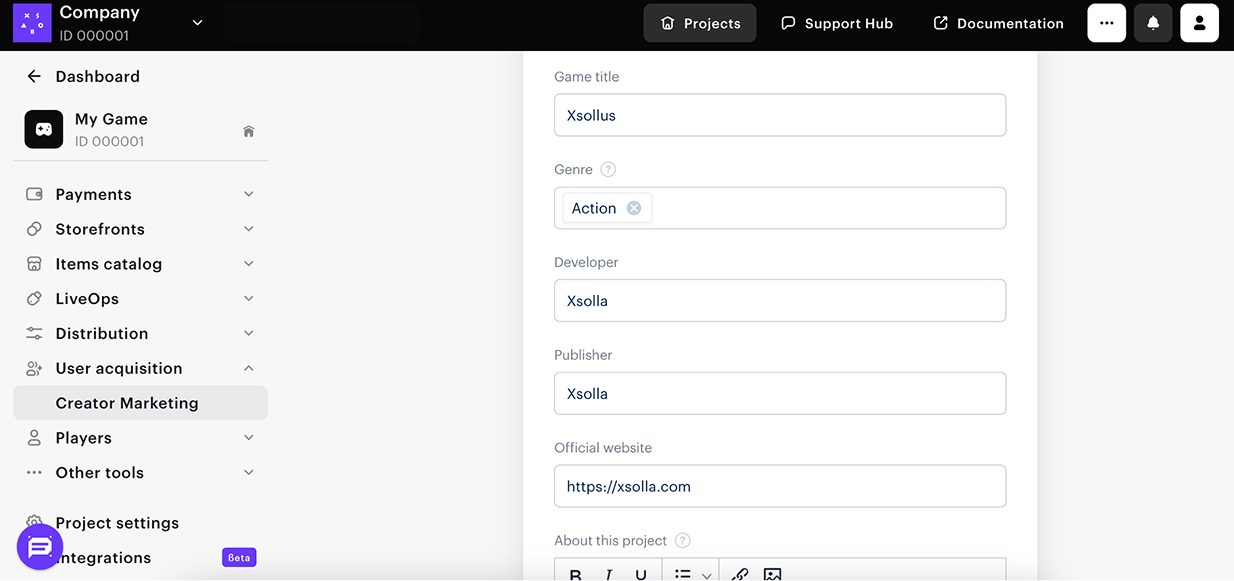
- Game profile. Here you can edit all information about the game:
- Thumbnail
- Game title
- Genre
- Developer
- Publisher
- Official website
- Info about this project
- Steam App ID
- Business model
- Platform
- Link to promo materials
- Release date
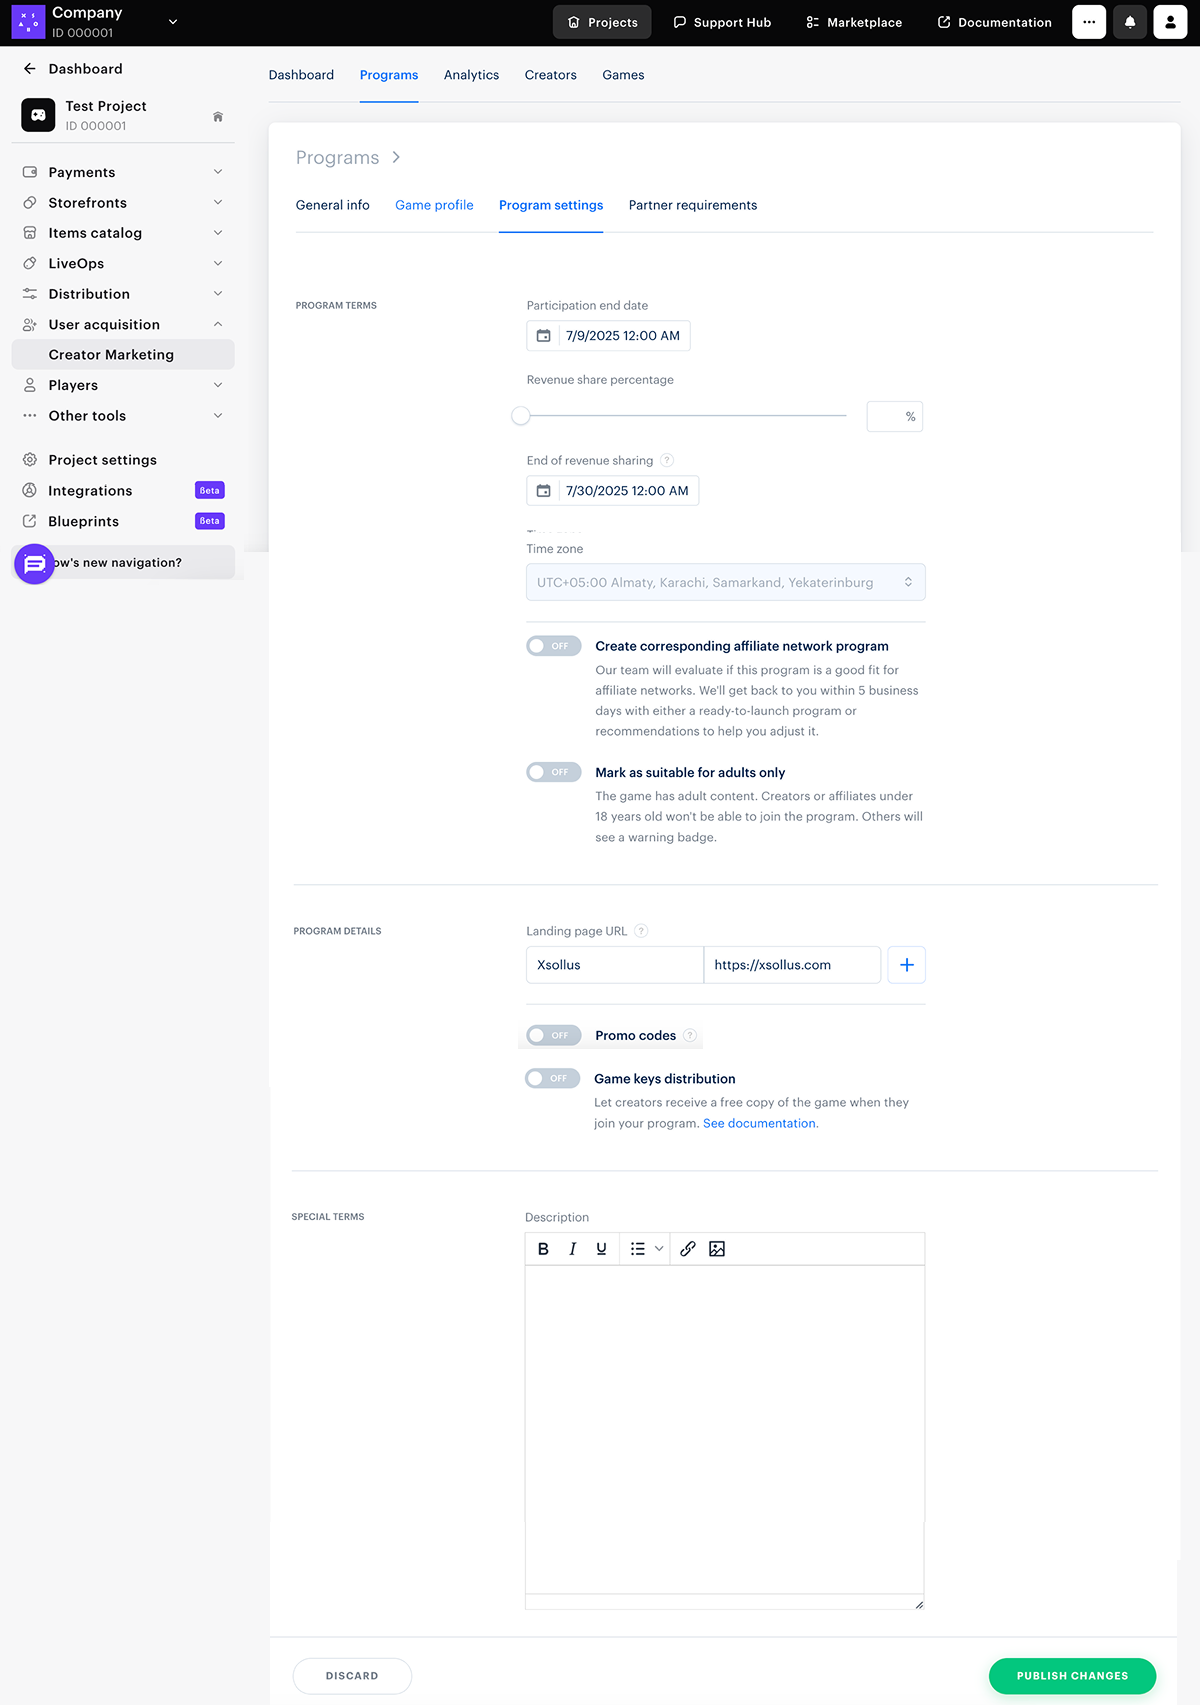
- Campaign Settings. Here you can edit:
- Participation period.
- Revenue share percentage.
- End of revenue sharing.
- Time zone that determines the participation period and the end of revenue sharing.
- Landing page URL that is automatically converted to the unique tracking link. Each creator who joins this program gets this link.
- Landing page name that is shown in the program card in Creator Account. The landing page must contain a call-to-action (game purchase).
Note
You can specify the URL and the name for two or more landing pages.
- Promo code settings (improving them).
- Game keys distribution settings.
- Special terms.
You can also upload more game keys.
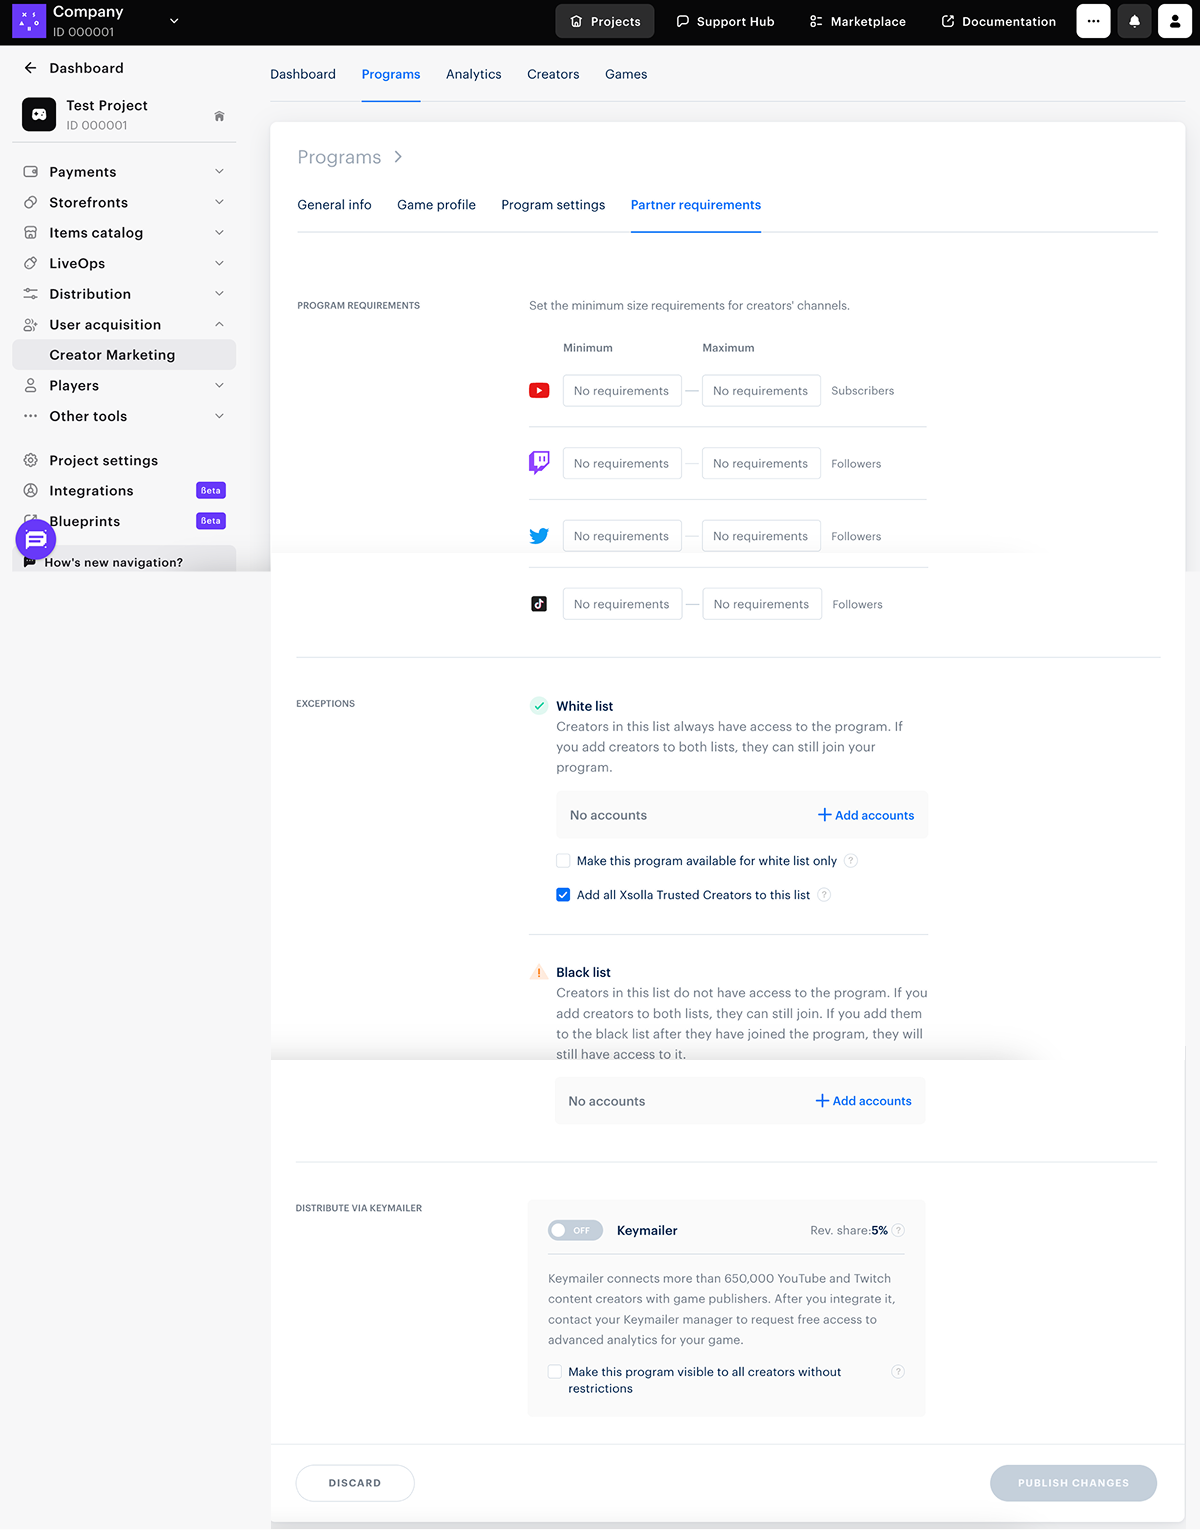
- Partner Requirements. Here you can:
- Change the minimum size requirements for creators’ channels
- Turn on the white list and give access to the campaign to creators in this list only.
- Set up the Xsolla Trusted Сreators option in the white list.
- Turn on the black list and restrict access to the campaign for creators in this list.
- Turn on distribution via Keymailer.
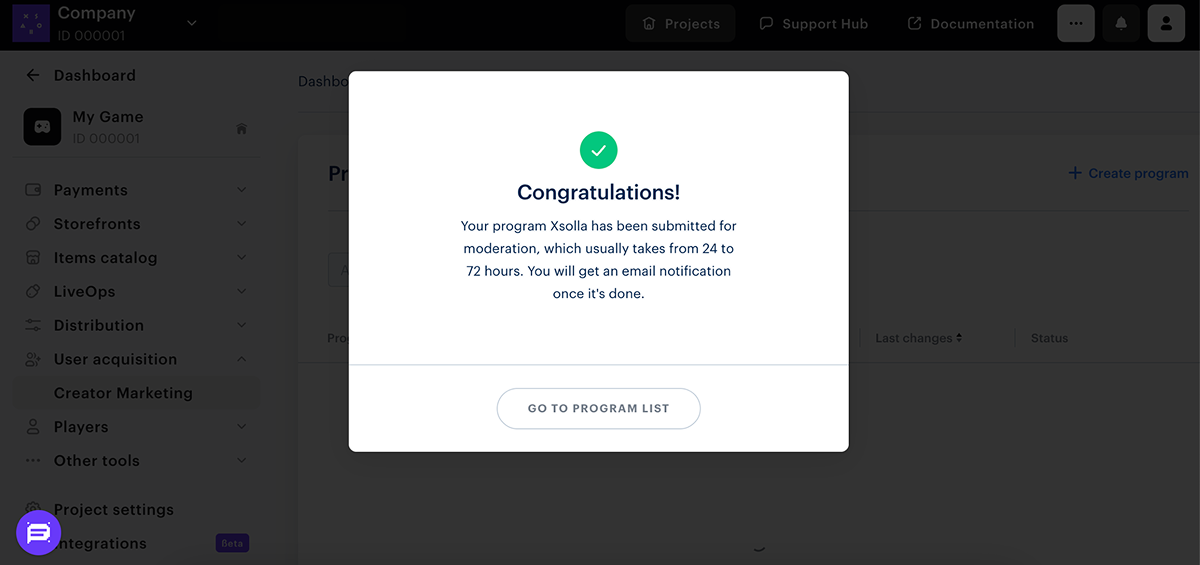
- After you have made the necessary changes on the tab, save them by clicking Publish changes. You should see a success message.
Was this article helpful?
Thank you for your feedback!
We’ll review your message and use it to help us improve your experience.Found a typo or other text error? Select the text and press Ctrl+Enter.
