Bundles
How it works
Bundle is a set of several items that are sold as a single unit.
Main features:
- Adding items of different types to a bundle:
- virtual currency
- package of virtual currency
- game keys for preselected platforms
- virtual items
- bundles
- Free bundle.
- Configuring the bundle pricing in real and virtual currencies. You can set up prices in several real or virtual currencies. Make sure you select a default currency in this case.
- Setting regional prices for bundles.
- Limiting the number of bundles available for purchase.
- Setting a time limit for displaying bundles in the store.
- Restricting bundle availability by region.
Restrictions:
- You can’t add the same bundle to the bundle.
- You can’t create an empty bundle.
- If a bundle includes keys and the available keys are exhausted, the sale of that bundle is paused.
- Setting regional restrictions for bundles is only available via API calls.
How to set up
Set up in Publisher Account
Set up in your account
To create a bundle:
- Open your project in Publisher Account and go to the Items catalog > All items > Bundles section.
- Open the project in your account and go to the Items catalog > All items > Bundles section.
- Open the project in your account and go to the Items catalog > All items > Bundles section.
- Open the project in your account and go to the Items catalog > All items > Bundles section.
- Open your project in the account for mobile games and go to the Catalog section.
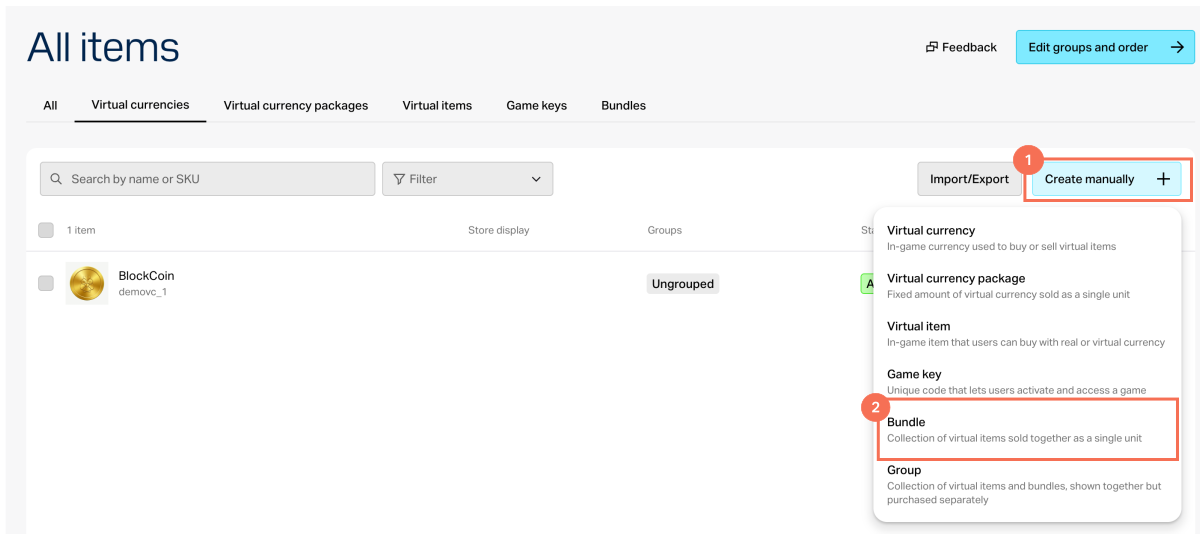
- Click Create manually and select Bundle from the drop-down list.
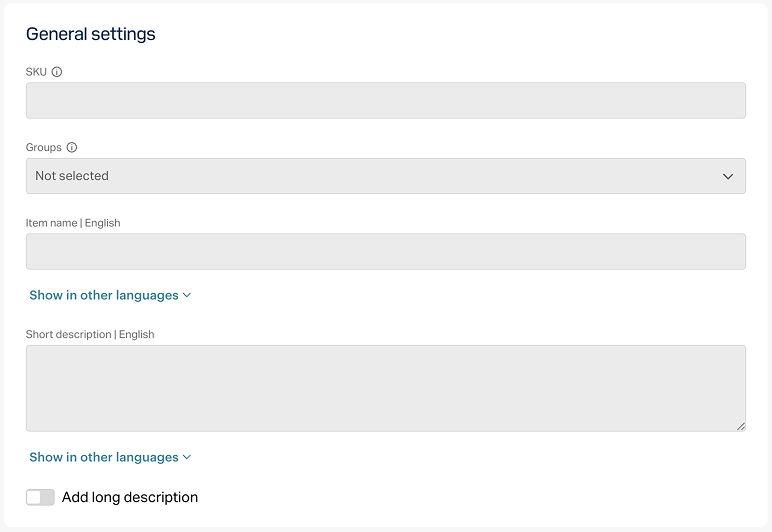
- In the General settings section, specify the following:
- SKU
- One or several groups the item should belong to (optional)
- Name
- Short description
- Extended description — to add it, turn on the corresponding toggle (optional)
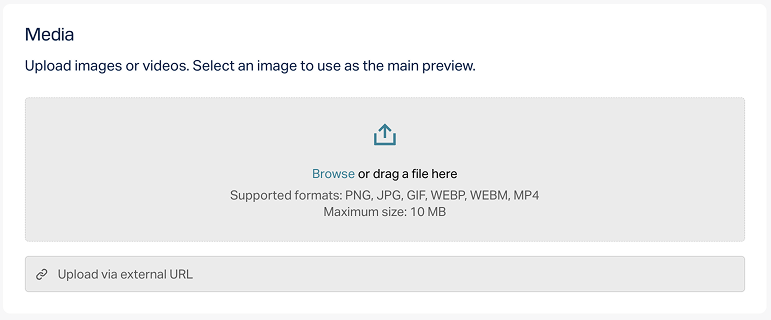
- In the Media section, upload one or more images or videos (optional) — from your device or via a link. In the store created with the Xsolla site editor, all item cards display the file marked as Main, while the remaining files are available only in item cards with a media gallery. The file marked as Main is also returned in the responses of the catalog retrieval API calls.
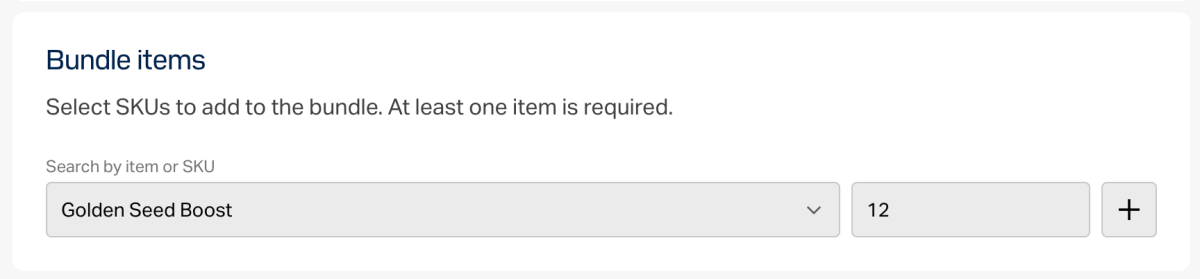
- In the Bundle items section, select SKUs to add to the bundle. At least one item is required.
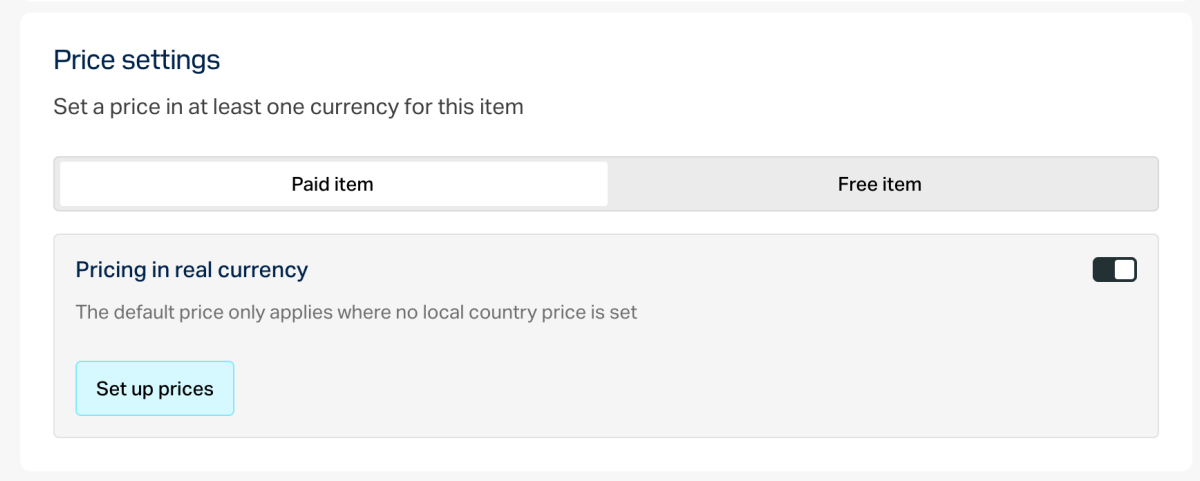
- In the Price settings section, set prices or create a free item:
- To set a price, select Paid item, turn on the Pricing in real currency and/or Pricing in virtual currency toggle, and specify the price. If needed, configure regional prices.
- To create a free item, select Free item.
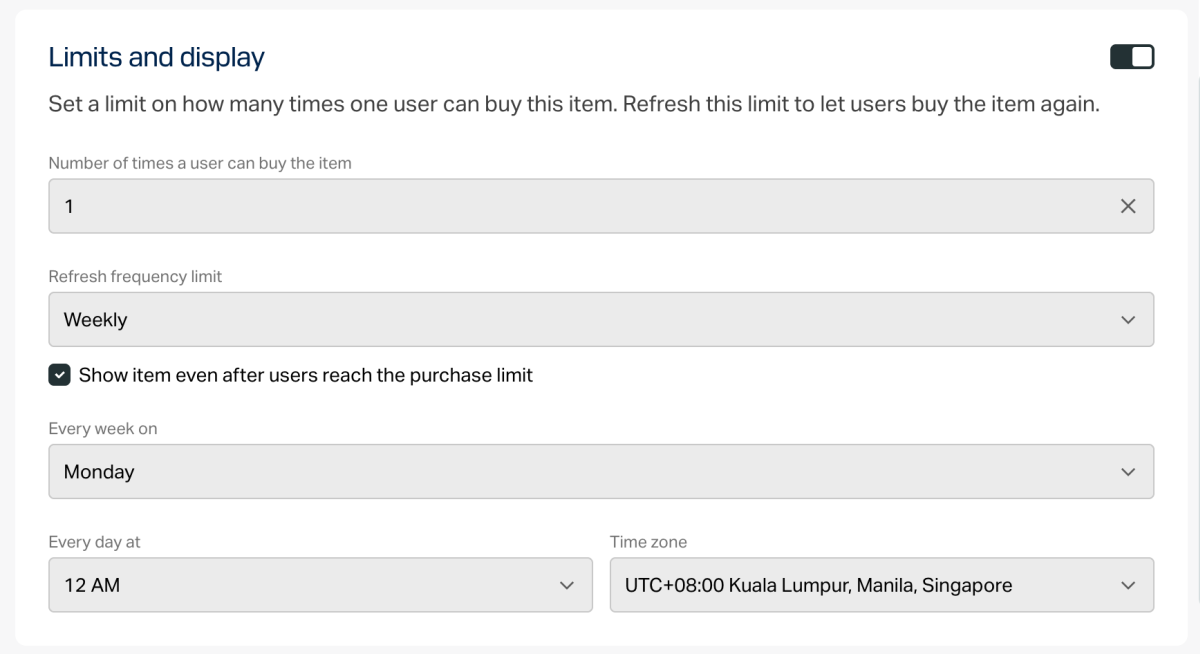
- To limit the number of items available for purchase:
- Turn on the toggle in the Limits section and specify the quantity.
- Configure the limit reset frequency. To do this, select a period from the drop-down list:
- Daily.
- Weekly.
- Monthly.
- Custom interval. The interval is calculated from the item’s display start date in the store.
- No regular refresh.
- Set up the reset schedule by specifying the parameters that correspond to the selected period.
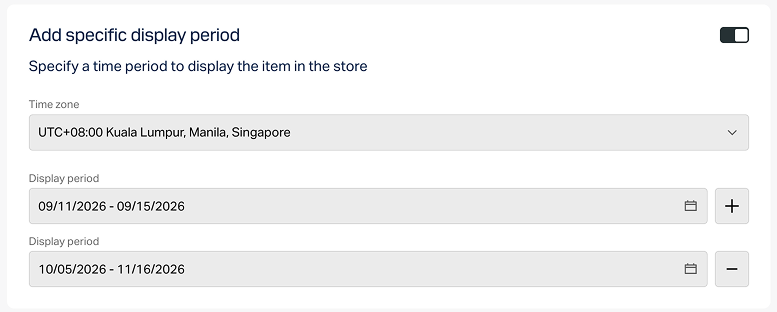
To configure a display time limit for the item (optional):
- Turn on the toggle in the Add specific display period section.
- Specify the time zone and the beginning and the end of the period.
To leave the end of the item’s display period unspecified, turn on the No end date toggle.
- Configure attributes using one of the following options (optional):
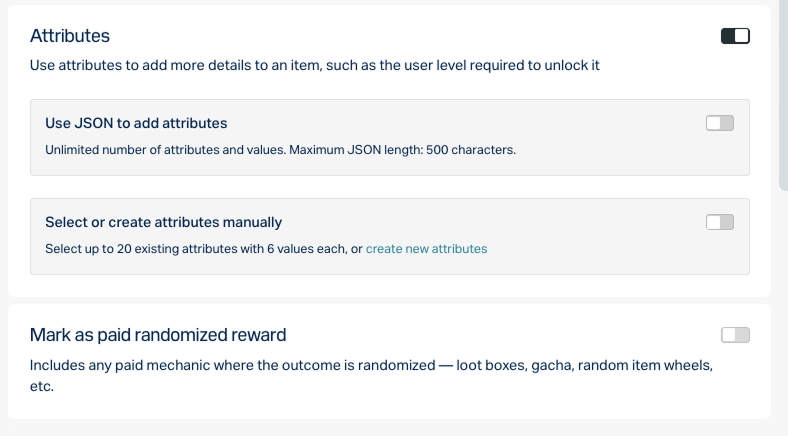
- If the paid item will be used in any mechanics with a random reward (e.g., loot boxes or gacha), enable the Mark as paid randomized reward toggle.
Click Create.
In the window that opens, select the item status and click Continue.
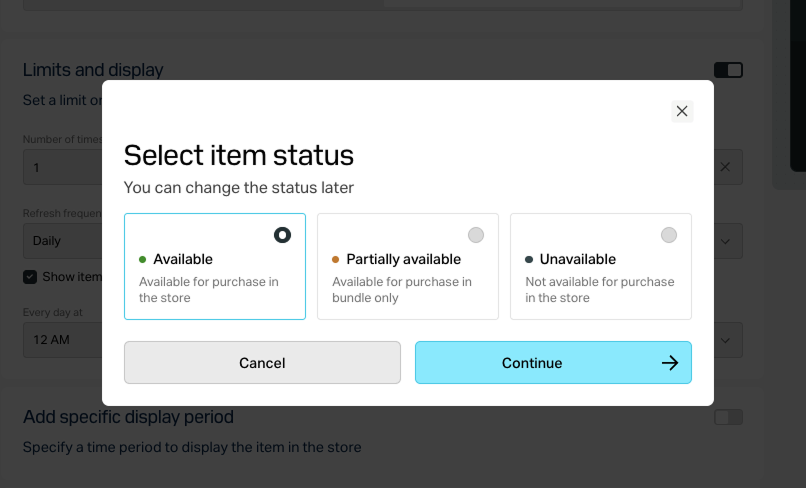
The created item will appear in the All items section.
Set up via API
To set up bundles, you can use the calls from the Admin subsection in the Bundles group.
To add a game key for a selected platform to a bundle, pass the
- json
1"content": [
2  {
3     "sku": "brilliant_game_sku_steam",
4     "quantity": 1
5  }
6]
To limit the number of bundles available for purchase, use the Create bundle or Update bundle API calls with the following parameters:
limits— specifies the maximum number of bundles available for purchase.limits.recurrent_schedule— defines how often the limit resets.
You can also configure the bundle’s display time limit in the store and set regional restrictions.
Display bundles in store
Bundles are displayed in the catalog depending on how it is implemented — through the site editor or via API.
Display via site editor
To display bundles on your website:
- Create bundles.
- In your project in Publisher Account, go to the Storefronts > Websites section.
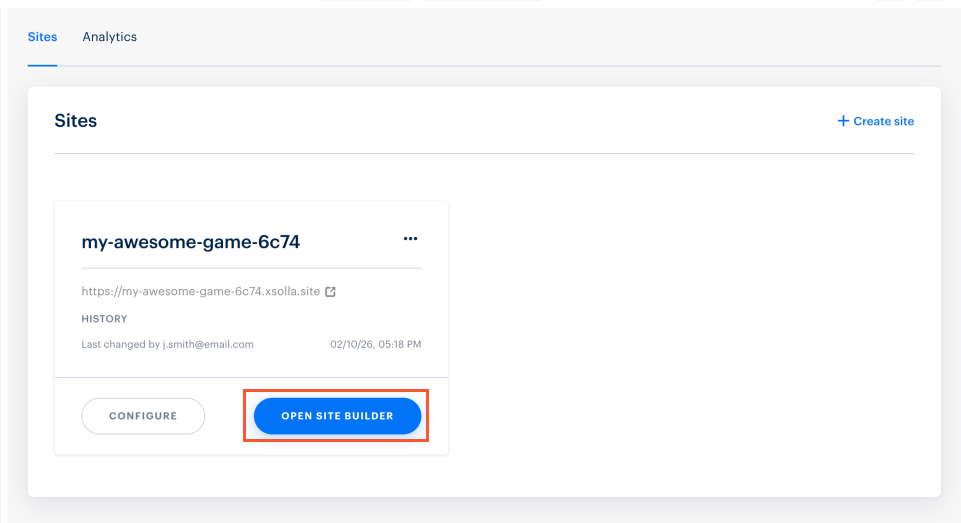
- In the pane of the desired site, click Open Site Builder.
- Create bundles.
- In the project in your account, go to the Storefronts > Websites section.
- In the pane of the desired site, click Open Site Builder.
- Create bundles.
- In the project in your account, go to the Storefronts > Websites section.
- In the pane of the desired site, click Open Site Builder.
- Create bundles.
- In the project in your account, go to the Storefronts > Websites section.
- In the pane of the desired site, click Open Site Builder.
- Create bundles.
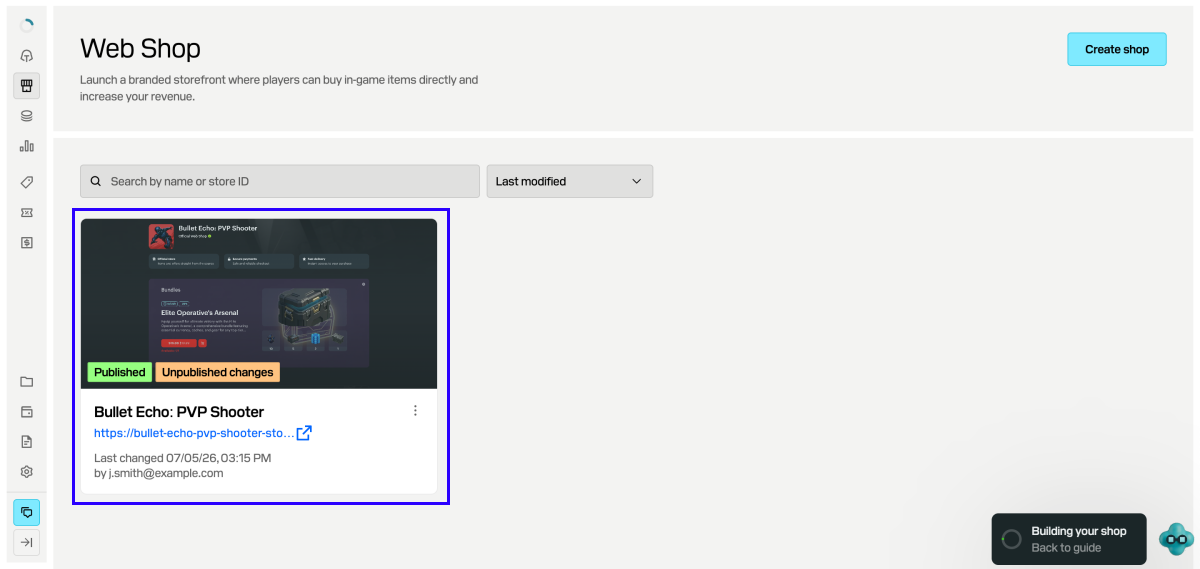
- In your project in the account for mobile games, go to the Web Shop section.
- Click the pane of the desired site.
- If your site includes multiple pages, select the one you need:
- Click the current page title at the top of the editor.
- Select the necessary page from the drop-down list.
- In the Store block, go to the Store section.
- In the Item type field, select Bundles.
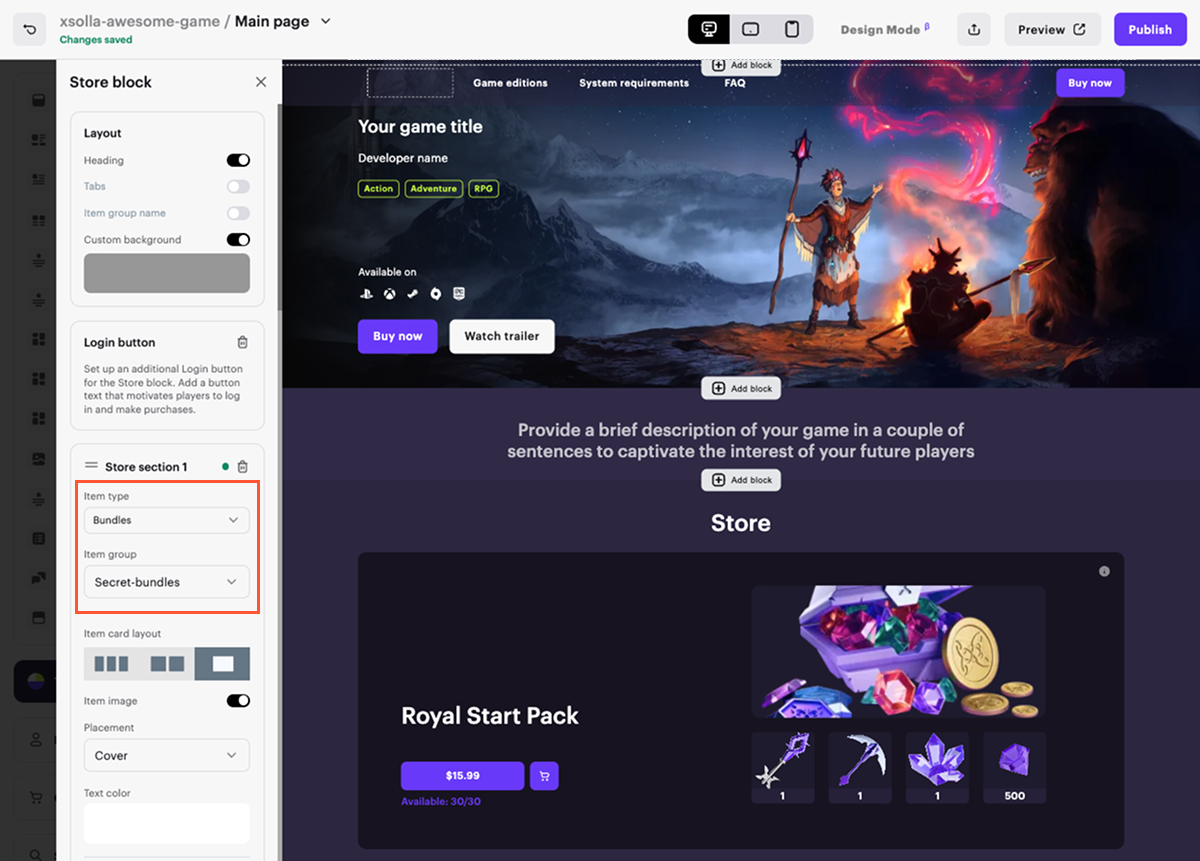
- In the Item group field, select their group.
- Choose an item card layout.
If needed, customize the card layout by turning on the corresponding toggles in the card layout settings.
After making all necessary changes and preparing your website for launch:
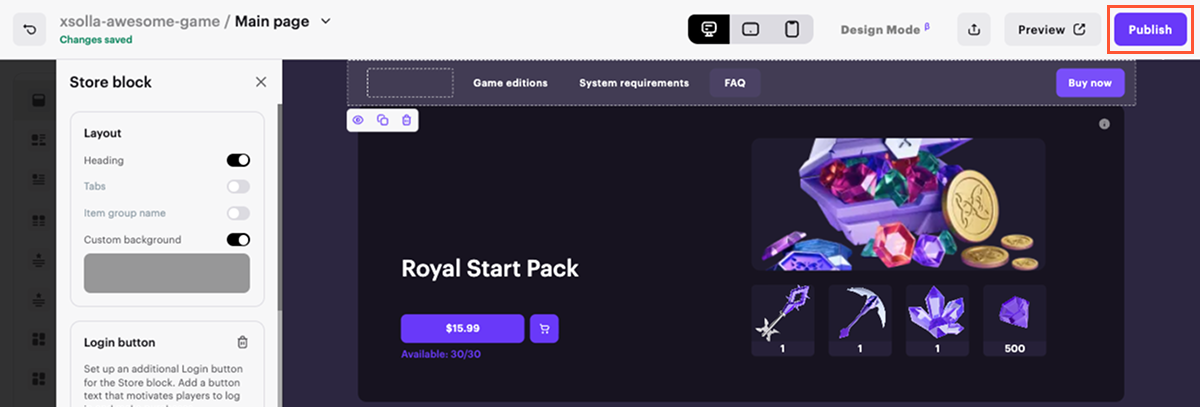
- In the upper-right corner of the site editor, click Publish.
- Check the boxes next to the pages you want to publish.
- Click Publish.
If website publication is not available, make sure all the conditions are met:
- There are no empty sections on the website (marked with a red indicator).
- The licensing agreement with Xsolla has been signed.
- The main page is published or selected for publication. You cannot publish child pages before the main page.
Once the site is published, a section with bundles will become available. If no bundles are displayed, check that their status is set to Available and that no time-based display limit is active.
Get bundle information via API
If your catalog is configured using API, bundle data is returned through the calls available in the Catalog subsection:
Set up webhooks
You can configure which item data is included in the Successful payment for order and Order cancellation webhooks via the items array.
Grant bundles to users
Depending on the item type and integration settings, the bundle is granted to the user in one of the following ways:
- If you’ve integrated PlayFab, virtual currency and items are granted to the user’s PlayFab inventory automatically.
- If you use a custom delivery system, all virtual items and currency are granted on your side. We recommend setting up a webhook handler to receive order data on your backend. The necessary data is included in the Successful payment for order webhook.
- If bundle content delivery is not disabled, after a bundle purchase, all items included in the bundle are listed in the items array of the Successful payment for order webhook as separate items. If a bundle contains another bundle, it will also be unpacked and passed as separate items.
Refer to the Set up order status tracking section for more details on this and other methods of retrieving purchase data.
Found a typo or other text error? Select the text and press Ctrl+Enter.
