Xsolla Login widget
Xsolla Login widget allows you to integrate a ready-made interface for user authentication into your project and reduce the cost of development for code and UI.
Restrictions:
- The widget is only supported on builds for mobile platforms.
- The widget only supports the following user authentication methods:
- classic login via username/email and password
- passwordless login via a one-time code or link sent via SMS or email
- web-based authentication via social networks
Set up redirecting users to the application after successful authentication using the widget:
- Open your project in Publisher Account.
- In the side menu, click Players > Login.
- Select the Login project and click Configure.
- Select the Callback URLs section.
- In the Callback URL field, specify the same user redirect paths that you specified earlier when configuring the OAuth 2.0 client.
- Click Save changes.
Set up redirecting users to the application after successful authentication using the widget:
- Open the project in your account.
- In the side menu, click Players > Login.
- Select the Login project and click Configure.
- Select the Callback URLs section.
- In the Callback URL field, specify the same user redirect paths that you specified earlier when configuring the OAuth 2.0 client.
- Click Save changes.
Set up redirecting users to the application after successful authentication using the widget:
- Open the project in your account.
- In the side menu, click Players > Login.
- Select the Login project and click Configure.
- Select the Callback URLs section.
- In the Callback URL field, specify the same user redirect paths that you specified earlier when configuring the OAuth 2.0 client.
- Click Save changes.
Set up redirecting users to the application after successful authentication using the widget:
- Open the project in your account.
- In the side menu, click Players > Login.
- Select the Login project and click Configure.
- Select the Callback URLs section.
- In the Callback URL field, specify the same user redirect paths that you specified earlier when configuring the OAuth 2.0 client.
- Click Save changes.
Set up redirecting users to the application after successful authentication using the widget:
- Open the project in your account for mobile games.
- In the side menu, click Other tools > Login.
- Select the Login project and click Configure.
- Select the Callback URLs section.
- In the Callback URL field, specify the same user redirect paths that you specified earlier when configuring the OAuth 2.0 client.
- Click Save changes.
- Connect native Xsolla SDK for Android or iOS to your project.
- Start authorization and processing of its results:
- Implement a UI for user authentication in your application (for example, a Login button).
- In accordance with the logic of the application, implement a call of the
authWithXsollaWidgetnative method.
Example of starting authentication using the widget:
- typescript
1NativeUtil.authWithXsollaWidget();
- On the Cocos Creator side, subscribe to the successful authentication event. This event is generated at the scene level by the native Activity that handles the authorization result. Once aythentication is successful, call thehandler method that takes an object with the user’s token. This object can be used to continue working with the Xsolla API.
- Subscribe to authentication error and authentication cancellation events with a call to the corresponding handler methods.
Subscription example:
- typescript
1director.getScene().on(Events.XSOLLA_WIDGET_AUTH_SUCCESS, this.handleSuccessfulXsollaWidgetAuth, this );
2director.getScene().on(Events.XSOLLA_WIDGET_AUTH_ERROR, this.handleErrorXsollaWidgetAuth, this );
3director.getScene().on(Events.XSOLLA_WIDGET_AUTH_CANCELED, this.handleCancelXsollaWidgetAuth, this );
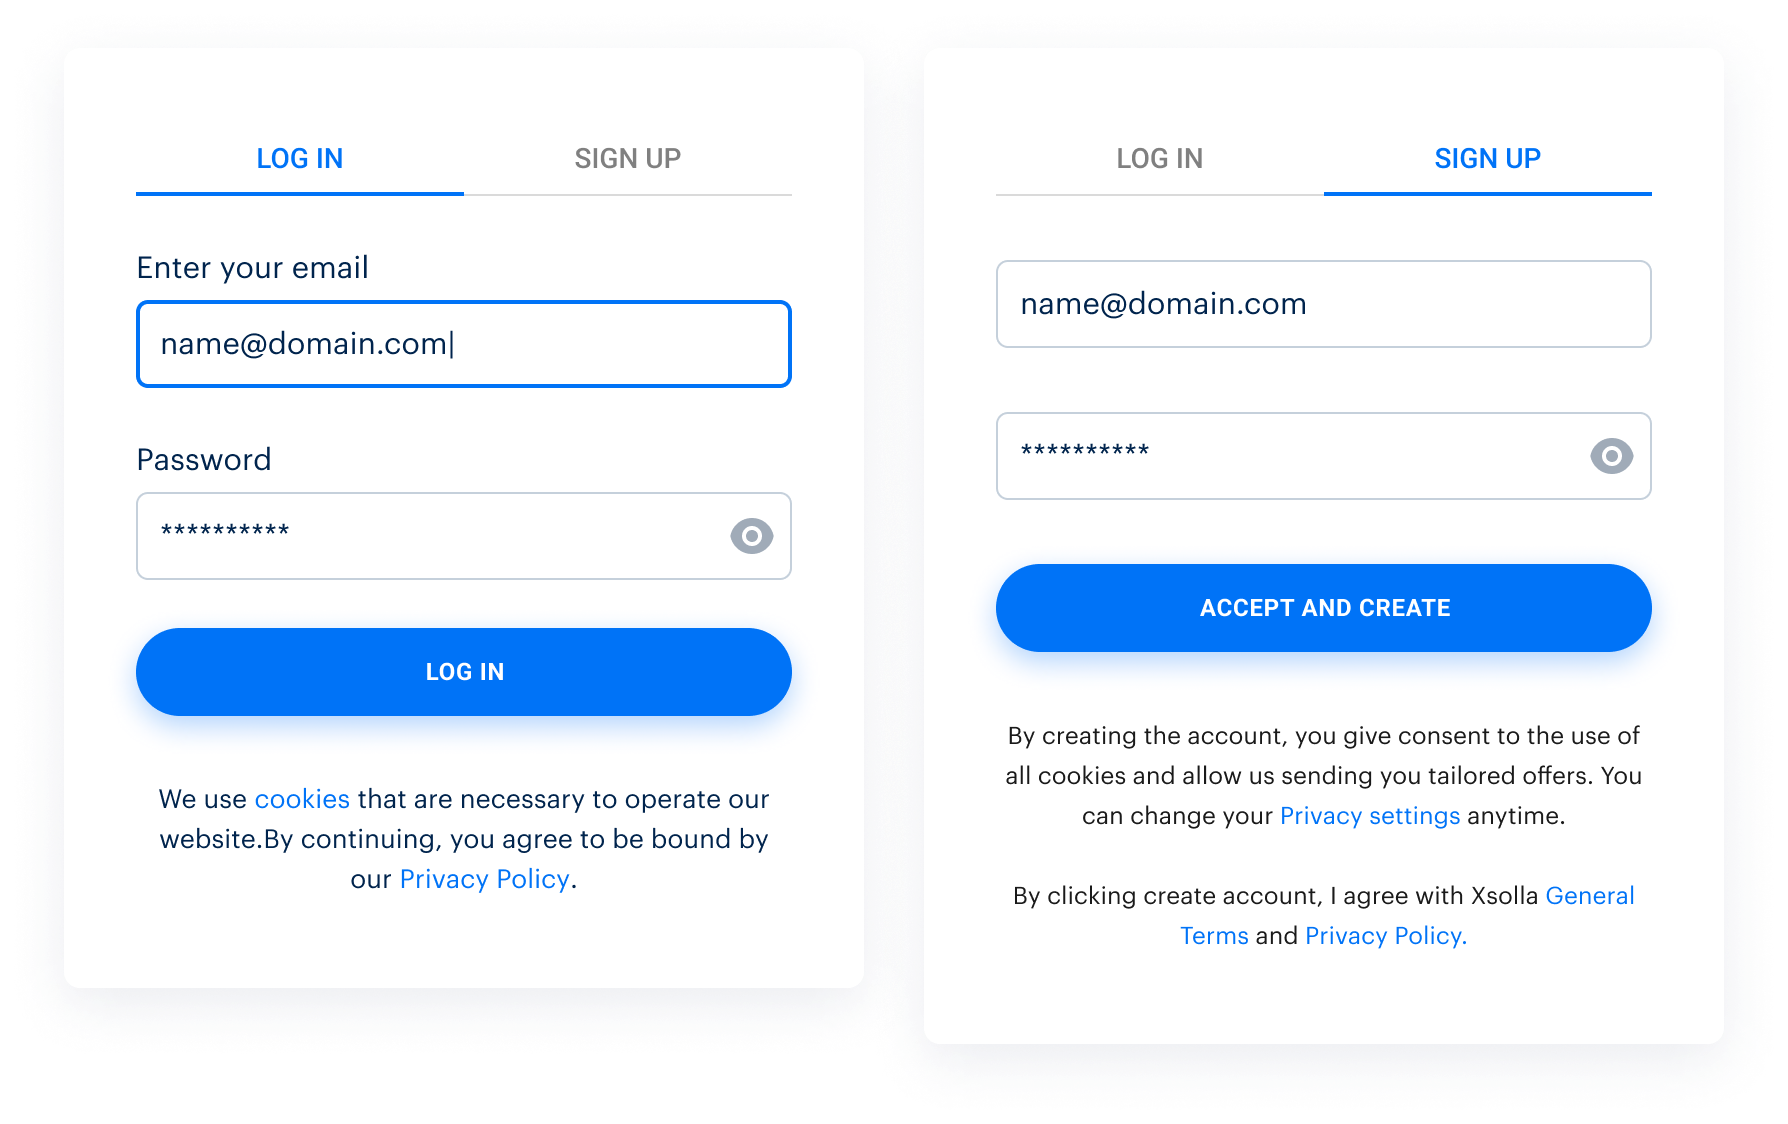
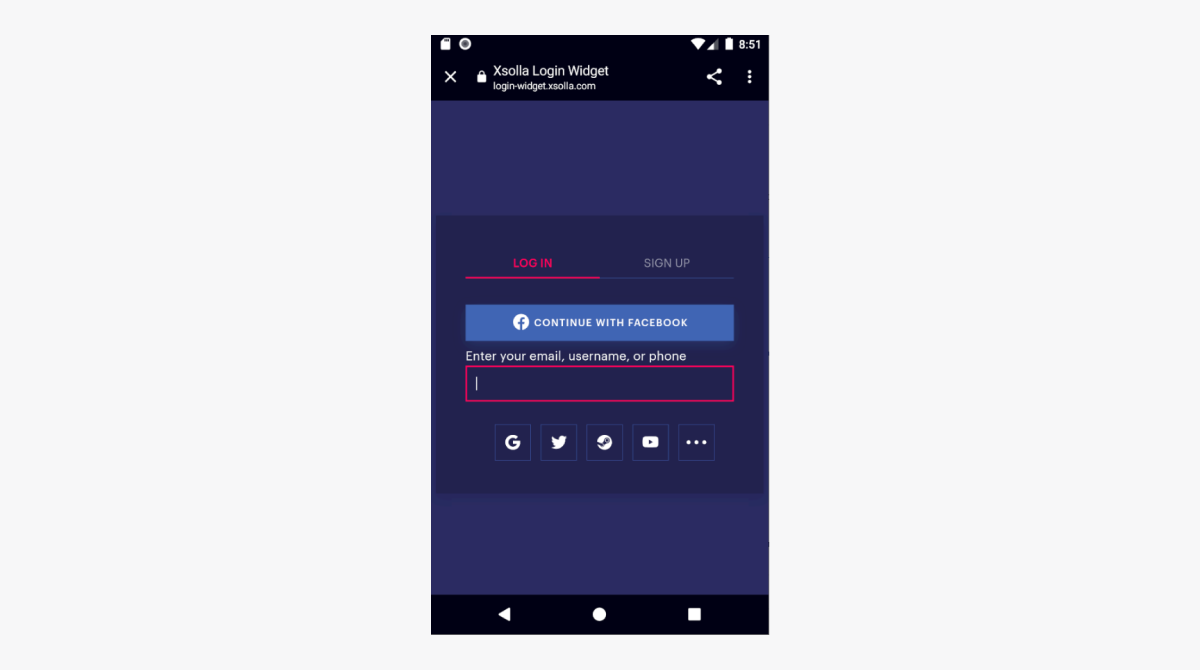
Demo project widget view for several Login methods:
Useful links
Last updated: September 7, 2026Found a typo or other text error? Select the text and press Ctrl+Enter.
