
Set up basic Login project
- Open your project in Publisher Account.
- Click Connect in the Login pane or select Login in the side menu.
- Click Create Login project.
- Select Standard Login project and click Create and set up. Wait until your new Login project is created. Then you will see the project settings navigation page.
- In the Login methods block on the navigation page, select the method that suits your game best and click Configure.
- The Login product offers three options for your games:
- Classic login
Users log into the game by providing their username and password. In addition, users can log in using one of their social networks. - Passwordless login
Users log into the game using one-time codes or links sent to their email address or phone number. Login via social networks is also supported. - Social login
Users enter the game only through social networks.
- Classic login
- In the top settings block on the navigation page, click Callback URLs and set the following parameters:
- Callback URL — the URL or path in the application to which users are redirected after they have successfully authenticated, confirmed their email, or reset their password. You can specify multiple valid URLs.
- Error callback URL — the URL or path in the application to which users are redirected in case of an authentication error. If no value is specified, the Callback URL value will be used.
- Click Save changes.
- Set up a social login (optional):
- Click the name of your Login project in breadcrumb navigation to return to the navigation page.
- Go to the Authentication block and select the Social login section.
- Connect social networks that users will be able to use to sign up and log into the application:
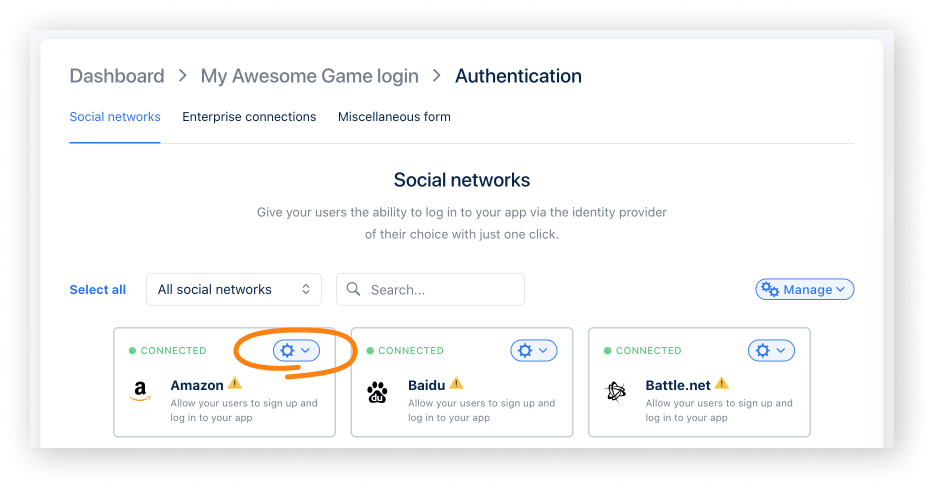
- To connect the desired social network, click the ⚙ icon and select Connect.
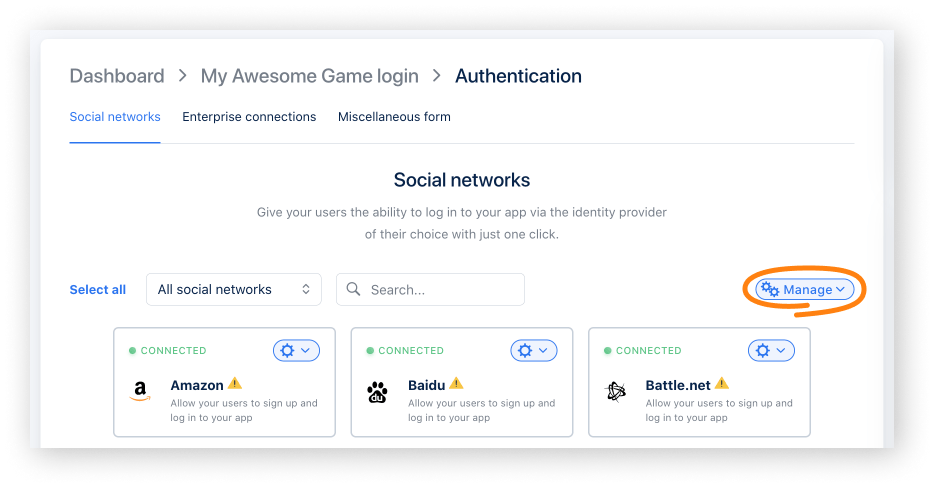
- To connect several social networks at once, select the required panes (their borders will turn green). Then, from the Manage drop-down menu, select Connect.
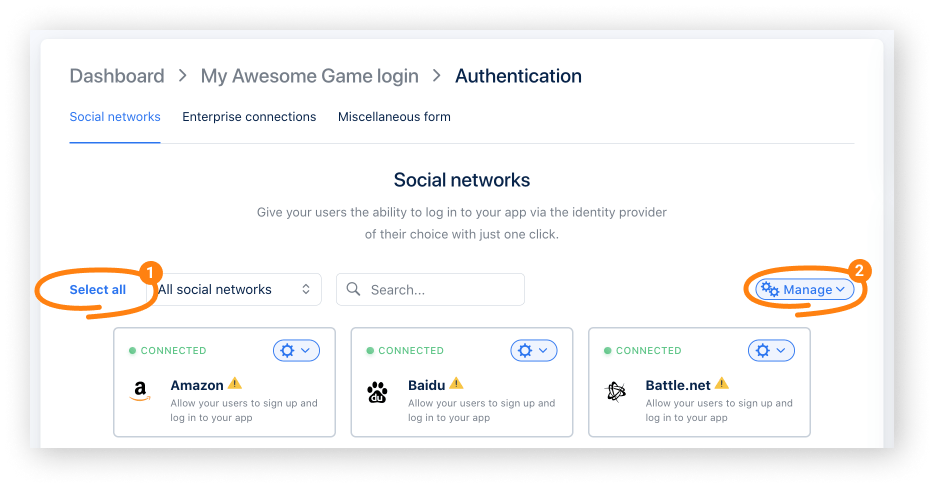
- To connect all available social networks at once, click Select all. Then, from the Manage drop-down menu, select Connect.
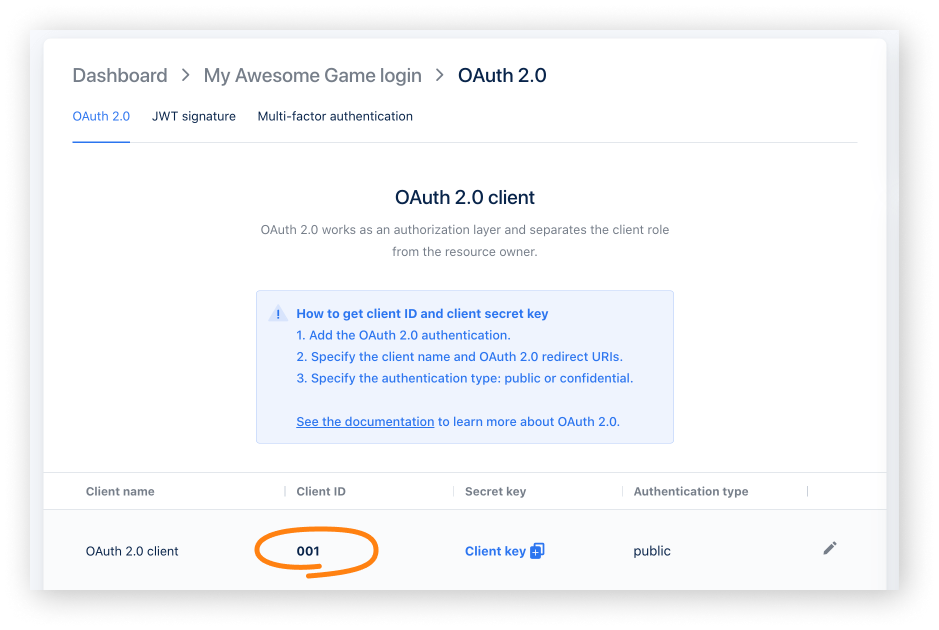
- Set up OAuth 2.0 authentication:
- Click the name of your Login project in breadcrumb navigation to return to the navigation page.
- Go to the Security block and select the OAuth 2.0 section.
- Click Add OAuth 2.0.
- Specify OAuth 2.0 redirect URIs and click Connect.
- Copy and save the Client ID.
- Change the user data storage (optional). By default, user data is stored and processed on the Xsolla’s side. If you want to connect PlayFab, Firebase, or your own custom storage, follow the instructions: Connect user data storage.
During the integration process, you will need the following parameters:
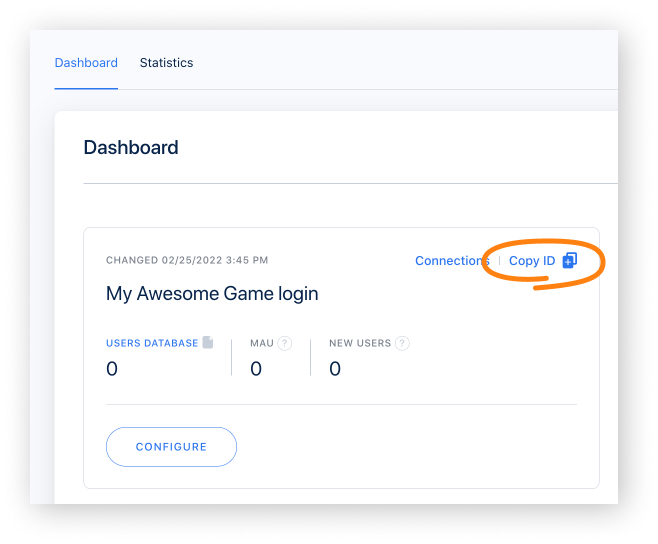
- Login ID. To get it, open Publisher Account, go to the Login > Dashboard section, and click Copy ID beside the name of the Login project.
- Client ID. It can be found in Publisher Account in the Login > your Login project > Security > OAuth 2.0 section.
Was this article helpful?
Thank you for your feedback!
We’ll review your message and use it to help us improve your experience.Found a typo or other text error? Select the text and press Ctrl+Enter.
