Set up subscription sales
Web Shop supports selling subscriptions directly via the web interface, without needing to set them up in app stores. This allows you to gain control over the subscription terms, integrate regional payment systems, and reduce costs related to third-party platform restrictions and fees.
Xsolla provides all the tools you need to configure and manage subscriptions — both for you and your users:
- On your side, subscription management is available in Publisher Account. You can create and configure plans for each currency, set trial periods, configure grace periods, view subscribed users, and change subscription statuses for specific users, and more.
- Users can manage their subscriptions in Web Shop. If a user is signed in, the Manage plan button appears for their active subscriptions. Clicking on the button opens a subscription management interface where the user can, for example, view subscription details, renew or cancel subscription.
How to get it
To add subscription sales to the Web Shop:
- Set up subscription sales on your site.
- Implement retrieving information about subscriptions purchased by the user in your application.
Set up subscription sales on your site
To add subscription sales, you need to add a button to your site and configure the Purchase subscription action for it. You can use customizable buttons in the Header, Card grid, and Game editions blocks.
We recommend using the Cards grid block for subscription sales — it offers extensive customization options for both the cards themselves and their layout.
To make subscriptions available for purchase in Web Shop:
- Open your project in Publisher Account and go to the Storefronts > Websites section.
- Select your site and click Open Site Builder.
- In the main area of the builder, choose a place where you want to add a new block and click Add block.
- Add the Card grid block and set it up. For example, specify a title, set a background, and add texts.
- In the main area of the builder, configure the card grid:
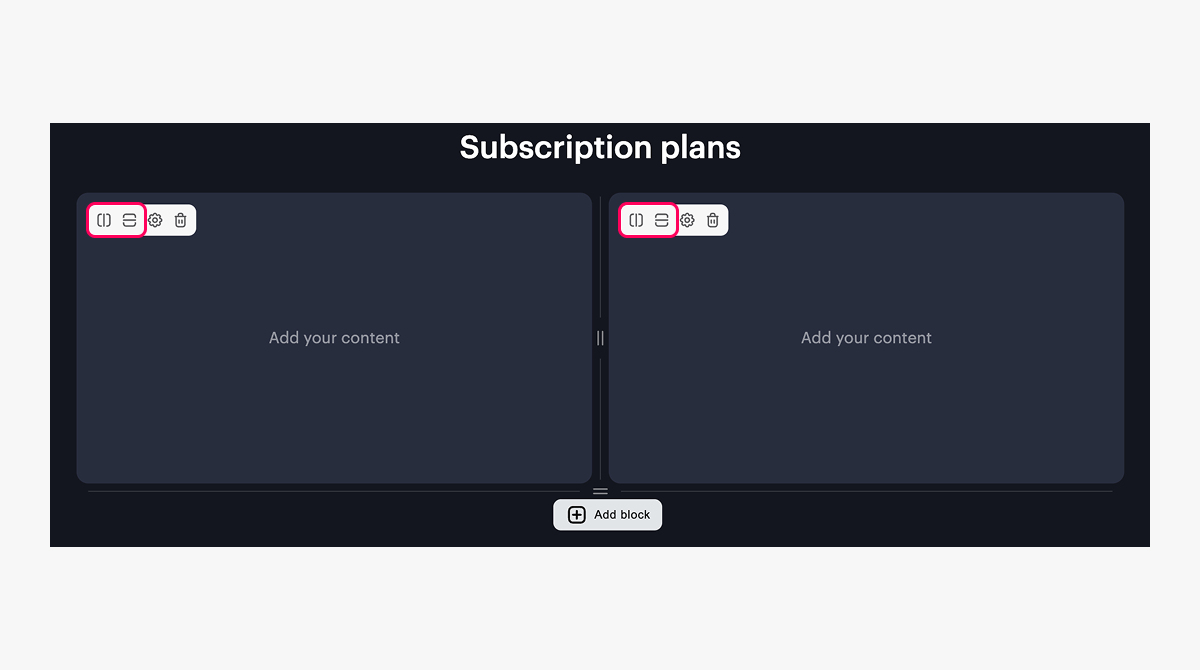
- To split any grid area vertically or horizontally, click the icon with a vertical or horizontal line in the upper-left corner of the area.
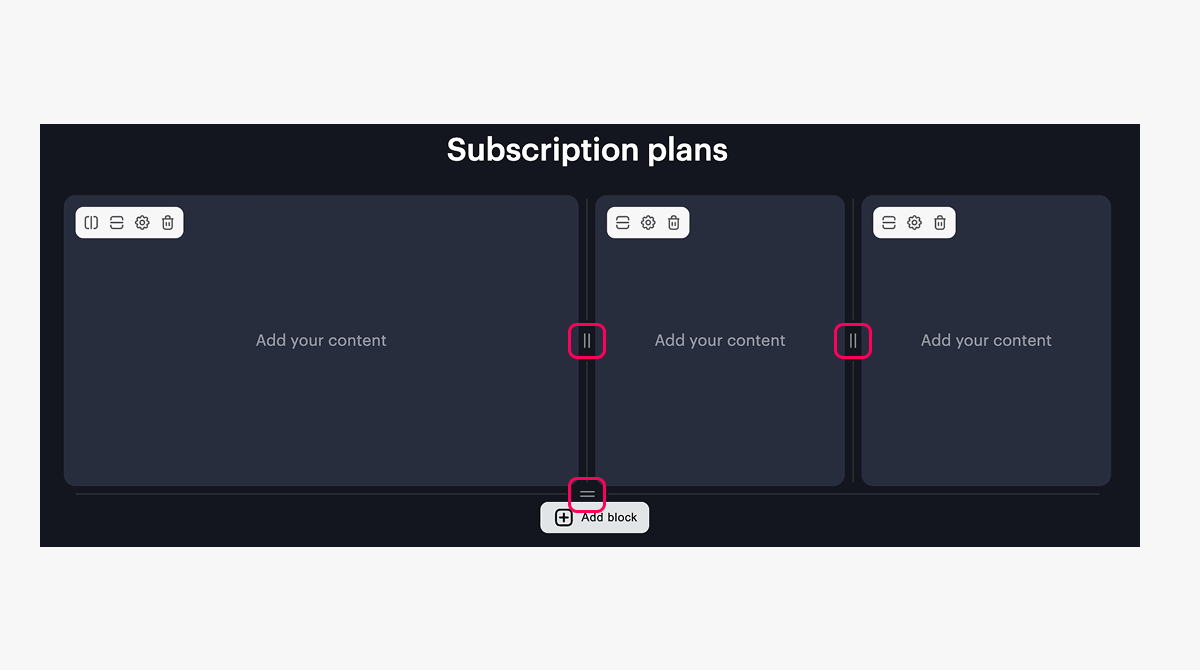
- To set the height or width of an area, drag the ║ or ═ icon.
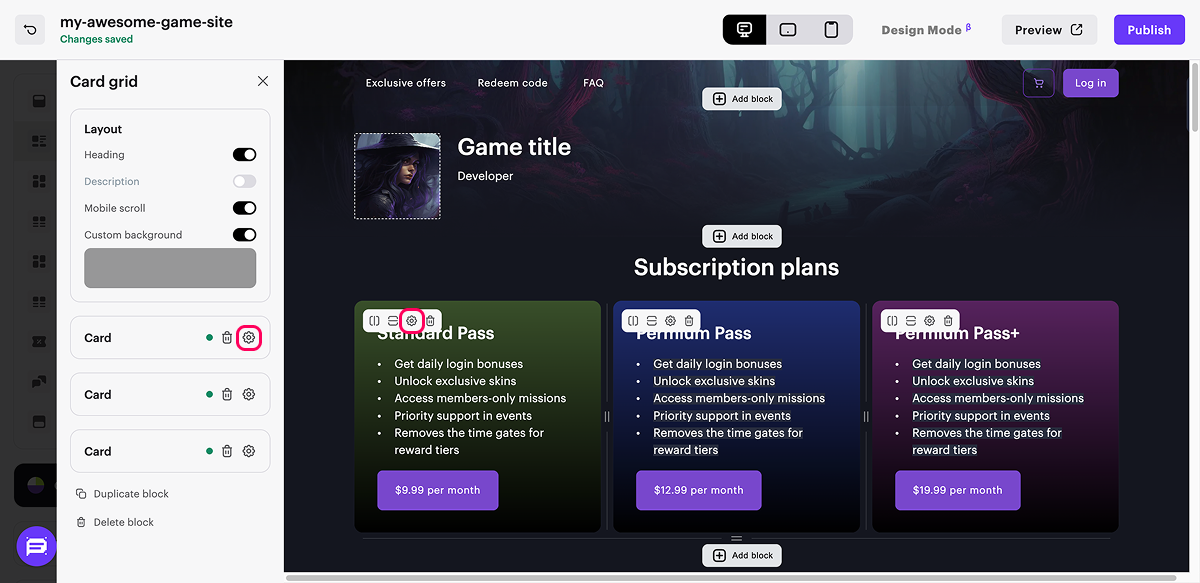
- Go to the card settings. To do this, click the ⚙ icon.
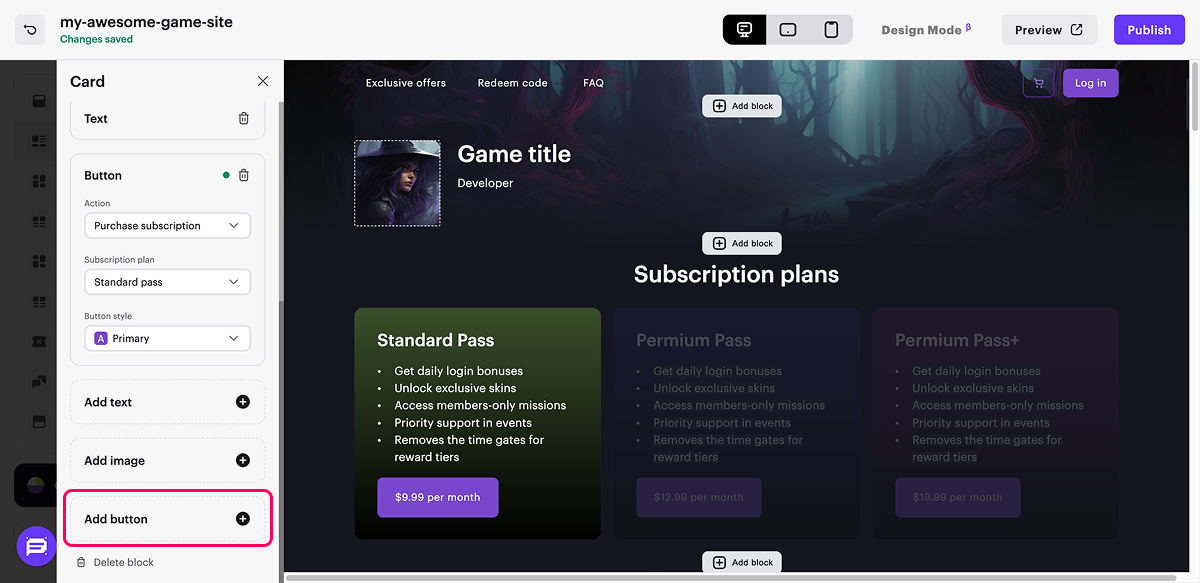
- Add a subscription purchase button to the card:
- Click Add button.
- In the Action drop-down list, select Purchase subscription.
- In the Subscription plan drop-down list, select the plan you created earlier.
The list displays only subscriptions with the Regular plan type.
If the plan you need is not in the list, click Add new plan and set up a subscription plan in Publisher Account.
- Change the button style (optional).
- Customize the subscription purchase button text (optional):
- In the main area of the builder, click on the button text.
- Enter the desired text. By default, the button displays the subscription price or the number of trial days if a trial period is set in the selected subscription plan. When editing the text, you can also include the subscription price or trial period using the following variables:
{priceDefault}— base price. If there's a discount, this value will be struck through.- Example of text display on the site:
- $0.09 per month — if the subscription is not discounted.
$0.09per month — if the subscription is discounted.
{pricePromo}— final subscription price with discount.{trial}— number of trial days.
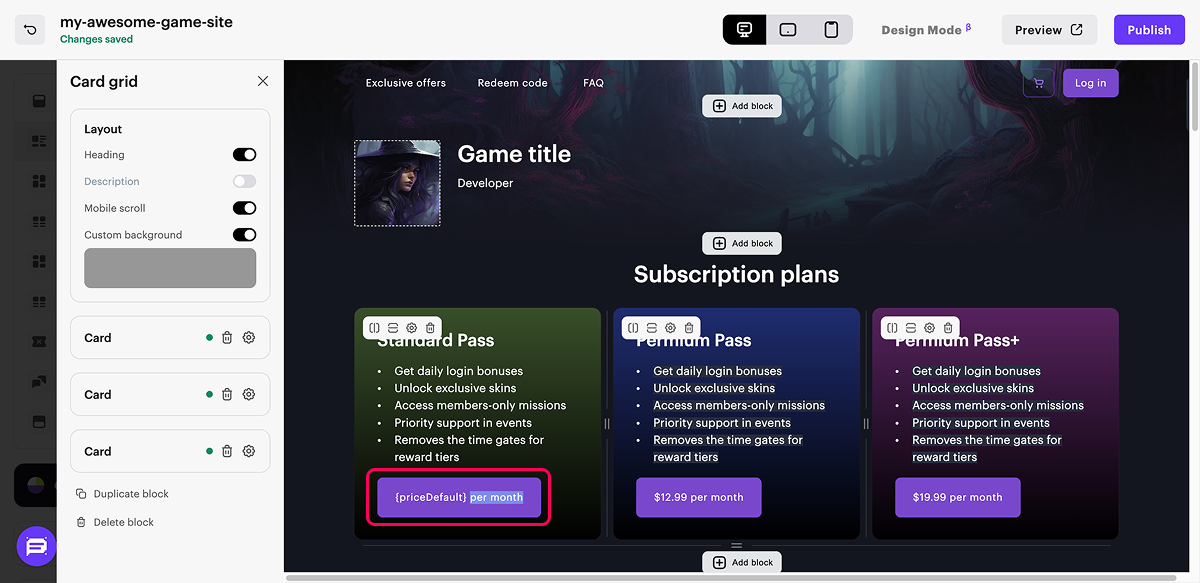
By default, the text is determined automatically by these rules:
{trial} day(s) for free— if the subscription has a trial period.{priceDefault} {pricePromo} per month— if the subscription doesn’t have a trial period, but is discounted.{priceDefault} per month— if the subscription doesn’t have a trial period and is not discounted.Manage plan— if the current authorized user has an active subscription. This text can’t be changed in the builder and will be displayed even if you manually set custom text for the button.
To restore default text, click on the button text, delete the custom text and unfocus the button.
- Configure other card settings. For example, add text, images, and background.
- Configure other cards in the grid.
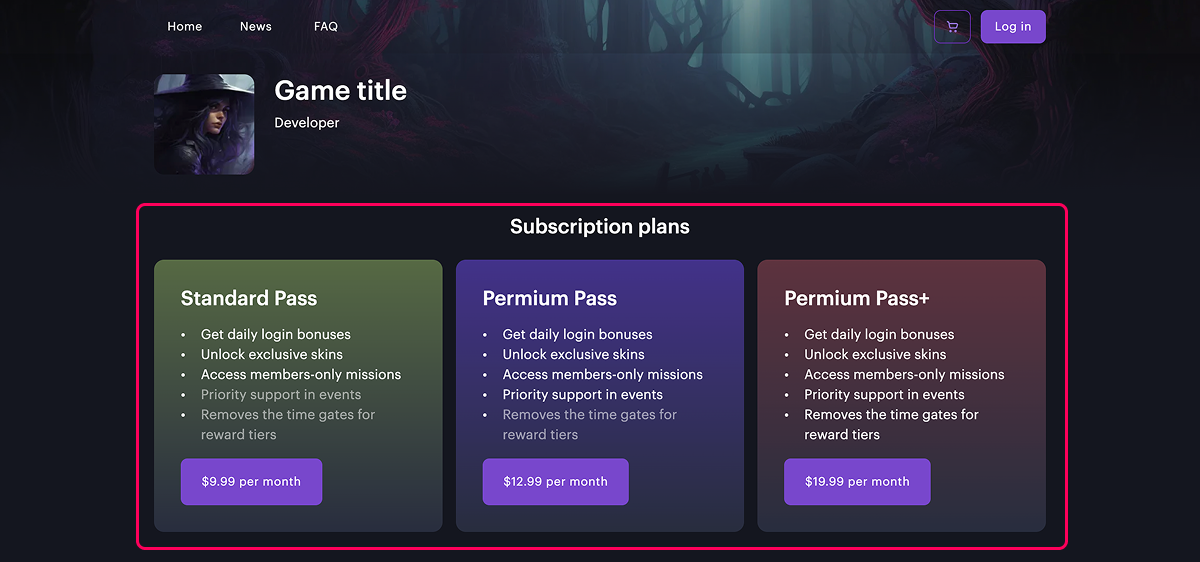
- To make your site publicly available, publish it:
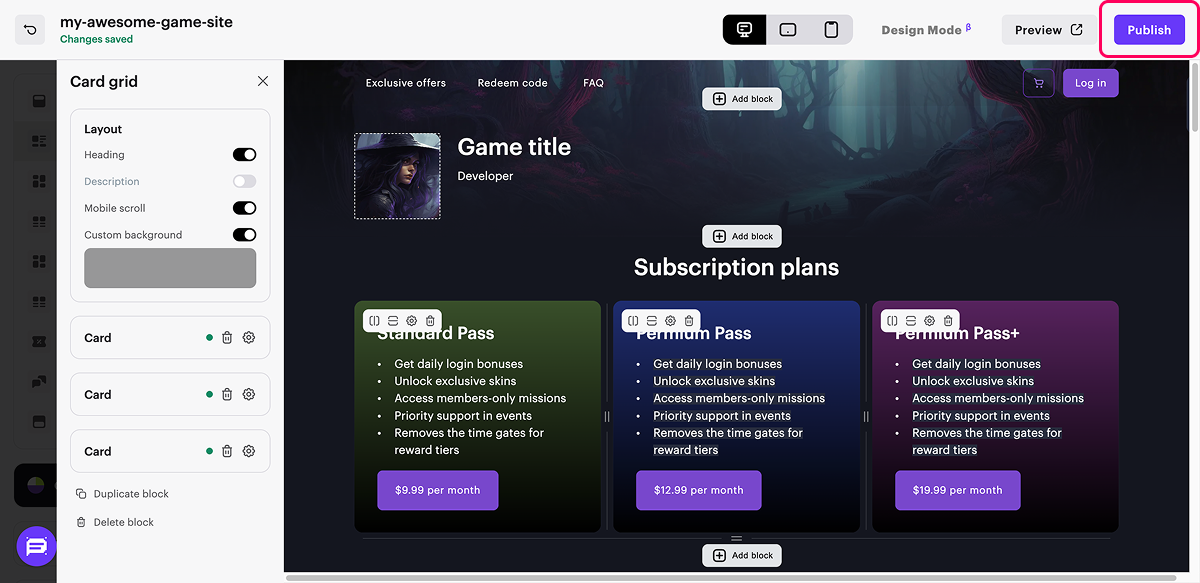
- In the upper-right corner of the site builder, click Publish.
- Check the boxes next to the pages you want to publish.
- Confirm that the website is ready for publishing, and click Publish.
If website publication isn’t available, make sure all the conditions are met:
- There are no empty sections on the website (marked with a red indicator).
- The licensing agreement with Xsolla has been signed.
- The main page is published or selected for publication. You can’t publish child pages before the main one.
Useful links
Found a typo or other text error? Select the text and press Ctrl+Enter.
