How to create event page for time-limited campaigns
Overview
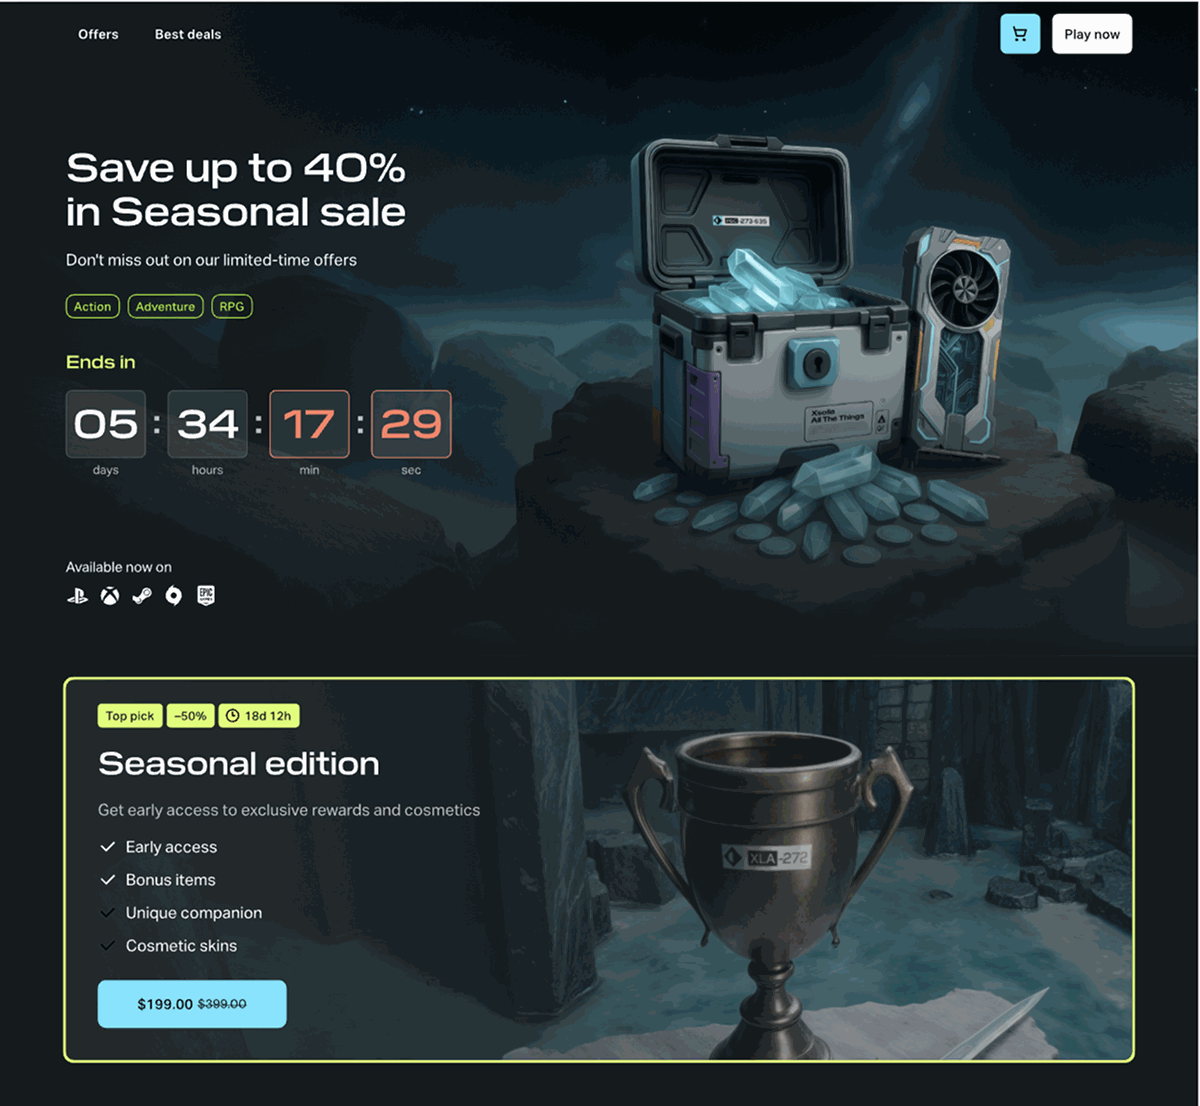
The Event page template lets you create a dedicated page for a time-limited campaign — a seasonal sale, a battle pass launch, an in-game event, a game release, or a pre-order window. A dedicated page keeps the user focused on a single offer, adds urgency with a countdown timer, and gives you a direct link for ads, social posts, emails, and in-game banners.
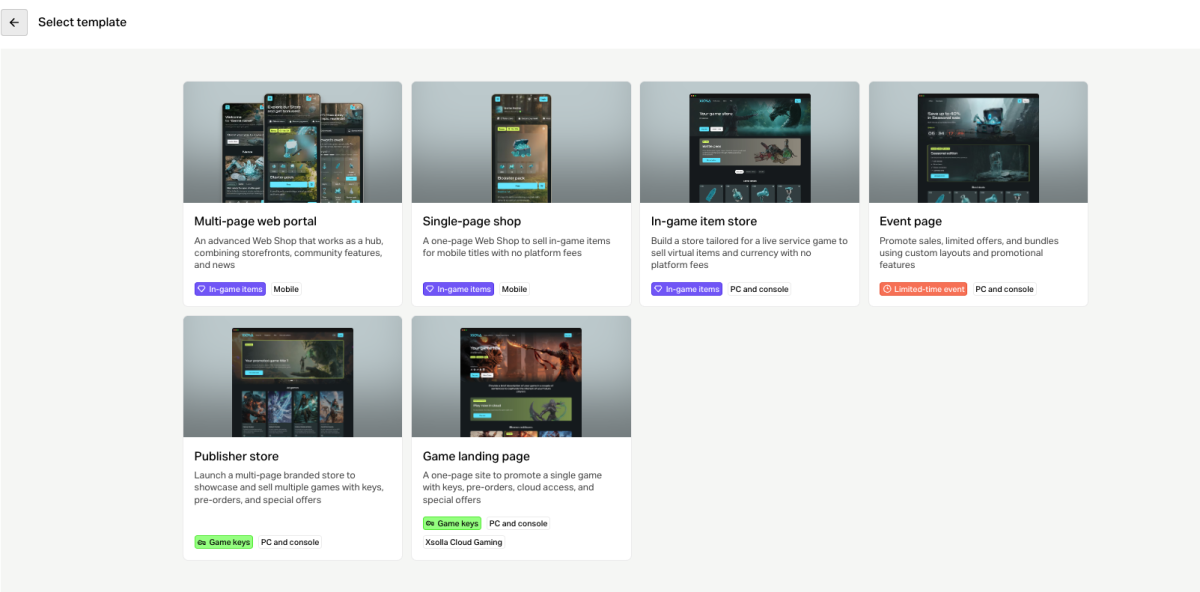
The Event page template in the site builder gives you a ready-made, no-code layout for such campaigns. You can add it as an extra page to an existing store, or create a standalone single-page site for a one-off campaign.
Key features:
- A campaign-focused layout: a lead block with a countdown timer, an offer showcase, and a store section with the items included in the campaign.
- A countdown timer that can be linked to an existing promotion in your account. When the promotion ends, the timer shows a closing message instead of the counter.
- The same catalog, cart, authentication, and payment UI as the rest of your site — a user can add items to the cart and check out without leaving the page.
- Your existing theme is applied automatically, so the page matches your store without extra design work.
Who can use it
Use the Event page template if you:
- sell an offer that expires — a seasonal sale, a launch discount, a pre-order window, or a limited bundle — and want the deadline to drive the decision
- run recurring campaigns for virtual items, virtual currency, or bundles in a free-to-play game and need a page you can reuse for each one
- launch a battle pass, a season, or an in-game event and want to present it as an exclusive, time-boxed opportunity
- sell game keys and need a landing page for a release, a pre-order window, or a discount campaign
- drive paid or organic traffic to a single offer instead of the store home page, where the campaign competes with the rest of the catalog
How it works
You can create an event page in two ways:
- Add a page to an existing site. Use this option if you already have a store or a game site. The new page shares the domain, authentication, cart, and global theme with the other pages of the site.
- Create a standalone site. Use this option if you need a separate landing page, for example, for a single sale that you promote via ads. A new single-page site is created based on the Event page template, with its own domain, authentication, and cart.
Integration flow
- Complete the prerequisites.
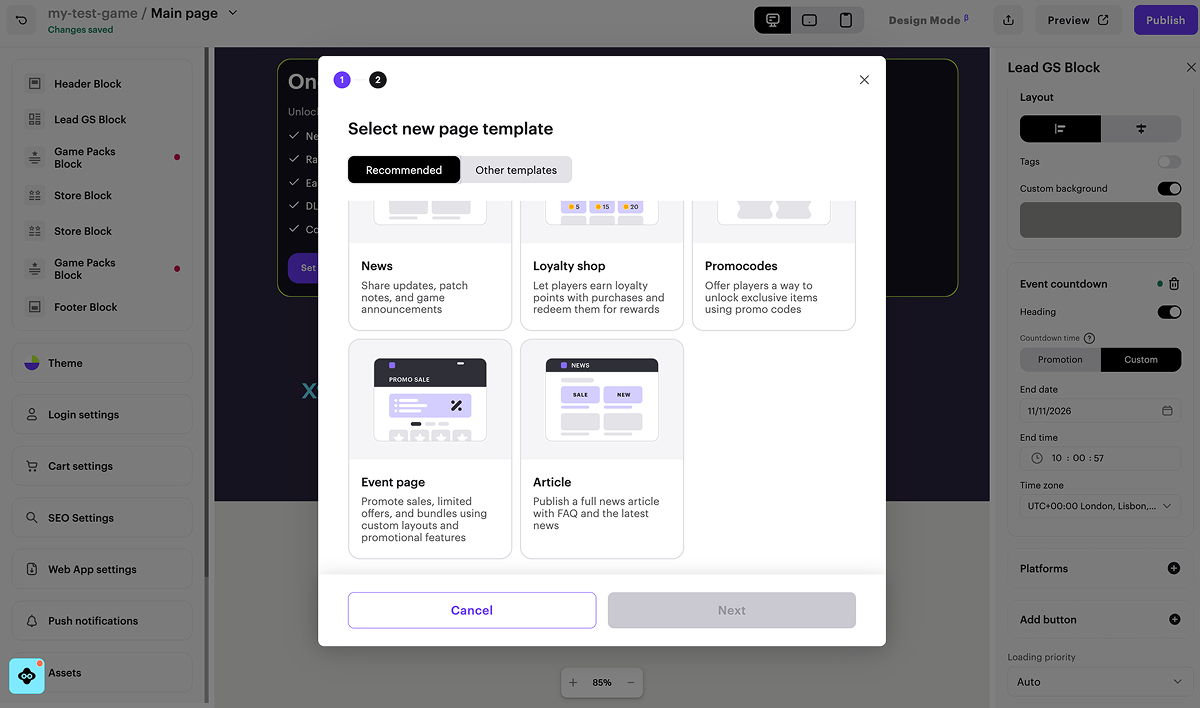
- Create the event page — as a page in an existing site or as a new site.
- Set up the countdown timer in the Lead block.
- Configure page blocks.
- Adjust the theme, cart, and SEO settings.
- Test the page in sandbox mode.
- Publish the page.
Prerequisites
Before you create an event page:
- Create a project.
- Sign the licensing agreement with Xsolla and pass the tax interview. You can do this at any integration step, but publication is not available until the agreement is signed. The review can take up to 3 business days, but completing the review within that period does not guarantee full approval of the application.
- Add the items you plan to sell during the campaign to your catalog:
- for virtual goods — virtual items, virtual currency, and bundles
- for game keys — game key packages and bundles with game keys
- Set up a promotion for the campaign, if applicable — a discount, a bonus, a coupon, or a promo code. If you set up the promotion before creating the event page, you can link the countdown timer to the promotion instead of specifying an end date manually.
summer-sale. You can then add all campaign items to the event page at once and reuse the group for future campaigns.Create event page
Set up countdown timer
The countdown timer is part of the Lead block at the top of the page. It shows the user how much time is left before the campaign ends.
The timer is not part of the Lead block by default. On a page created from the Event page template, it is added automatically. On any other page, add it manually — the timer is available in the Lead block on all pages, not only on event pages.
To add a countdown timer:
- In the site builder, select the Lead block.
- In the side menu, click Event countdown.
- Select how the end date is defined — the Promotion or Custom tab:
Promotion
Selected by default. Reuses the end date of an existing promotion. This is the recommended option, because if you change the promotion schedule, the timer follows it automatically.
- From the drop-down list, select the promotion behind your campaign. The list contains discounts, bonuses, coupons, and promo codes of the project.
- The timer starts counting down to the end of the selected promotion.
Custom
Lets you set the end date by hand. Use this option if the campaign is not tied to a promotion, for example, a game release date or an event announced only in the game.
Specify the Date, Time, and Time zone of the campaign end.
- Configure the timer texts and states. You can edit the texts of the timer before publishing. The state selector appears in the Lead block once the timer is added, and lets you switch between two states:
- Ongoing promotion. Edit the timer heading, the text above the counter, for example,
Ends afterorSale ends in. - Ended promotion. Edit the heading and the text shown in place of the counter, for example,
The sale has ended.
- Ongoing promotion. Edit the timer heading, the text above the counter, for example,
To hide the text above the counter, set the Description toggle in the timer settings to Off.
Configure page blocks
Once the timer is set, configure the rest of the blocks on the page: the Lead block that presents the campaign, the Seasonal edition block that highlights the headline offer, and the Store block that displays the items on offer.
Lead block
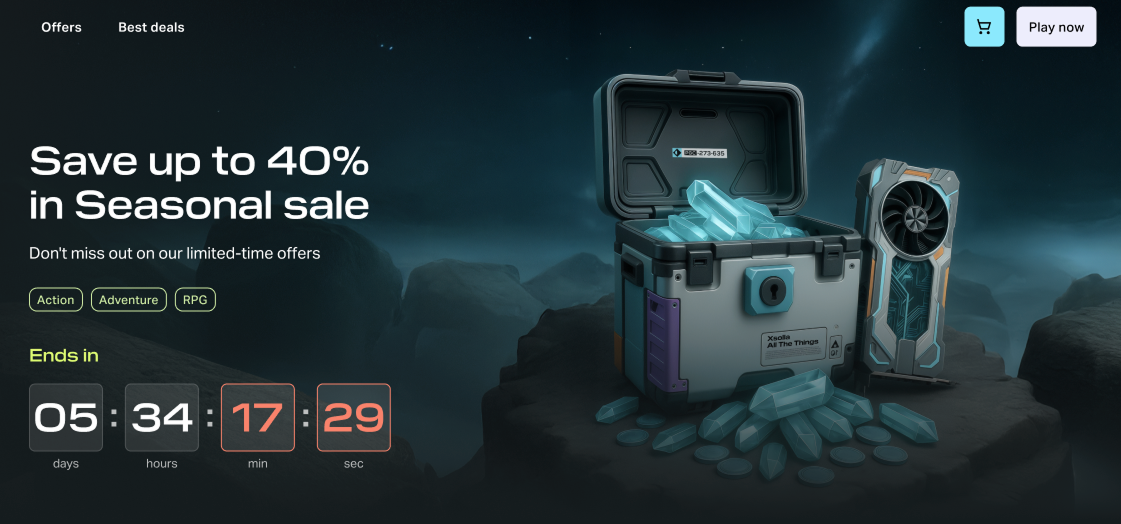
The Lead block introduces the campaign to the user. To configure it:
- Add the campaign name and a short description that explains the offer in one line.
- Upload a background image for the campaign. Keep the file size reasonable — large images slow the page down, which matters most for traffic coming from ads.
- Add tags and the platforms the game is available on, if relevant.
- Edit the default buttons or add new ones. A button can scroll the user to the store section of the page, open another page of the site, initiate a purchase or open an external link.
Seasonal edition block
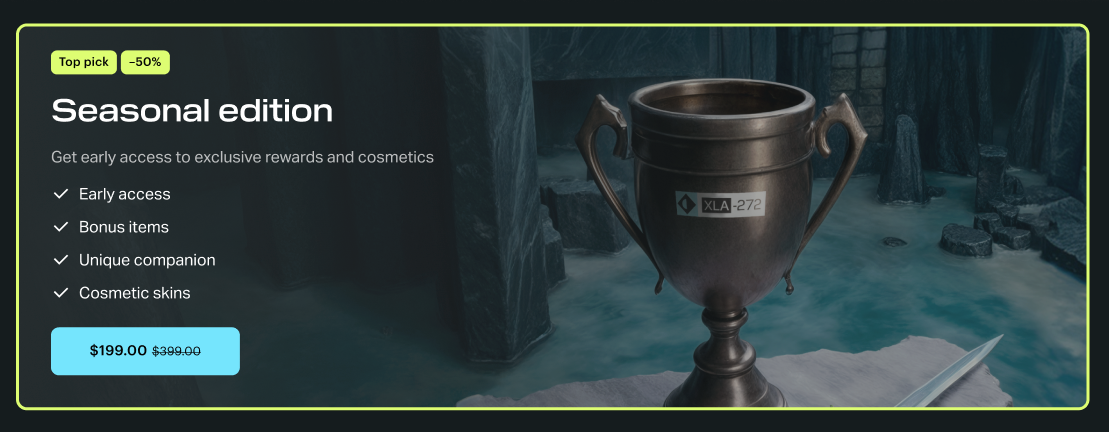
Below the Lead block, the Seasonal edition block presents the headline offer of your campaign, for example, a battle pass or the best-value bundle. Use it to highlight one item before the user scrolls to the full catalog.
To configure it:
- Select the Seasonal edition block.
- Add a badge, for example,
Top pick,Best value, orLimited edition. - Add the offer name and a one-line description.
- Fill in the list of what the offer includes, for example, early access, bonus items, or cosmetics. Add or remove list items as needed.
- Set up the purchase button. Select the item to sell and, if needed, adjust the button style.
- Upload a custom background for the card.
Store block
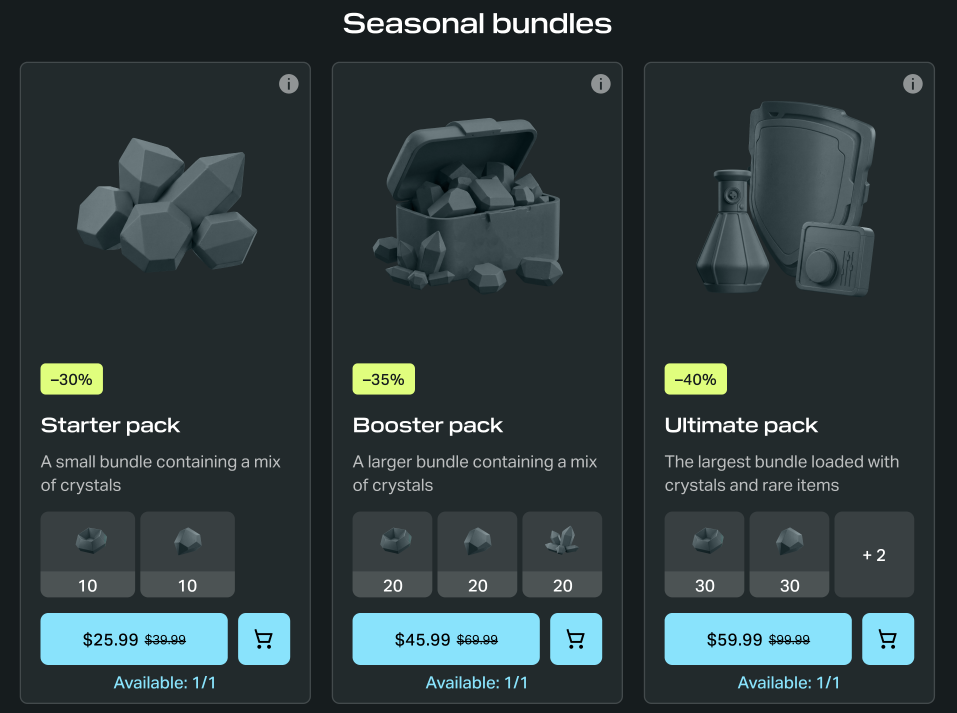
The Store block displays the items available for purchase during the campaign:
- If you sell virtual goods in a free-to-play game, select Virtual items, Virtual currency, or Bundles, and then the item group prepared for the campaign.
- If you sell game keys, select Game keys, and then the game key packages or bundles with keys that take part in the campaign.
To configure it:
- Select the Store block.
- In each block section, select the item type and the item group to display.
If the item type or the item group is not shown in the site builder interface, check the following in the Items catalog section:
- The item group and the virtual currency packages have the Enabled status.
- The items are included in the selected group.
- The items have the Available status.
Other blocks
Add any other blocks the campaign needs, for example, an FAQ block with the campaign rules, or a news block with the event announcement. Keep the page short — a promo page works best when it asks the user to make one decision.
Adjust theme, cart, and SEO settings
Once the content blocks are configured, adjust how the page looks, how the cart behaves, and how it appears in search results and on social media.
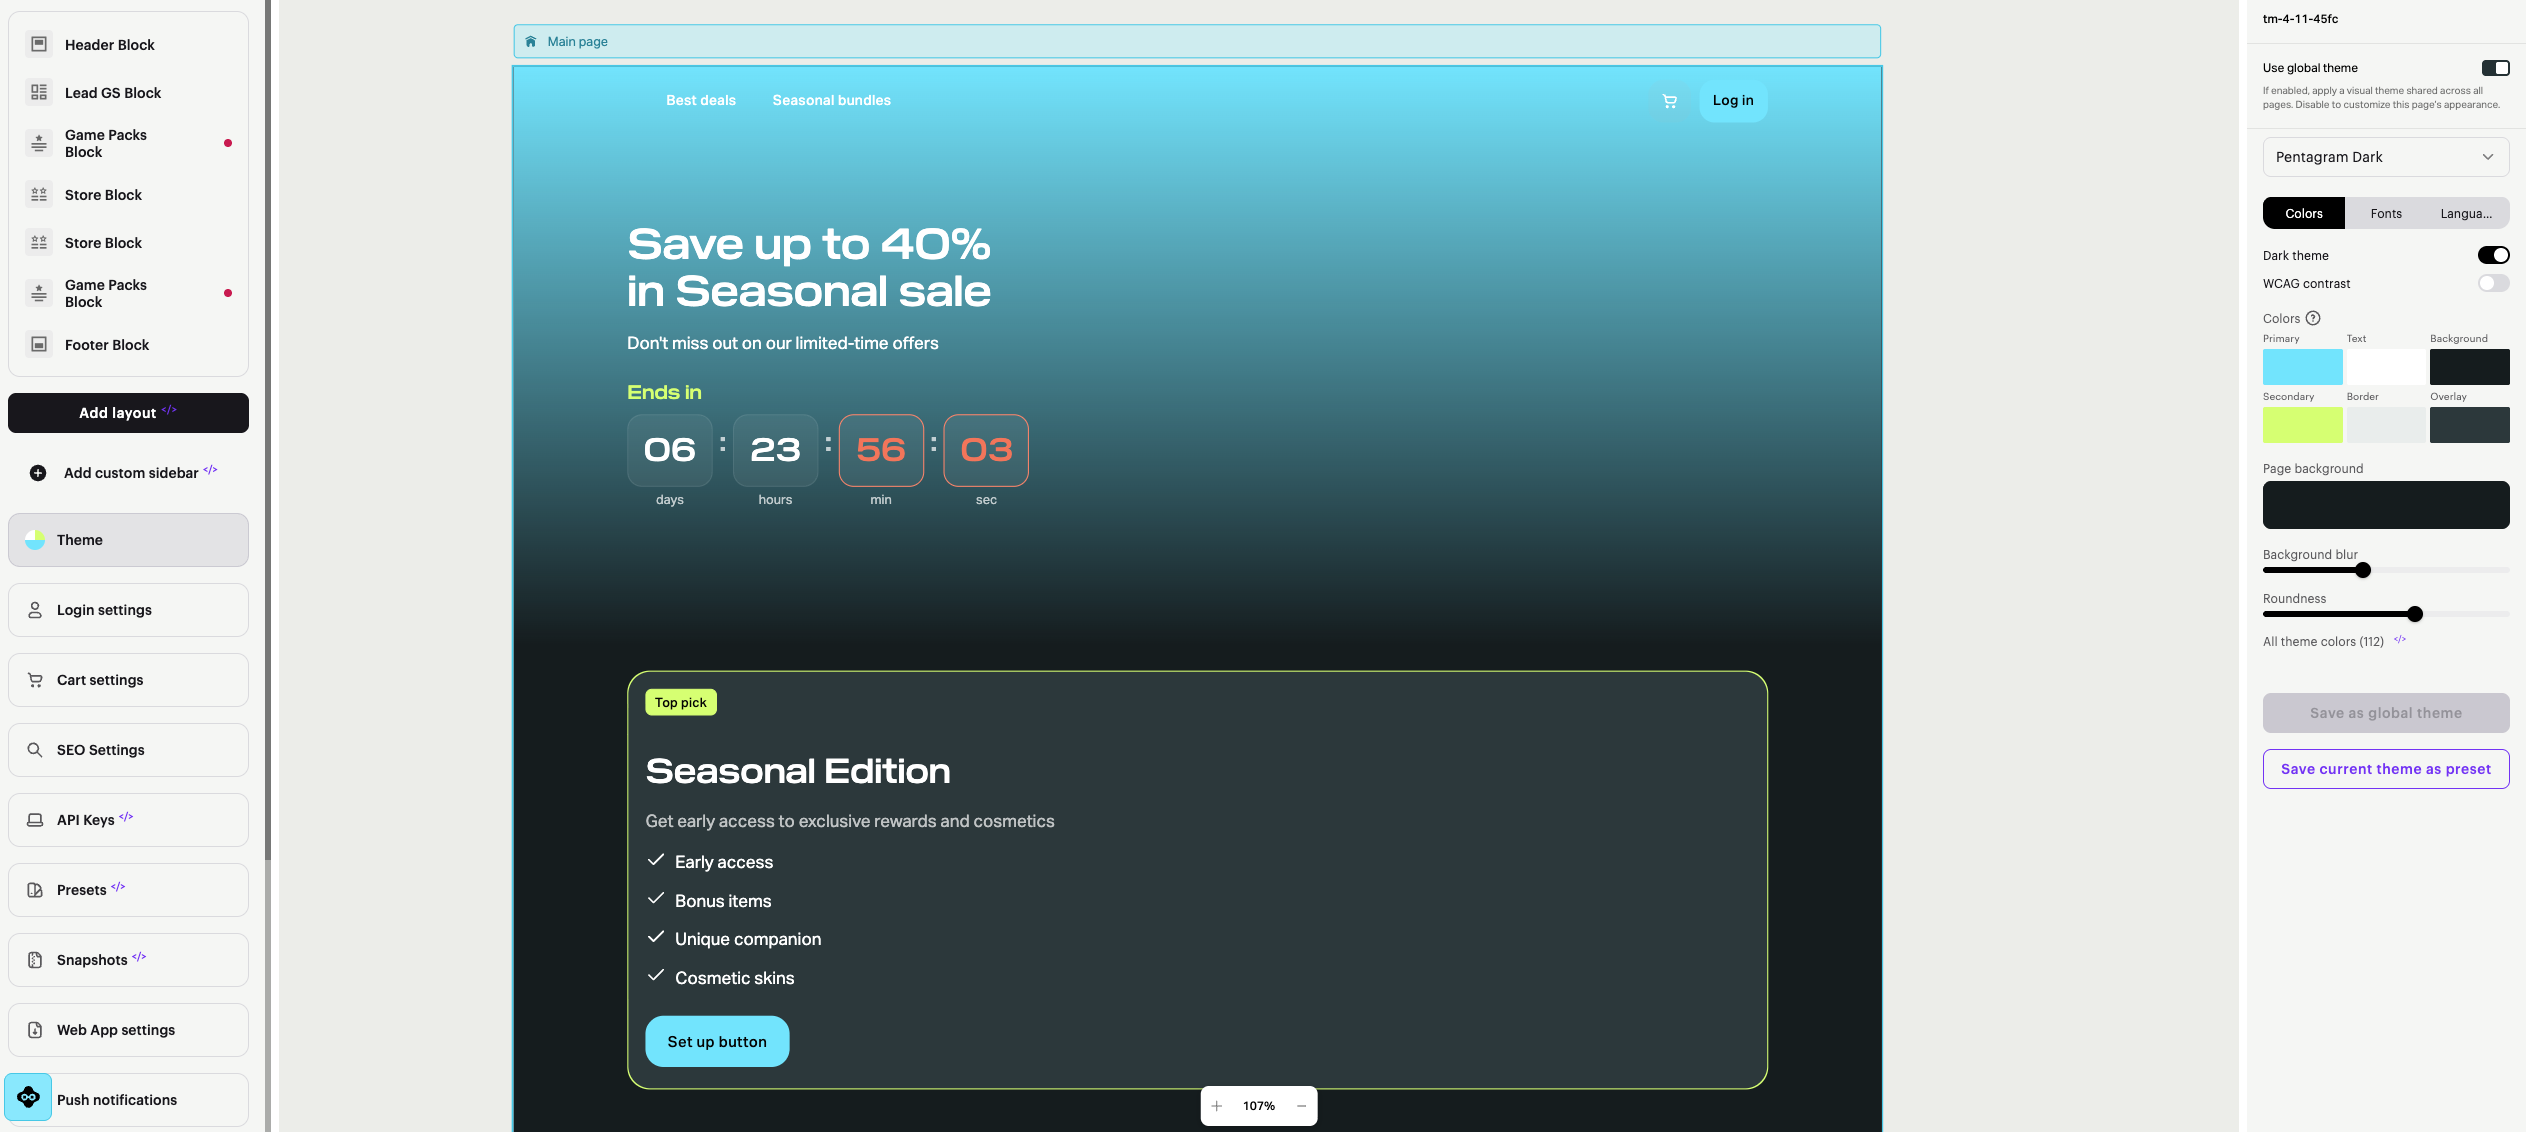
- Theme. Select the Theme section in the side menu and configure the colors, fonts, background, and border radius for this page only. By default, the page uses the global theme of the site.
- Cart settings. Go to the Cart settings section and activate the toggles you need:
- Show promo code field. Lets the user apply a promo code or a coupon in the cart. Enable it if the campaign is promoted with promo codes.
- Login before shopping cart. Opens the login window when an unauthorized user proceeds to the cart.
- SEO settings. Set the page title, description, and preview image in the SEO settings section. SEO settings are unique for each page of the site, except for the favicon. This matters if you share the campaign link on social networks.
- Localization. Enable the languages your site supports in Language settings and add translations for each language version.
Test page in sandbox mode
Before you publish the page, test it in sandbox mode to make sure the timer, the catalog, and the checkout work as expected.
- In the site builder, click Preview.
- Check that the countdown timer shows the expected value and that the campaign items are displayed in the Store block.
- Select an item and click the purchase button.
- Choose the Card group of payment methods.
- Enter the test bank card details and any values in the remaining fields. You can also enter incorrect details to generate an error.
- If the timer is linked to a promotion, check that the discounted prices are applied in the cart.
Publish page
Once testing is complete, publish the page to make it available to users.
- In the upper-right corner of the site builder, click Publish.
- Check the boxes next to the pages you want to publish.
- Click Publish.
If publication is not available, make sure that:
- There are no empty sections on the page. Empty sections are marked with a red indicator.
- The licensing agreement with Xsolla is signed.
- The main page is published or selected for publication. Child pages cannot be published before the main page.
After publication, share the page URL in your campaign channels. The page path you set when creating the page is part of the link, for example, https://your-store.xsolla.site/event-page.
Recommendations
- Prepare the page before the campaign starts. Create the page, link the timer to an inactive promotion, and publish it only when the campaign goes live.
- Link the timer to a promotion instead of a custom date whenever a promotion exists. This way, you only need to change the schedule in one place.
- Reuse the page for recurring campaigns. Duplicate the event page in the page settings, then swap the images, texts, item group, and promotion.
- Keep the campaign catalog in a dedicated item group. Changing the offer then takes one change in the catalog instead of edits in the builder.
- Check the finished state before you publish. Users who arrive from an ad after the campaign has ended should see a clear message rather than a broken counter.
Useful links
- How to manage website pages
- Site builder blocks
- Discount promotions
- Promo codes
- Time limits scheduler for items and promotions
- Localization
- Publish site
Found a typo or other text error? Select the text and press Ctrl+Enter.
