QUICK START
Quick Start — Unity SDK
Get the Xsolla SDK for Unity integrated and process your first test payment. We'll use pre-configured test credentials so you can start in minutes.
🔥 Proven in production: follow the exact integration path used by games like Crossout and Modern Warship, complete with DMA-compliant billing and 1,000+ payment methods ready out of the box.
Getting Started
Install the SDK via Unity Package Manager:
- In the Unity Editor, click Window > Package Manager.
- Click the ➕ icon and select Add package from git URL....
- Enter
https://github.com/xsolla/xsolla-sdk-unity.gitand click Add.
Then configure your project credentials:
- Go to Window > Xsolla > SDK > Edit Settings.
- In the Inspector panel, set these test values:
| Property | Value |
|---|---|
| Project ID | 301871 |
| Login ID | dfcb133b-6d0b-4937-b8d2-c4f4d58fb53a |
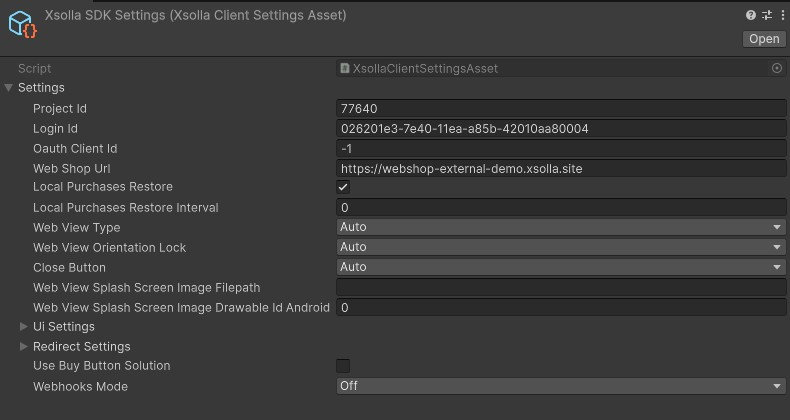
See installation details for information on more installation possibilities.
Make sure Unity In-App Purchasing 4.15+ is installed.
See the official Unity IAP setup guide ↗ (https://docs.unity3d.com/Packages/[email protected]/manual/GettingStarted.html).
⚠️ Unity In-App Purchasing 5.x is NOT supported at this moment.
Authenticate
Add this to your MonoBehaviour's Start() method:
using UnityEngine.Purchasing;

public class YourSDKIntegrationBehaviour : MonoBehaviour, IDetailedStoreListener {
    void Start() {
        var settings = XsollaStoreClientSettingsAsset.Instance().settings;

        var configuration = XsollaStoreClientConfiguration.Builder.Create()
            .SetSettings(settings)
            .SetSandbox(true)
            .SetLogLevel(XsollaLogLevel.Debug)
            .Build();

        // Continue with Load Catalog
    }
}
This loads your project settings and creates a Configuration with sandbox mode and debug logging. For production, replace the test project ID and login ID with your own from Publisher Account. See configuration docs for advanced options.
If you are using your own Project/Login IDs, make sure to enable Device ID login in your Project. Learn how to enable it here: https://developers.xsolla.com/sdk/publisher-account/login#enable-device-id-login-in-publisher-account
In the U.S., Japan, and Brazil, use WebViewType.External; for the EU (DMA) in-app flow, use WebViewType.Auto:
settings = XsollaClientSettings.Builder.Update(settings)
    .SetWebViewType(XsollaClientSettings.WebViewType.External)  // or .Auto for EU
    .Build();
Load Catalog
Register your products and initialize Unity IAP. Unlike native mobile SDKs where catalog loading is a separate async call, Unity IAP fetches your products automatically during initialization — just declare your SKUs.
// Inside Start(), after creating configuration:
var module = XsollaPurchasingModule.Builder.Create()
    .SetConfiguration(configuration)
    .Build();

var configurationBuilder = ConfigurationBuilder.Instance(module)
    .AddProduct("money.100", ProductType.Consumable);  // Test product SKU

UnityPurchasing.Initialize(this, configurationBuilder);
This registers your test product and starts the purchasing system. When OnInitialized fires, your catalog is loaded and ready to purchase. See initialization docs for Unity IAP setup and advanced options.
Purchase Product
The OnInitialized callback fires when the catalog is loaded. Use it to launch a purchase:
// IDetailedStoreListener callback — catalog loaded and ready:
public void OnInitialized(IStoreController controller, IExtensionProvider extensions) {
    controller.InitiatePurchase("money.100");
}
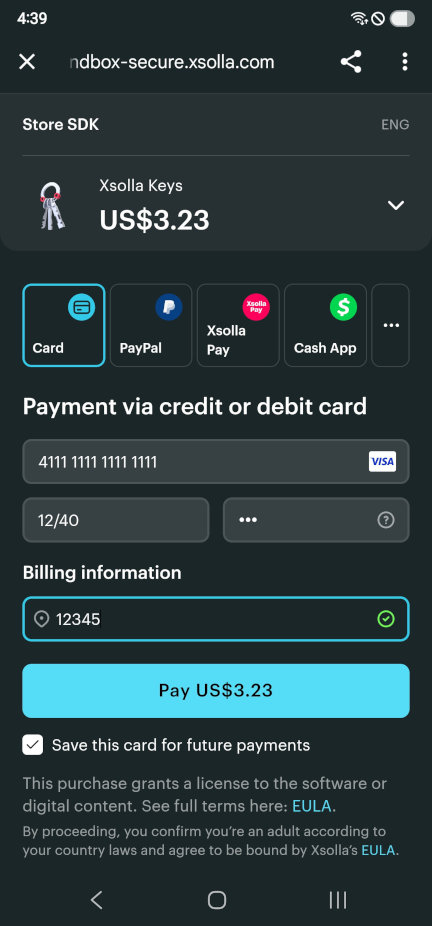
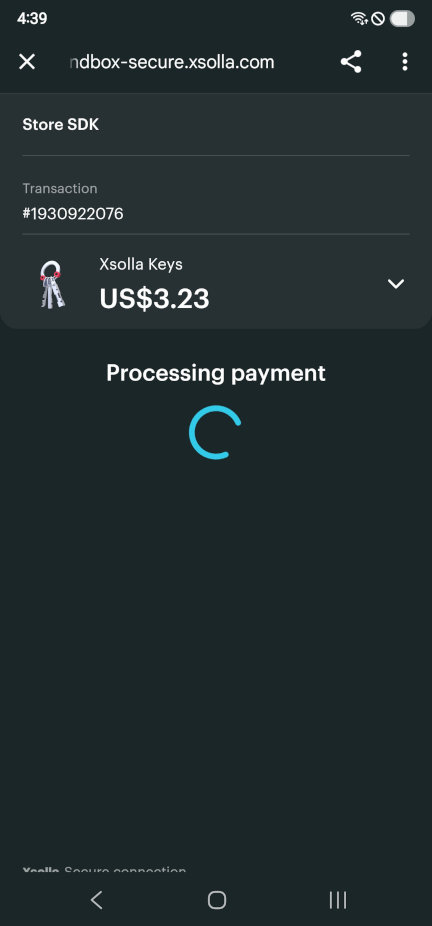
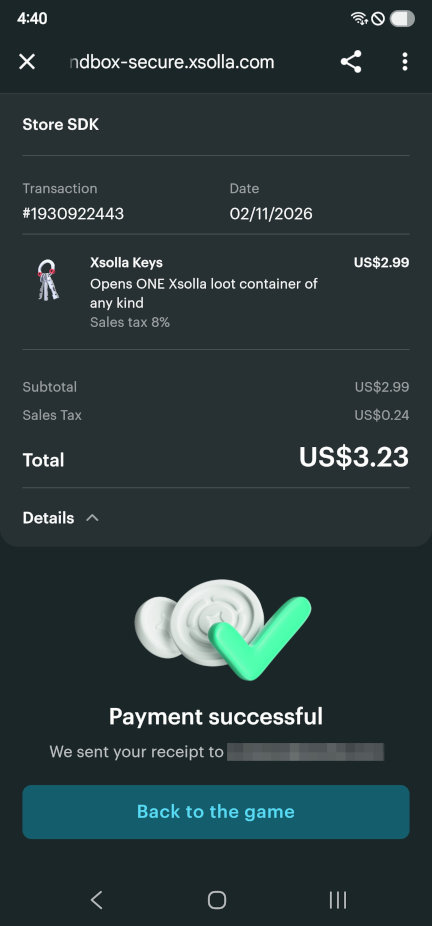
This opens Xsolla Pay Station where users complete payment. For testing, use a test card ↗ (https://developers.xsolla.com/dev-resources/testing/test-cards/):
Finalize Purchase
Once the purchase completes, process it and award the product to the user:
// IDetailedStoreListener callback — purchase completed:
public PurchaseProcessingResult ProcessPurchase(PurchaseEventArgs args) {
    if (args.purchasedProduct.definition.id == "money.100") {
        Debug.Log("Purchase consumed - award item to user");
        // Award the product (virtual item) to the user here
    }
    return PurchaseProcessingResult.Complete;
}
Returning PurchaseProcessingResult.Complete acknowledges the transaction. See purchase flow docs for error scenarios and advanced options.
What's next?
You've built a complete payment integration: authentication, catalog loading, purchase flow, and fulfillment. Your app now has access to 1,000+ payment methods across 200+ countries.
- Set up your project — create your Publisher Account and replace the sandbox test credentials with production ones
- Buy Button — fastest path to external payments
- Extended example — complete working implementation
- Full SDK docs — advanced features, retry policies, custom UI