QUICK START
Quick Start - Android
Get the Xsolla Mobile SDK integrated and process your first test payment. We'll use pre-configured test credentials so you can start in minutes.
Getting Started
Ensure your project targets Android 7.0+ (minSdk 24), then add Maven Central and the Xsolla Mobile SDK dependency:
// settings.gradle
repositories {
    mavenCentral()

    maven {
        url = uri("https://raw.githubusercontent.com/xsolla/xsolla-sdk-android/main")
    }
}
// build.gradle
dependencies {
    def version_mobilesdk = '<version>'
    implementation "com.xsolla.android:mobile:$version_mobilesdk"
}
See installation details for more configuration options.
Authenticate
Add this to your Activity's onCreate():
import com.xsolla.android.mobile.*;

@Nullable
private BillingClient mBillingClient;

final Config.Common configCommon = Config.Common.getDefault()
    .withDebugEnabled(true)
    .withLogLevel(LogLevel.VERBOSE)
    .withSandboxEnabled(true);

final Config.Integration configIntegration = Config.Integration.forXsolla(
    Config.Integration.Xsolla.Authentication.forAutoJWT(
        ProjectId.parse(301871).getRightOrThrow(),  // Test project
        LoginUuid.parse("dfcb133b-6d0b-4937-b8d2-c4f4d58fb53a").getRightOrThrow()  // Test login ID
    )
);

final Config config = new Config(
    configCommon,
    configIntegration,
    Config.Payments.getDefault(),
    Config.Analytics.getDefault()
);

// Inside onCreate(), after creating Config:
mBillingClient = BillingClient.newBuilder(this)
    .setConfig(config)
    .setListener((billingResult, purchases) -> {
        // Handle purchase completion — see Finalize Purchase
    })
    .build();

mBillingClient.startConnection(new BillingClientStateListener() {
    @Override
    public void onBillingServiceDisconnected() {
        Log.d(TAG, "Disconnected from Xsolla services.");
    }

    @Override
    public void onBillingSetupFinished(@NonNull final BillingResult billingResult) {
        if (!billingResult.isSuccess()) {
            Log.e(TAG, "Connection failed: " + billingResult.getResponseCode());
            return;
        }
    }
});
This creates your Config with AutoJWT authentication, sandbox mode, and debug logging, then initializes the BillingClient and connects to Xsolla services. For production, replace the test project ID and login ID with your own from Publisher Account. See configuration docs for advanced options.
If you are using your own Project/Login IDs, make sure to enable Device ID login in your Project. Learn how to enable it here: https://developers.xsolla.com/sdk/publisher-account/login#enable-device-id-login-in-publisher-account
Load Catalog
Query your product catalog once connected:
mBillingClient.queryProductDetailsAsync(
    QueryProductDetailsParams.newBuilder()
        .setProductList(Arrays.asList(
            QueryProductDetailsParams.Product.newBuilder()
                .setProductId("money.100")  // Test product SKU
                .setProductType(BillingClient.ProductType.INAPP)
                .build()
        ))
        .build(),
    (result, productDetailsList) -> {
        // Launch purchase — see Purchase Product
    }
);
This loads product key_1 from your catalog. See initialization docs for reconnection handling and advanced options.
Purchase Product
Use the product details from your catalog query to launch a purchase:
// Inside productDetails callback (from Load Catalog):
if (billingResult.isSuccess() &&
    productDetailsList != null && !productDetailsList.isEmpty()) {

    mBillingClient.launchBillingFlow(
        activity,  // Your Activity reference
        BillingFlowParams.newBuilder()
            .setProductDetailsParamsList(Arrays.asList(
                BillingFlowParams.ProductDetailsParams.newBuilder()
                    .setProductDetails(productDetailsList.get(0))
                    .build()
            ))
            .build()
    );
} else {
    Log.e(TAG, "No products available: " + billingResult.getResponseCode());
}
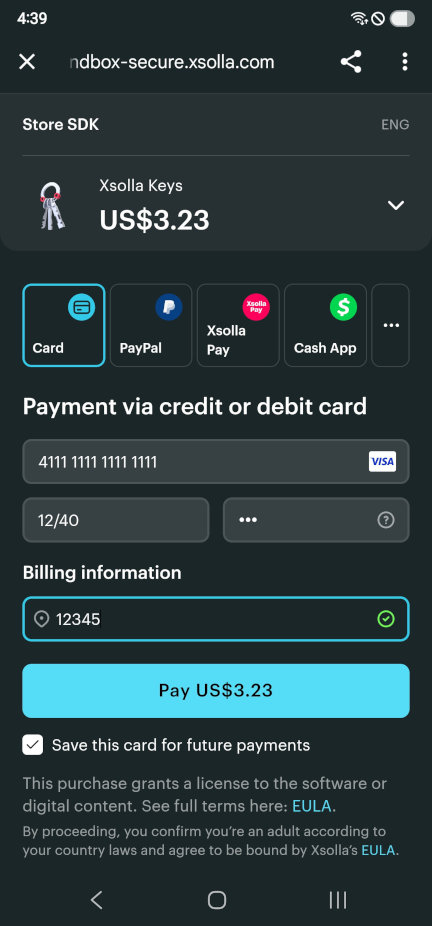
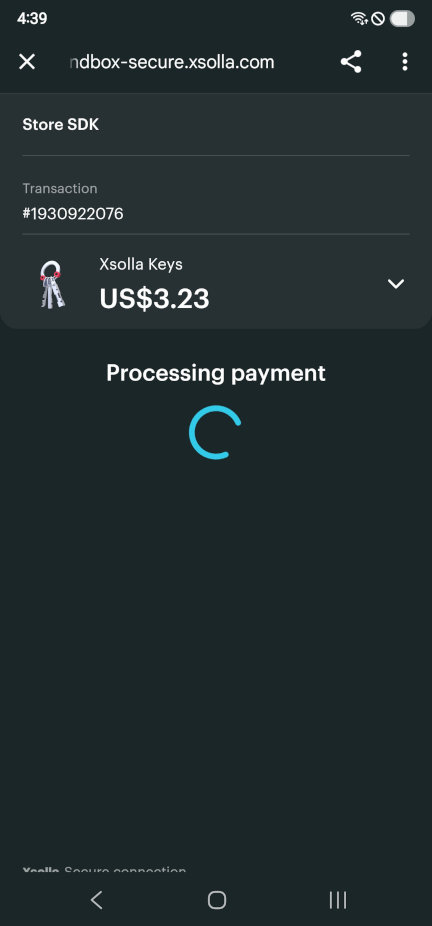
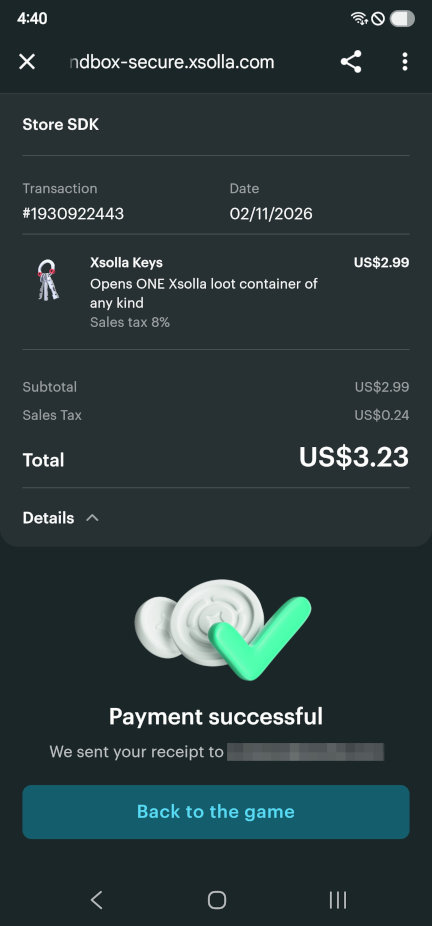
This opens Xsolla Pay Station where users complete payment. For testing, use a test card ↗:
Finalize Purchase
Once the purchase completes, consume it and award the product to the user:
// Inside onPurchasesUpdated callback:
if (billingResult.isSuccess() && purchases != null) {
    for (Purchase purchase : purchases) {
        mBillingClient.consumeAsync(
            ConsumeParams.newBuilder()
                .setPurchaseToken(purchase.getPurchaseToken())
                .build(),
            (result, purchaseToken) -> {
                if (result.isSuccess()) {
                    Log.d(TAG, "Purchase consumed - award item to user");
                    // Award the product (virtual item) to the user here
                } else {
                    Log.e(TAG, "Consumption failed: " + result.getResponseCode());
                }
            }
        );
    }
} else {
    Log.e(TAG, "Purchase failed or cancelled: " + billingResult.getResponseCode());
}
This consumes the purchase and lets you award the product (virtual item). See purchase flow docs for error scenarios and advanced options.
What's next?
You've built a complete payment integration: authentication, catalog loading, purchase flow, and fulfillment. Your app now has access to 1,000+ payment methods across 200+ countries.
- Set up your project — create your Publisher Account and replace the sandbox test credentials with production ones
- Buy Button — fastest path to external payments
- Extended example — complete working implementation
- Full SDK docs — advanced features, retry policies, custom UI