
Configure o projeto de login básico
Observação
If you want to use your own authorization system, connect the standard Login project to your project without additional settings and implement getting the user JWT on the back end of your application.
Configure o método de login
- Open your project in Publisher Account.
- Click Connect in the Login pane or select Login in the side menu.
- Click Create Login project.

- Select Standard Login project and click Create and set up. Wait until your new Login project is created. Then you will see the project settings navigation page.
- In the Login methods block on the navigation page, select the method that suits your game best and click Configure.
- The Login product offers three options for your games:
- Classic login
Users log into the game by providing their username and password. In addition, users can log in using one of their social networks. - Passwordless login
Users log into the game using one-time codes or links sent to their email address or phone number. Login via social networks is also supported. - Social login
Users enter the game only through social networks.
- Classic login

- Click Save changes.

- Set up a social login (optional):
- Click the name of your Login project in breadcrumb trail to return to the navigation page.
- Go to the Authentication block and select the Social login section.
- Connect social networks that users will be able to use to sign up and log into the application:
- To connect the desired social network, click the ⚙ icon and select Connect.

- To connect several social networks at once, select the required panes (their borders will turn green). Then, from the Manage drop-down menu, select Connect.

- To connect all available social networks at once, click Select all. Then, from the Manage drop-down menu, select Connect.

- Change the user data storage (optional). User data is stored and processed on the Xsolla’s side by default. If you want to connect PlayFab, Firebase, or your own custom storage, follow these instructions: Connect user data storage.
During the integration process, you will need your Login ID. To get it, click the name of your Login project in breadcrumb trail to return to the navigation page, and click Copy ID beside the name of the Login project.

Configure o cliente OAuth 2.0
- Select the Login project and click Configure, or click the name of your Login project in the breadcrumb trail to return to the navigation page.
- Go to the Security block and select the OAuth 2.0 section.
- Click Add OAuth 2.0 client.
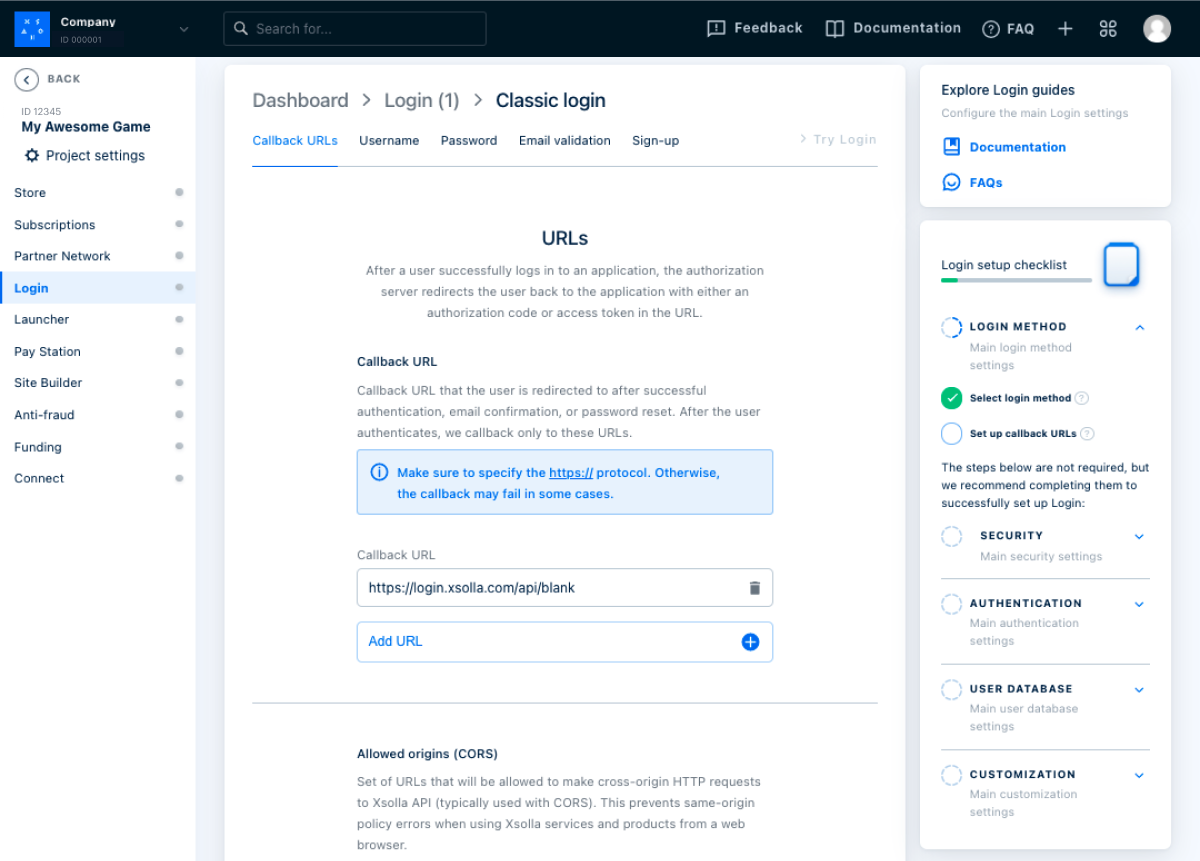
- Specify OAuth 2.0 redirect URIs (paths in the application the user is redirected to after successful authentication, email confirmation, or password reset). You can specify multiple valid URIs.
- Click Connect.
Aviso
To redirect users to a mobile application, the URI must match one of the following schemes:
app://xlogin.<ANDROID_PACKAGE_NAME>, where<ANDROID_PACKAGE_NAME>is the package name of the Android application.app://xlogin.<BUNDLE_ID>, where<BUNDLE_ID>is the iOS application identifier.
During the integration process, you will need an OAuth 2.0 client ID. It can be found in Publisher Account in the Login > your Login project > Security > OAuth 2.0 section.

Este artigo foi útil?
Obrigado pelo seu feedback!
Avaliaremos sua mensagem e a usaremos para melhorar sua experiência.Encontrou um erro de texto ou digitação? Selecione o texto e pressione Ctrl+Enter.
