Use Metaframe on site created with Site Builder
You can use Metaframe to quickly authorize users, so that they can make purchases on your site created with Xsolla Site Builder.
Note
To enable configuration of authorization via Metaframe in the site builder, contact the integration team at integration@xsolla.com or your Customer Success Manager at csm@xsolla.com.
User flow
- The user opens the site.
- The user clicks an item purchase button.
- The Metaframe widget opens for the user to enter their phone number or email.
- After successful authorization, the user makes the purchase in the payment UI that opens.
Notice
When the Metaframe widget opens on the site created with Site Builder, the Wallet section is unavailable.

Prerequisites
Note
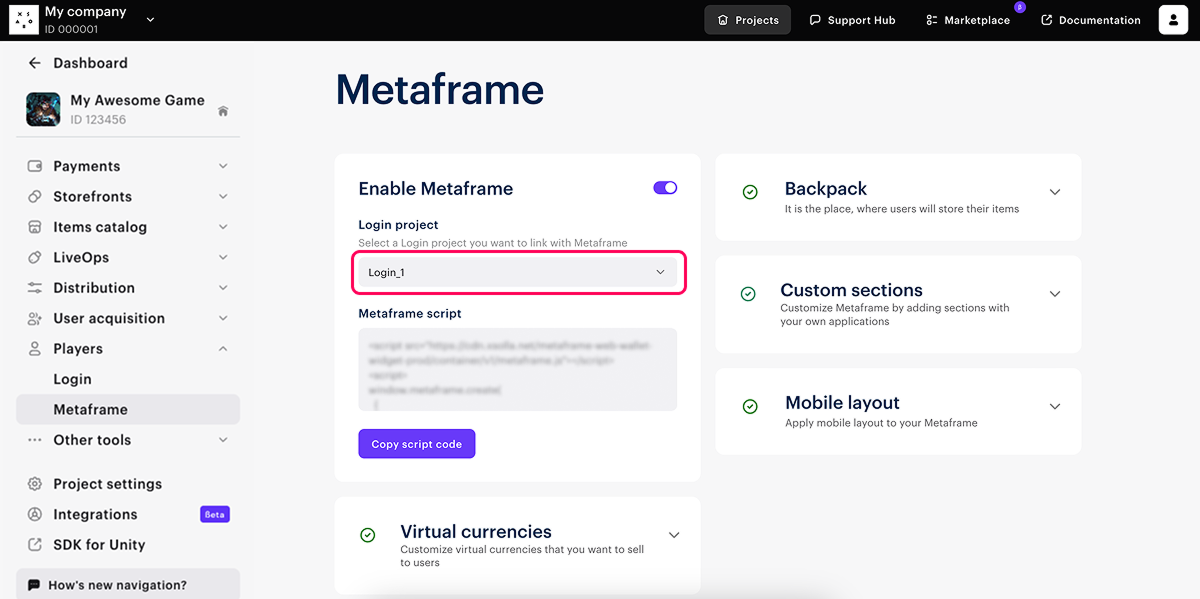
For further setup, you need the Login project specified in Publisher Account in the Players > Metaframe section.

- Create an item catalog in Publisher Account.
- Create a site using Site Builder.
- Enable the sale of the item catalog on the site.
Configure Metaframe in Site Builder
- Open your project in Publisher Account and go to the Storefronts > Websites section.
- In the pane of the necessary site, click Open Site Builder.
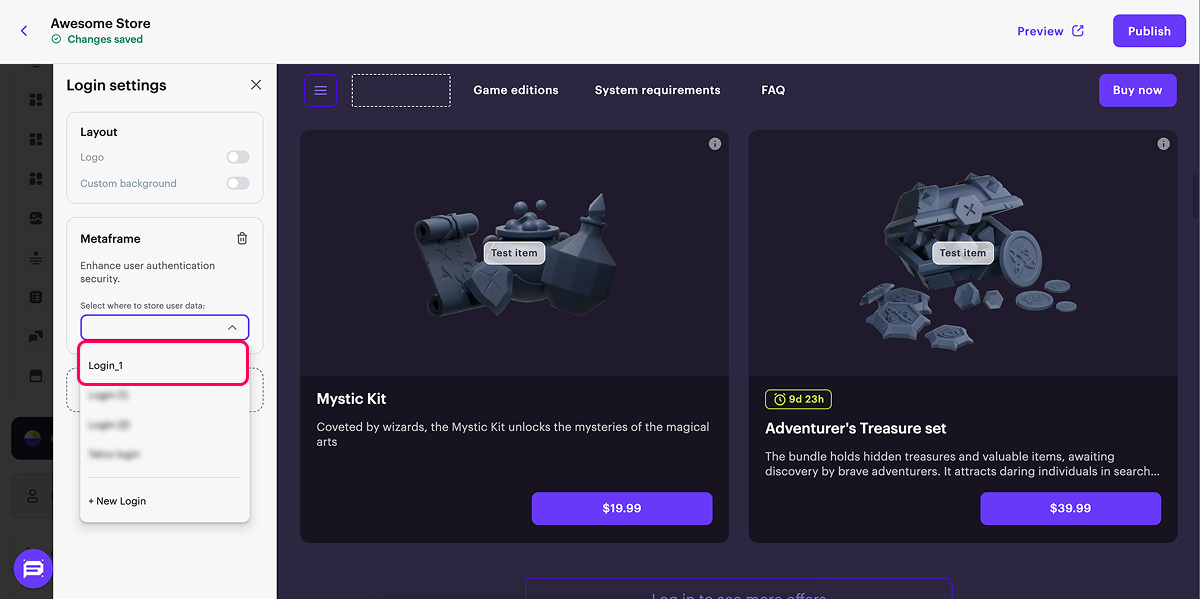
- In the builder’s side menu, click Login settings.

- Click Metaframe.

- From the drop-down list, select the Login project linked with Metaframe.

- To see how Metaframe works on your site, click Preview in the upper right corner of the builder. Refer to the instructions for detailed information about testing the site.
- Publish the site.
Was this article helpful?
Thank you for your feedback!
We’ll review your message and use it to help us improve your experience.Found a typo or other text error? Select the text and press Ctrl+Enter.
