Integration with Zendesk Chat
How it works
Integration with Zendesk Chat allows you to link users of the Xsolla Login product to your project with Zendesk Chat visitors who submit questions to your support team. The external_id parameter that is used on Zendesk’s side corresponds with the user ID in your Login project. If you identified a visitor as an Xsolla Login user, you will have the ability to manage their account via Publisher Account.
Who can use it
Partners who have already integrated Login and have a Zendesk Chat account.
How to get it
To link a visitor:
- Authenticate a user in your Login project by one of the following requests:
- Generate a Zendesk JWT.
- Authenticate a visitor into Zendesk Chat.
Generating Zendesk JWT
The Zendesk JWT is based on a token received from the Xsolla Login server when authenticating a user in your Login project. You can store a token in cookie files on a required domain and add it to a HTTP request when generating a Zendesk JWT.
You can also set your own format of a response when implementing the call.
Below is a simplified version of a Zendesk JWT getting flow based on Go. The full Zendesk JWT generation code is found on GitHub.
Install the following packages before generating a JWT:
- curl
1go get github.com/dgrijalva/jwt-go
2go get github.com/rs/cors
To get a Zendesk JWT:
Validating JWT
Extract a JWT from cookie files and validate it by a secret key found in Publisher Account > your Login project > General settings > Secret key.- go
 1cookie, err := r.Cookie("token")
 2
 3token, err := jwt.Parse(cookie.Value, func(token *jwt.Token) (interface{}, error) {
 4  if _, ok := token.Method.(*jwt.SigningMethodHMAC); !ok {
 5    return nil, errors.New("unexpected signing method")
 6  }
 7  return []byte(loginSecret), nil
 8})
 9
10var loginClaims jwt.MapClaims
11var ok bool
12if loginClaims, ok = token.Claims.(jwt.MapClaims); !ok || !token.Valid {
13  writeErrorResponse(w, "00-01", "Token is invalid", http.StatusUnauthorized)
14  return
15}
Decoding JWT
Decode a JWT and extract values of the following claims from it:email— an email addresssub— user ID
- go
1var sub, email string
2sub, _ = loginClaims["sub"].(string)
3email, _ = loginClaims["email"].(string)
Forming list of JWT claims
Form a list of claims for a JWT. You can find descriptions of every claim in- go
1zendeskClaims := jwt.MapClaims{}
2zendeskClaims["name"] = email
3zendeskClaims["email"] = email
4zendeskClaims["external_id"] = sub
5zendeskClaims["iat"] = time.Now().UTC().Unix()
Signing JWT
Sign a token with a secret key of your Zendesk Chat account. You can find it in- go
1zendeskToken := jwt.NewWithClaims(jwt.SigningMethodHS256, zendeskClaims)
2zendeskTokenString, _ := zendeskToken.SignedString([]byte(zendeskSecret))
Authenticating visitor into Zendesk Chat
This allows adding the following visitor data to Zendesk Chat:
- name
- email address
- identifier
Use a received Zendesk JWT to authenticate a visitor into Zendesk Chat. Initialize the Web SDK with the
- javascript
 1zChat.init({
 2  account_key: ACCOUNT_KEY,
 3  authentication: {
 4    jwt_fn: function(callback) {
 5      fetch('https://example.com:8001/generate/token', {
 6        credentials: "include"
 7      }).then(function(res) {
 8        res.text().then(function(body) {
 9          const jwt = JSON.parse(body).token;
10          callback(jwt)
11        });
12      });
13    }
14  }
15});
The visitor authentication flow is described in the instruction and Web SDK.
Working with visitor
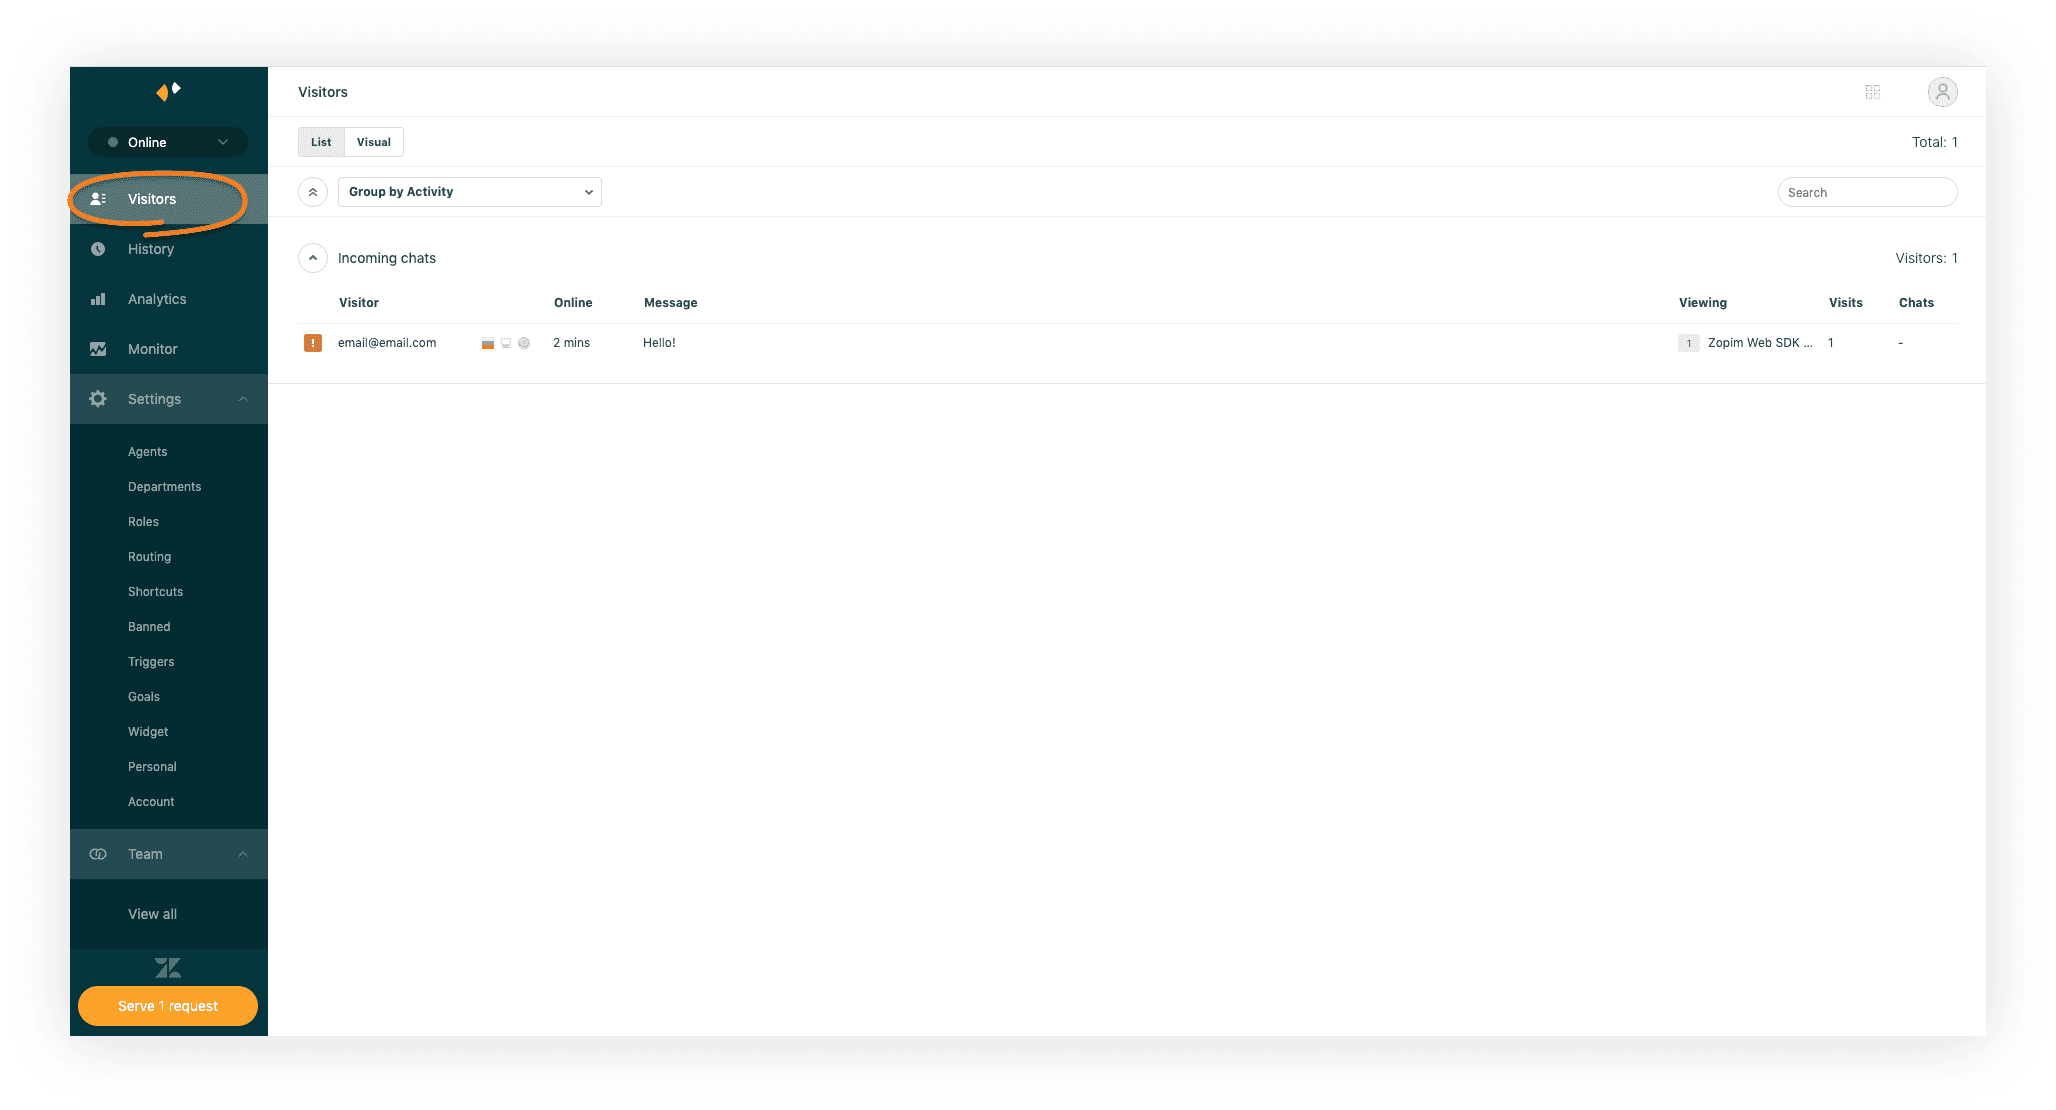
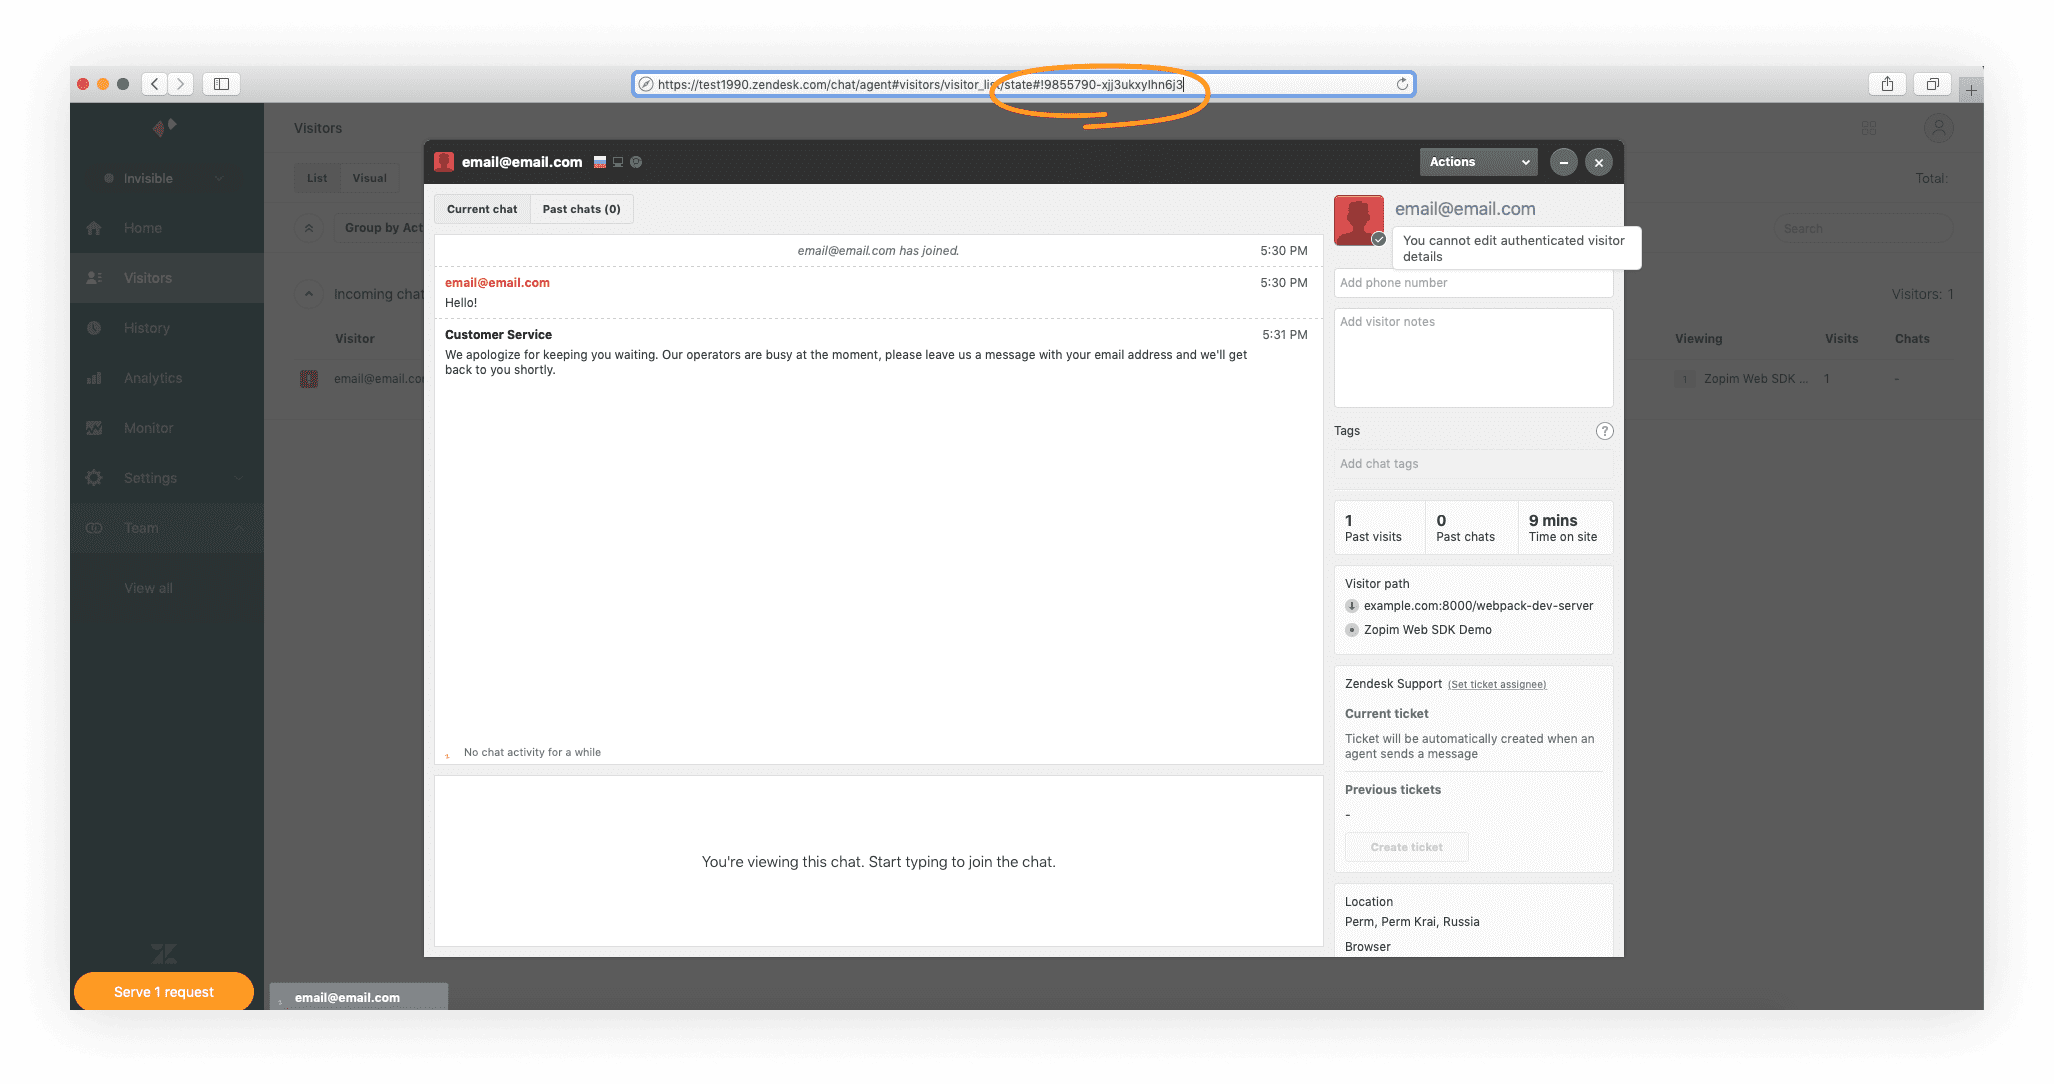
After successful authentication, a visitor will be displayed in your Zendesk Chat account >

For working with the
- Get visitor data.
- Visitor is linked to your Login project.
Getting visitor data
To execute the
Example of the
http
- http
- curl
1GET https://www.zopim.com/api/v2/visitors/9855790-xjj3u5xPWhW1Fv HTTP/1.1
2Authorization: Bearer <token>
1curl --request GET \
2  --url https://www.zopim.com/api/v2/visitors/9855790-xjj3u5xPWhW1Fv \
3  --header 'authorization: bearer_token'
Example of the response:
http
- http
- json
 1HTTP/1.1 200 OK
 2Content-Type: application/json
 3
 4{
 5  "banned": false,
 6  "notes": "",
 7  "id": "9855790.xjj3ukxyIhn6j3",
 8  "email": "email@email.com",
 9  "phone": "",
10  "created": 1586950554,
11  "name": "email@email.com",
12  "external_id": "82cd5e0c-c3ff-11e9-b199-c1e5fc81c37f"
13}
 1{
 2  "banned": false,
 3  "notes": "",
 4  "id": "9855790.xjj3ukxyIhn6j3",
 5  "email": "email@email.com",
 6  "phone": "",
 7  "created": 1586950554,
 8  "name": "email@email.com",
 9  "external_id": "82cd5e0c-c3ff-11e9-b199-c1e5fc81c37f"
10}
Checking visitor linking to Login project
If a visitor is linked to your Login project, theexternal_id parameter in received data will correspond with user ID. You can find user ID in Publisher Account > your Login Project > Users > Username/ID.Found a typo or other text error? Select the text and press Ctrl+Enter.
